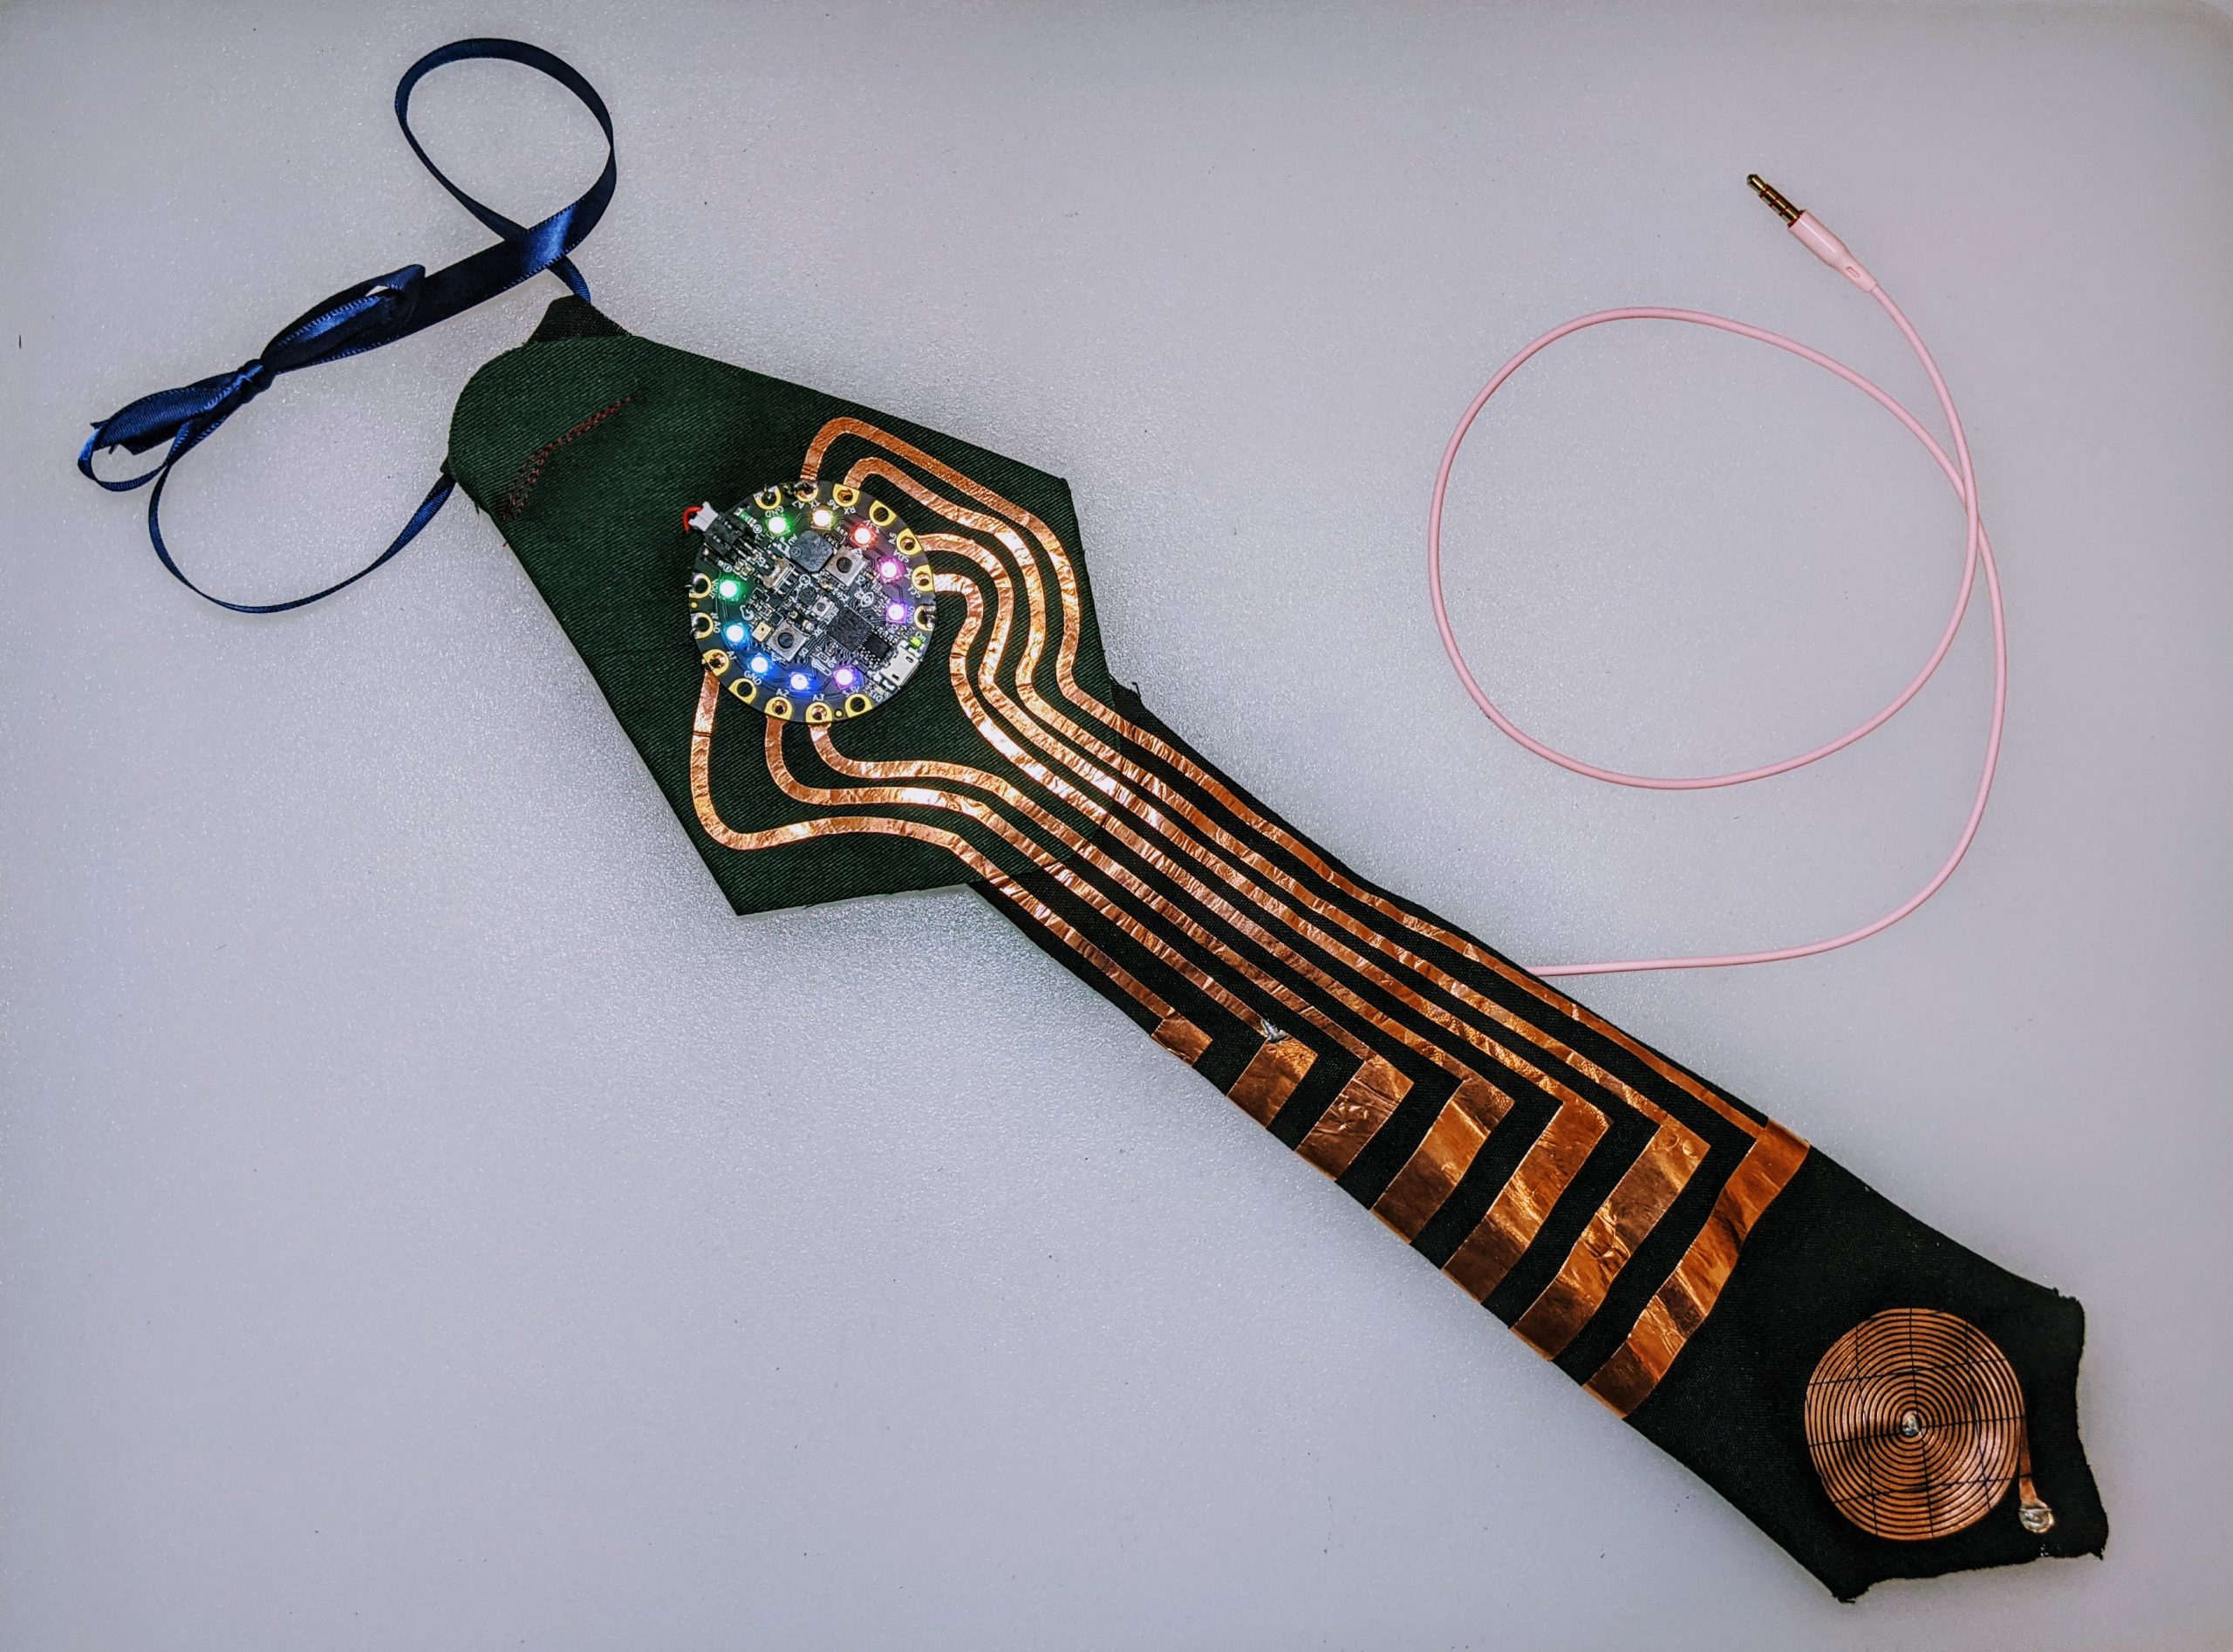
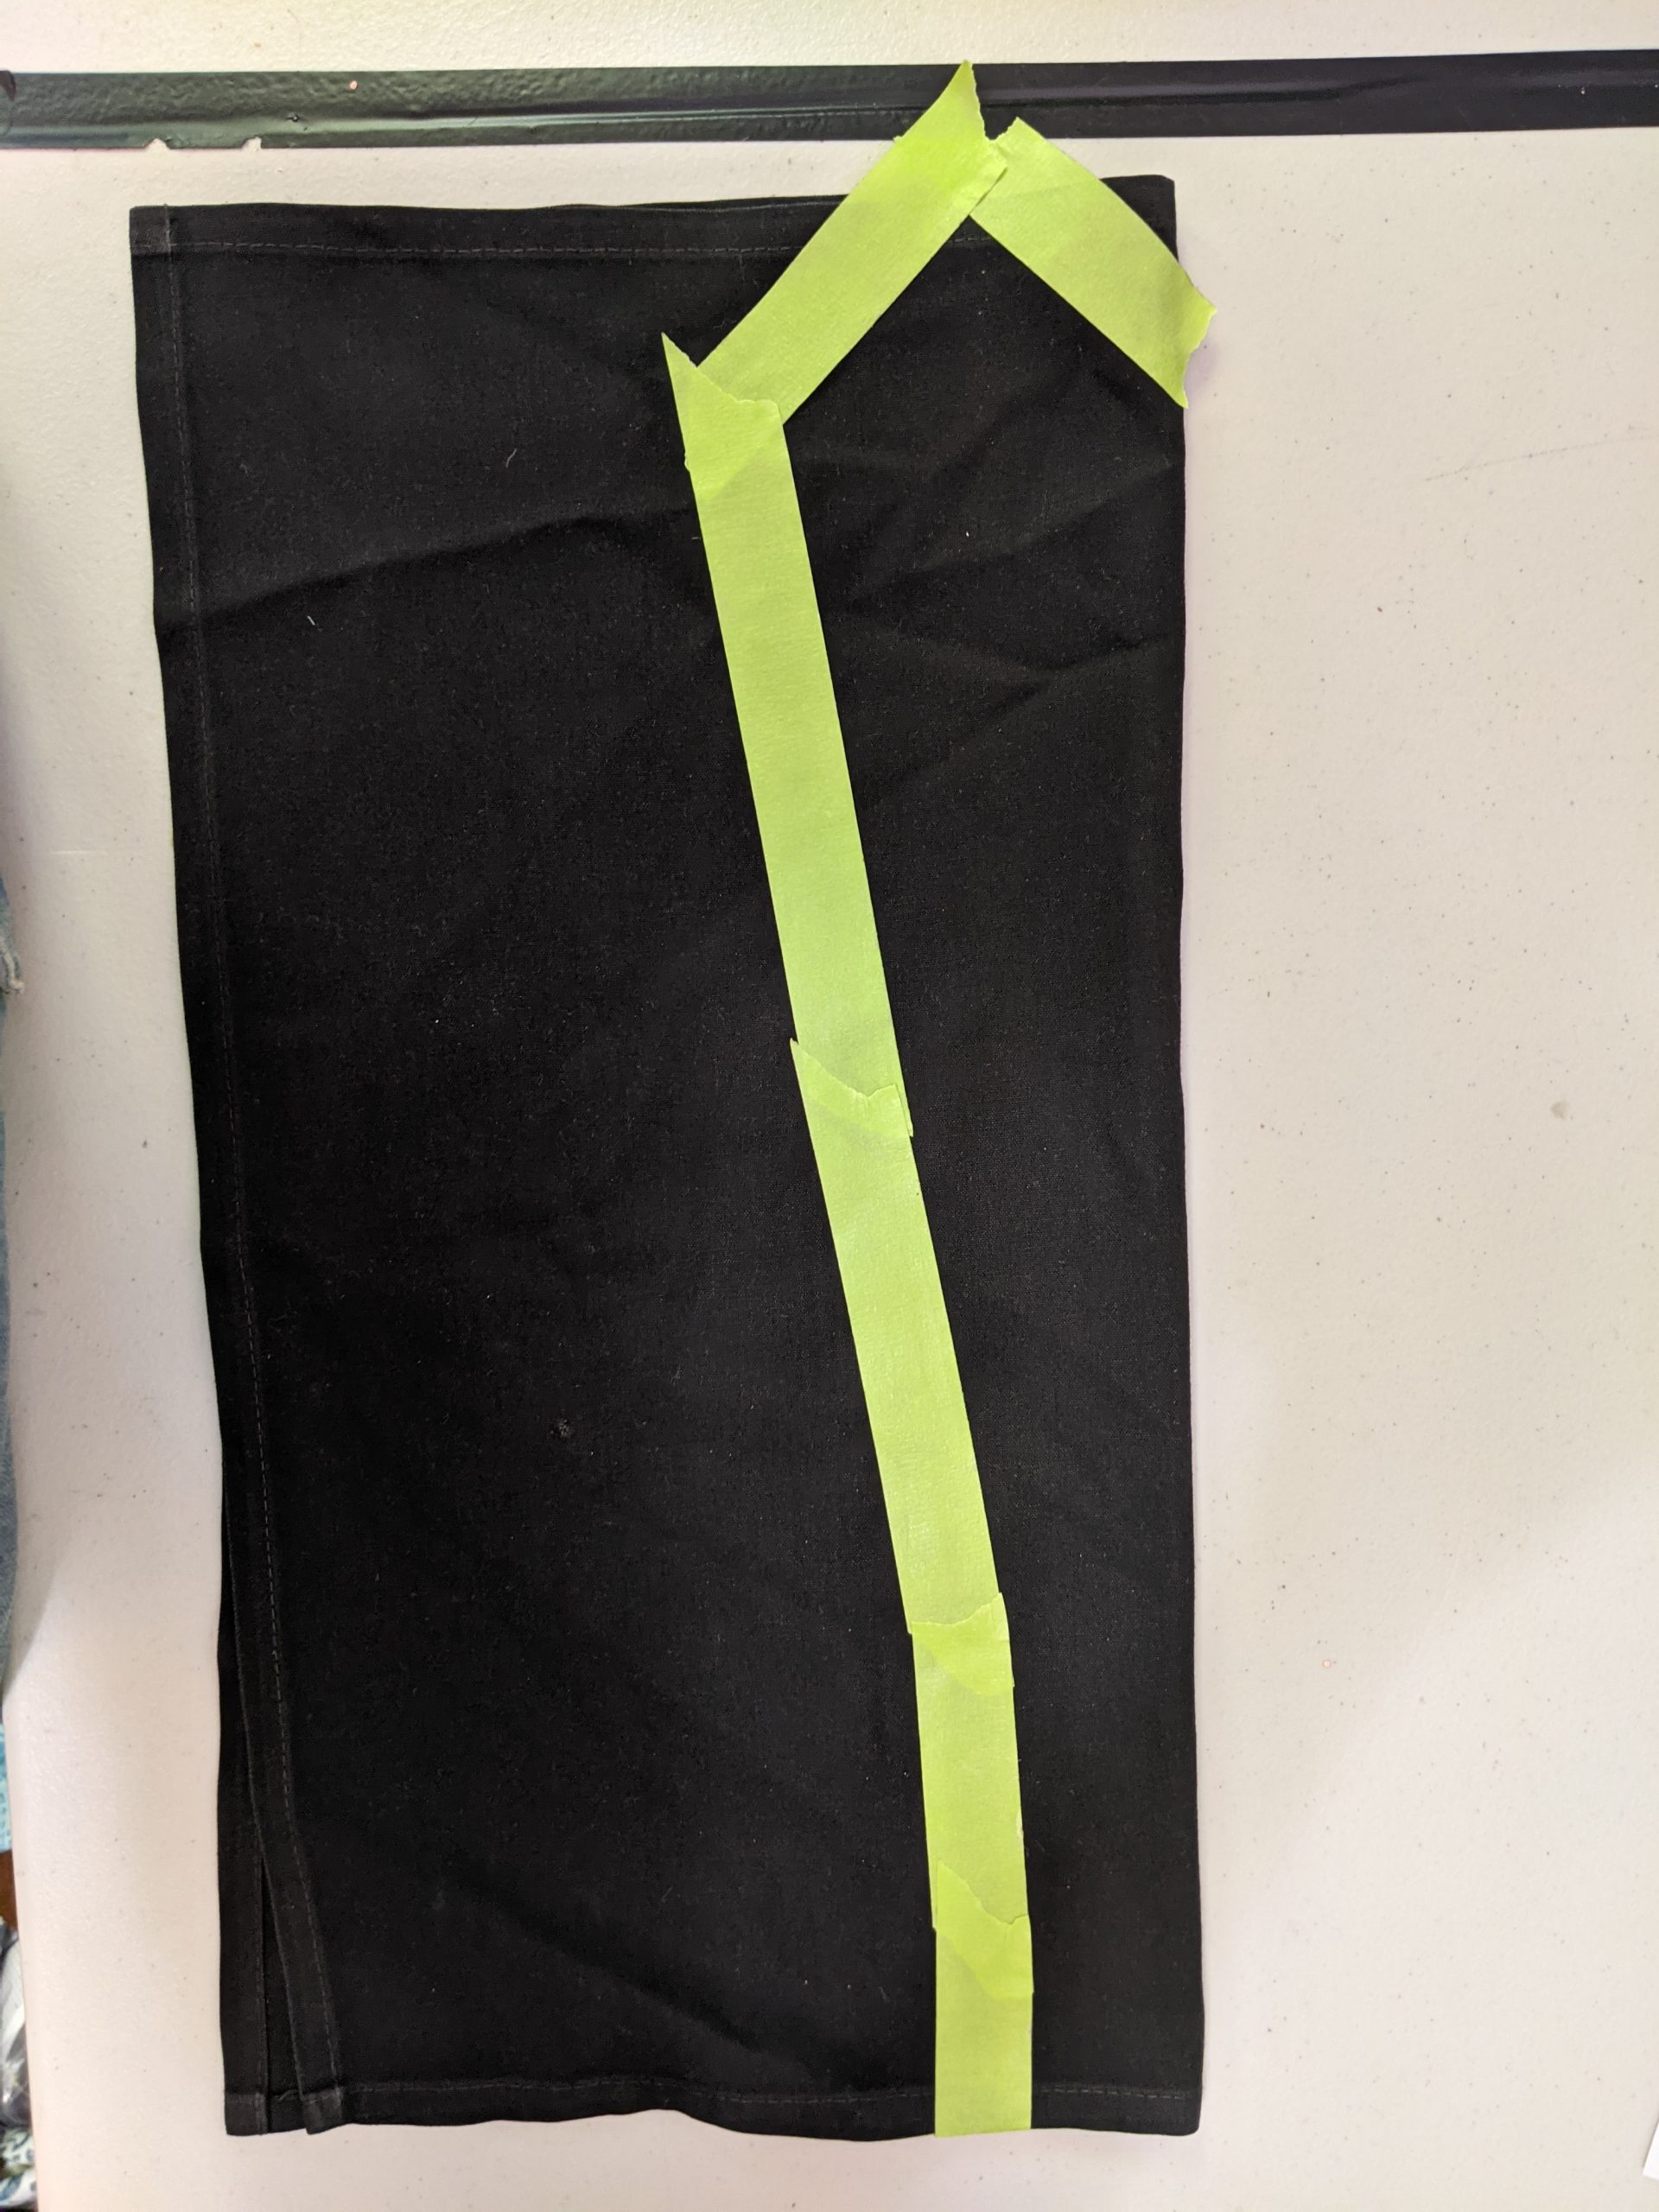
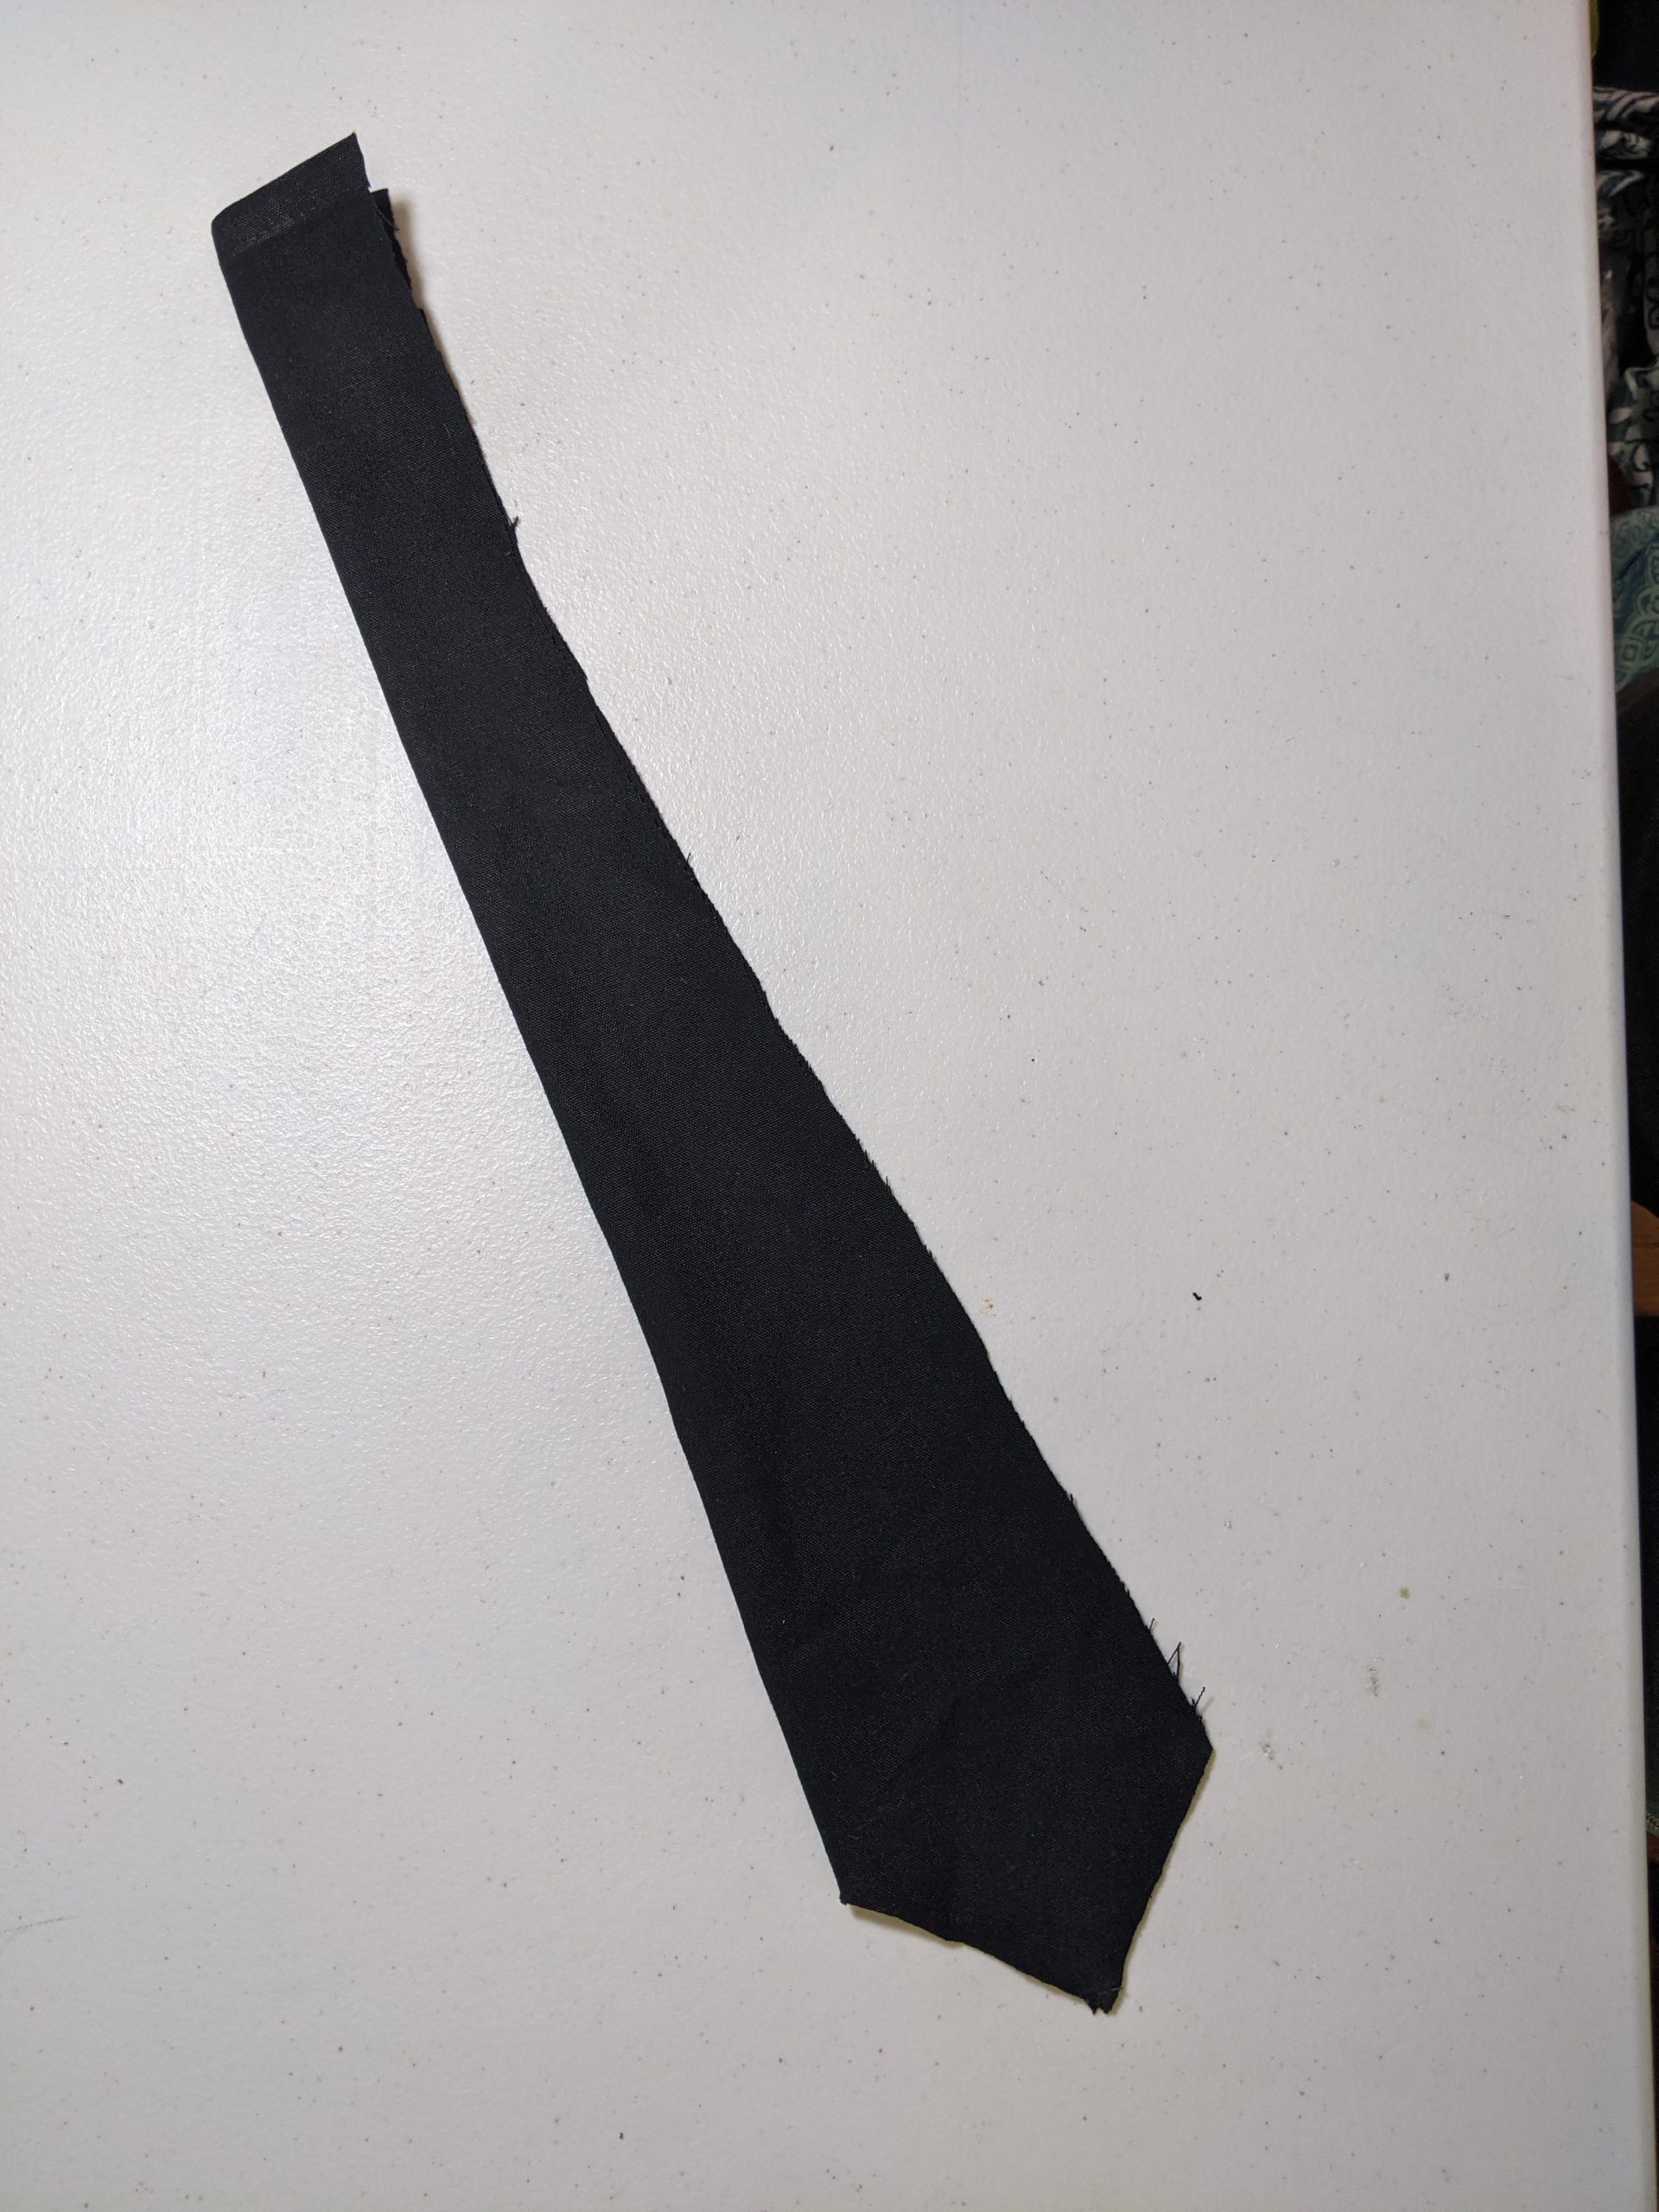
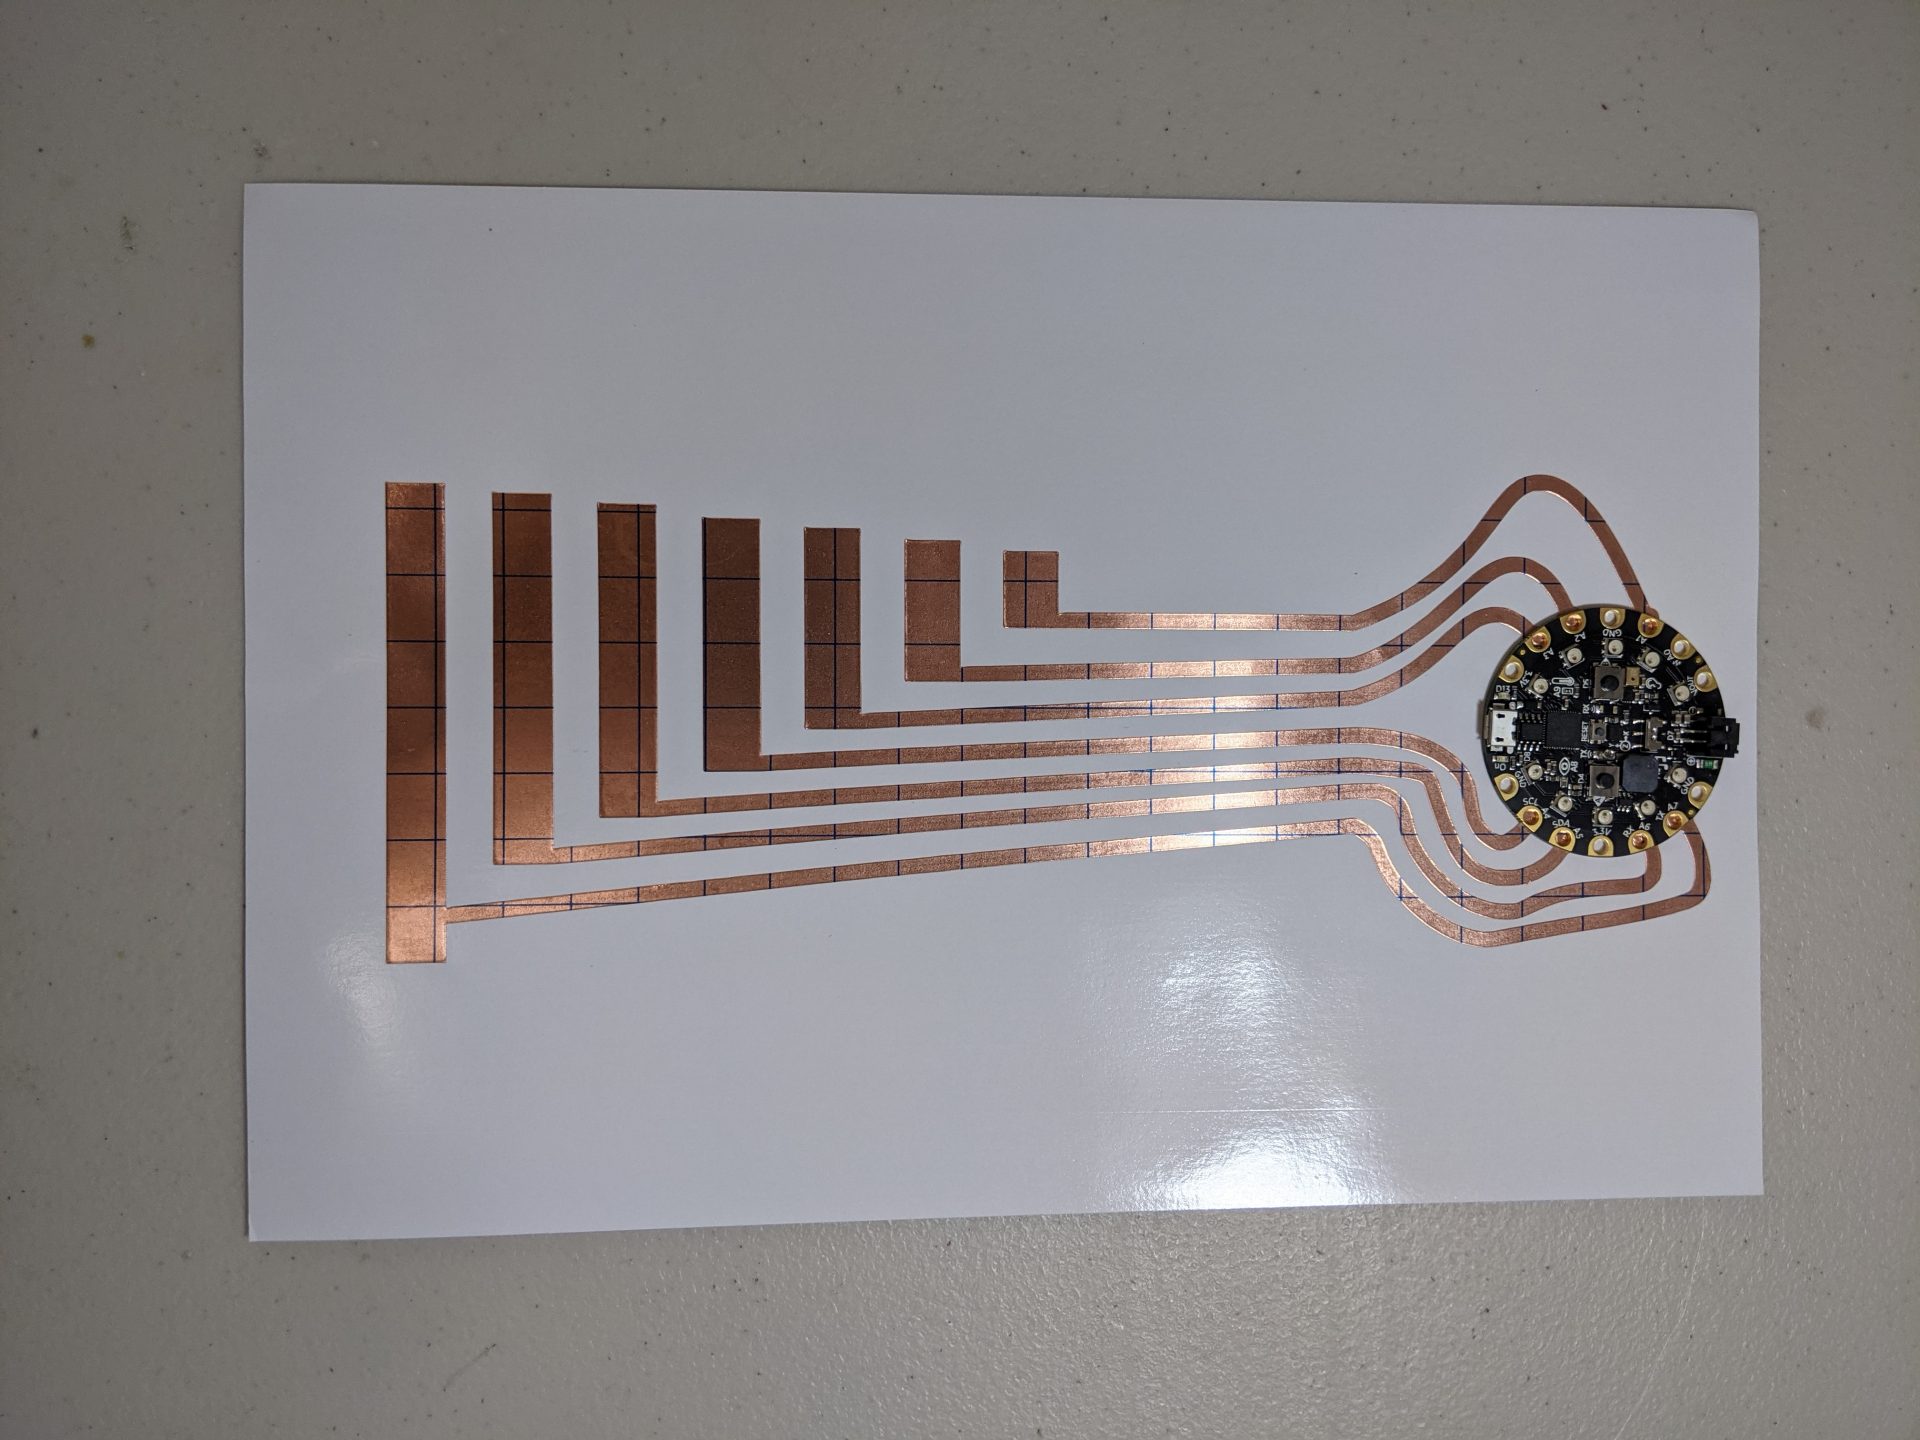
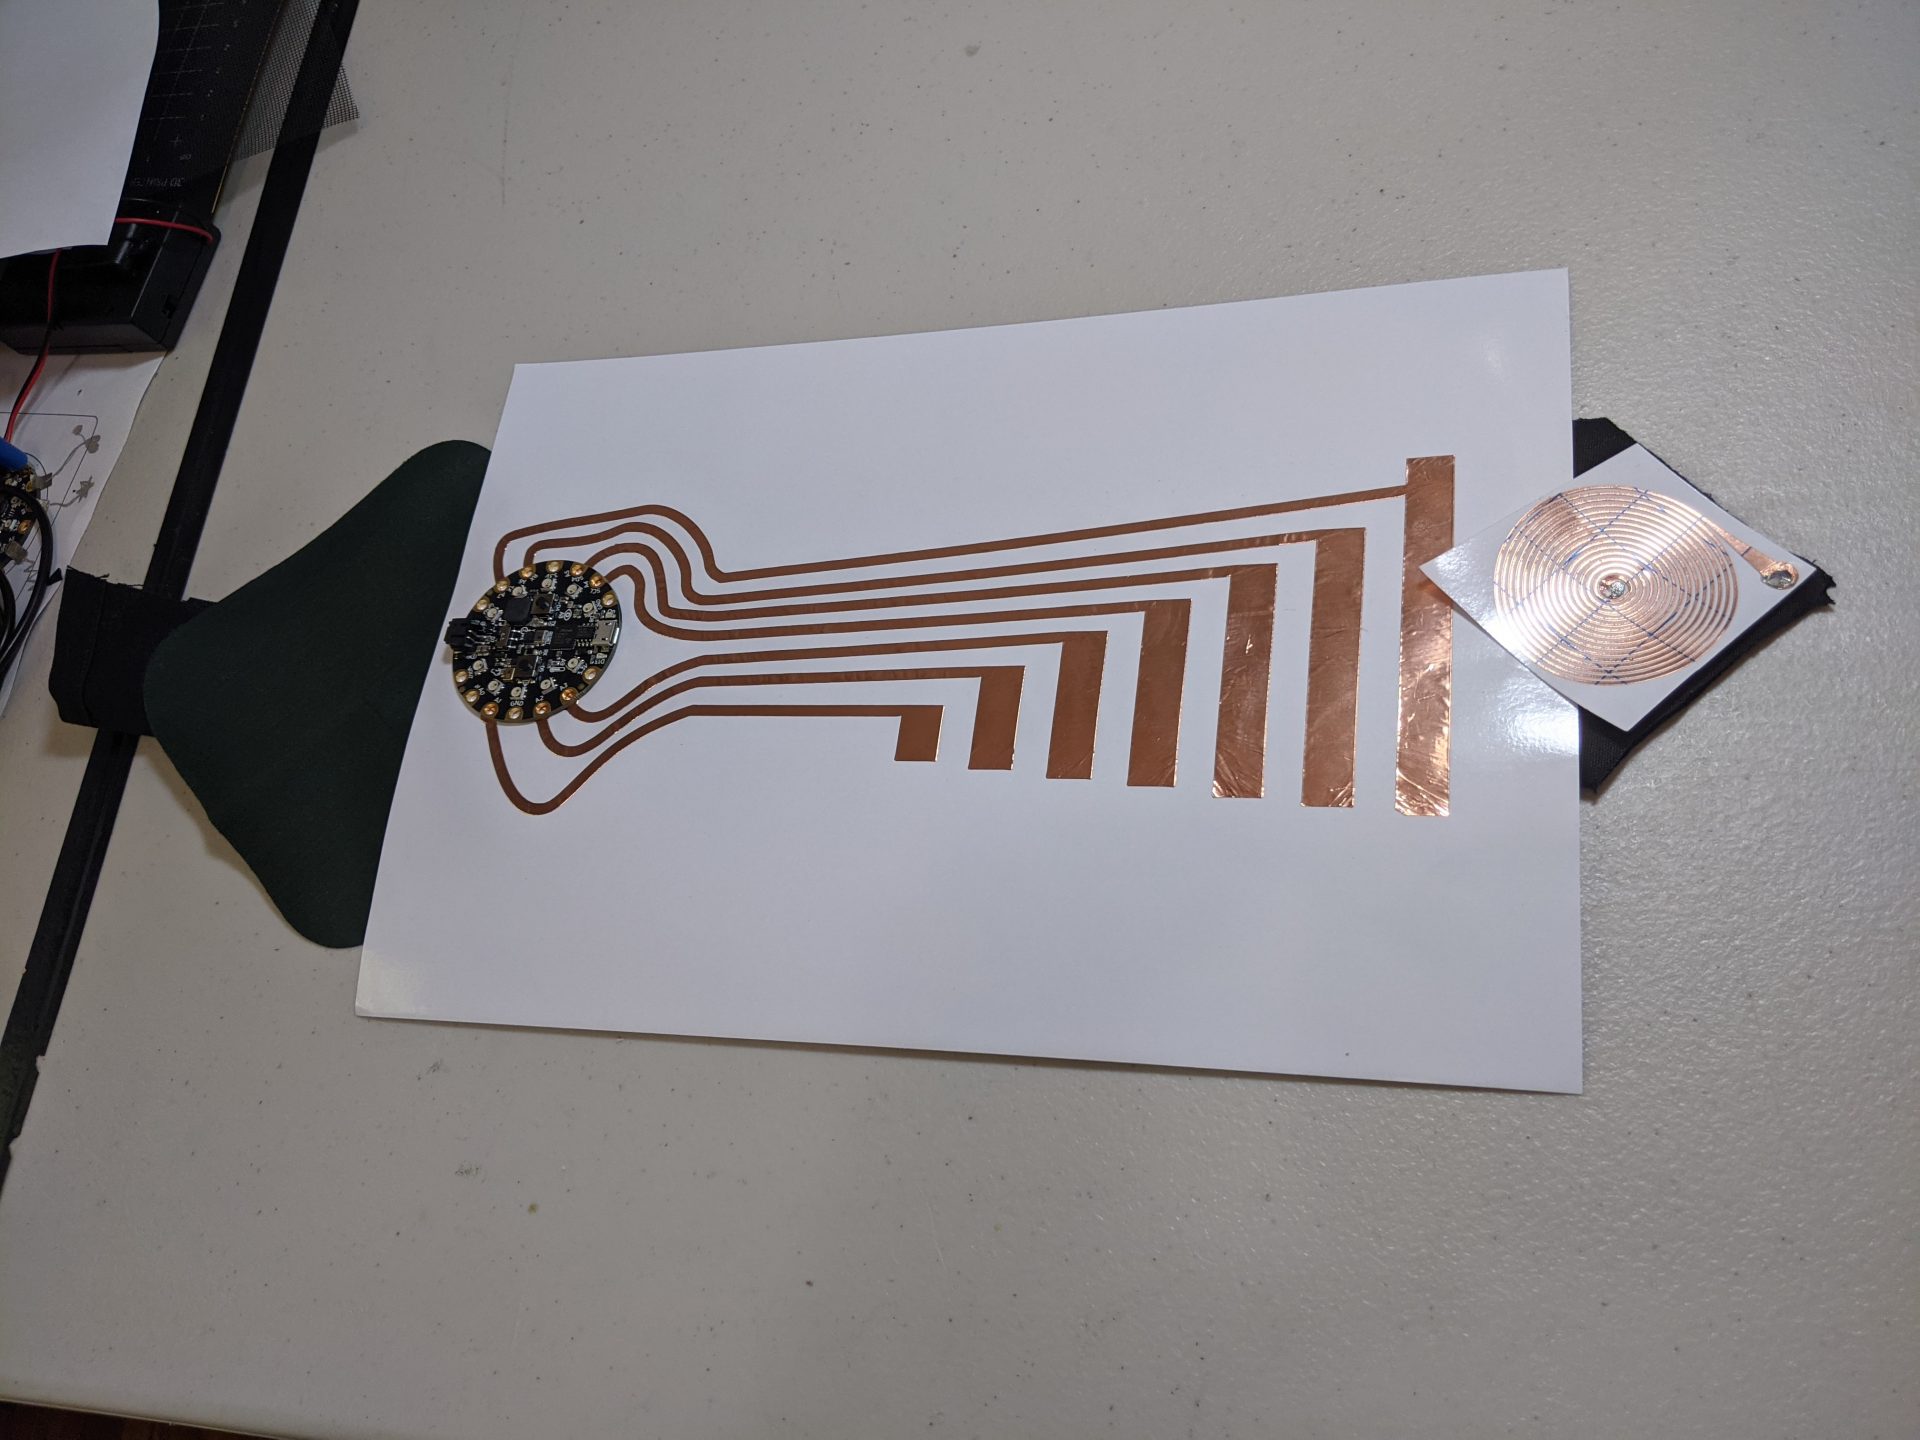
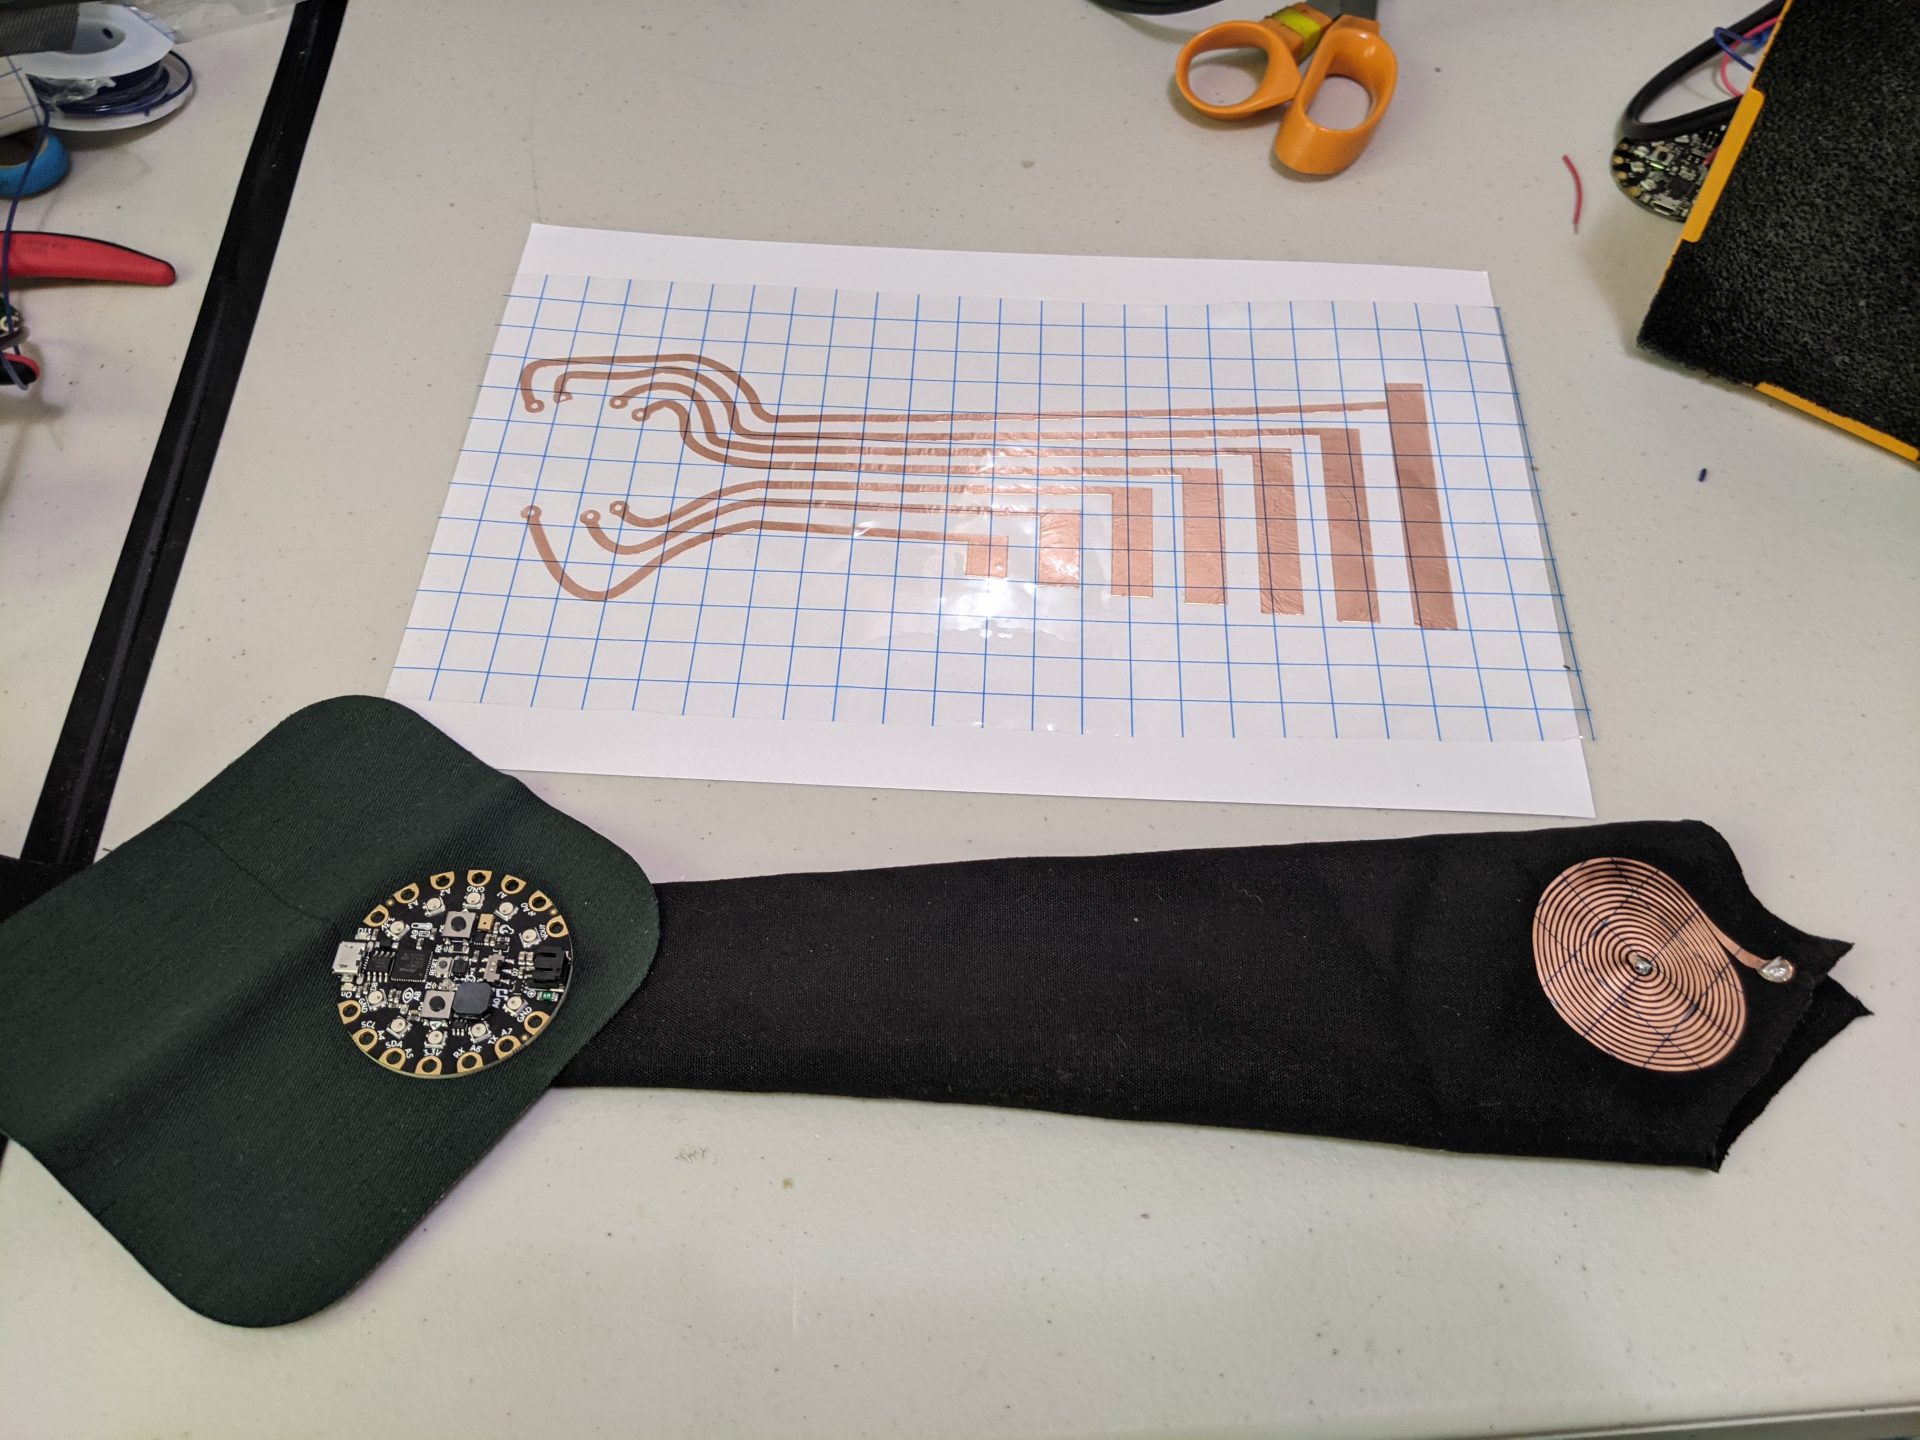
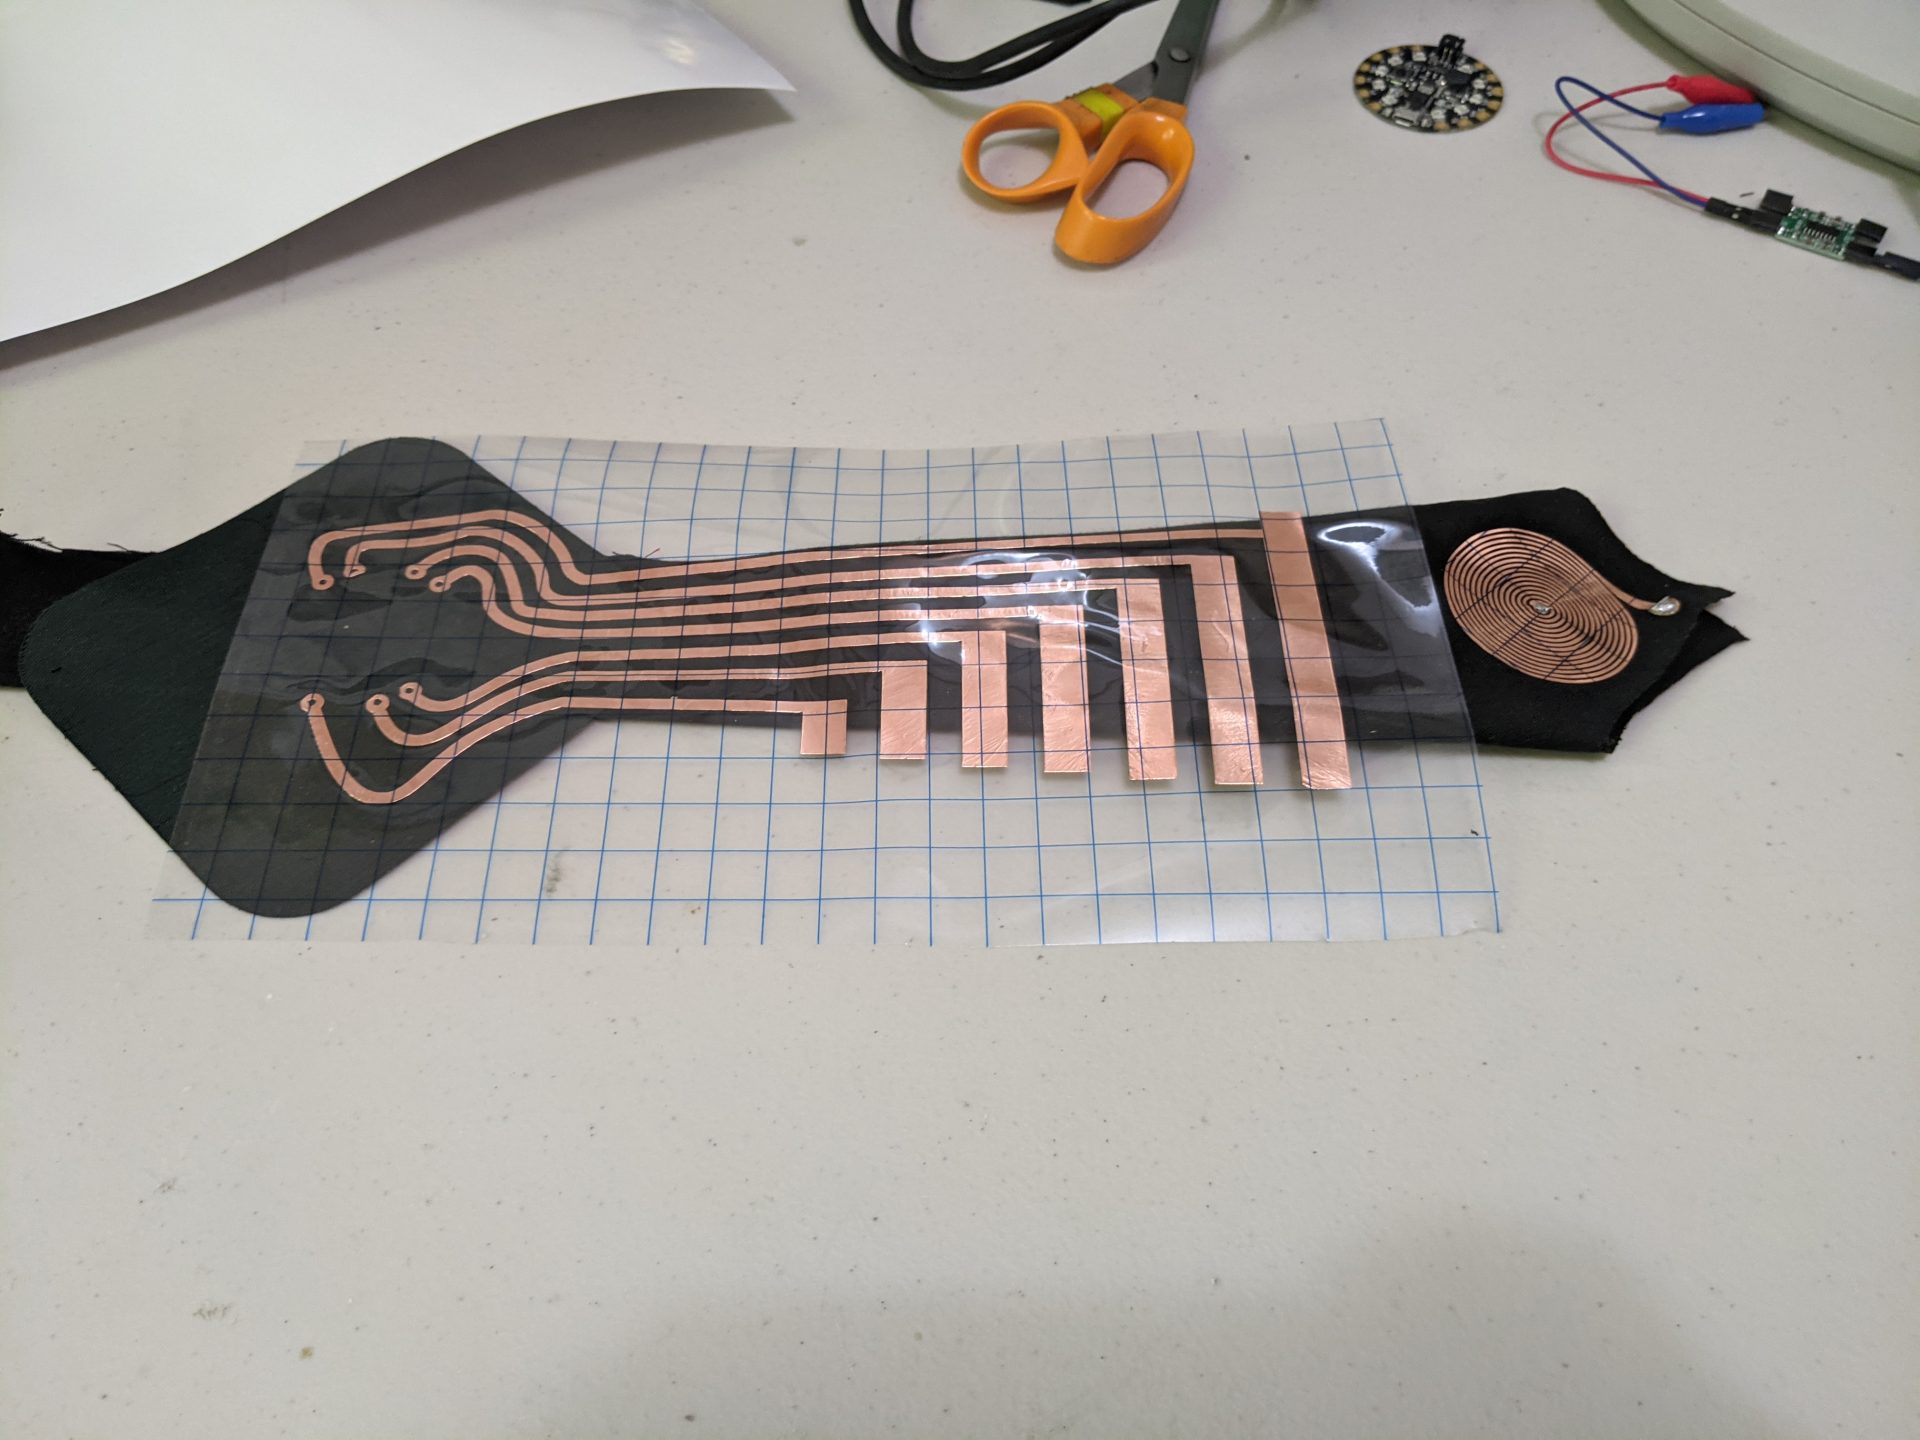
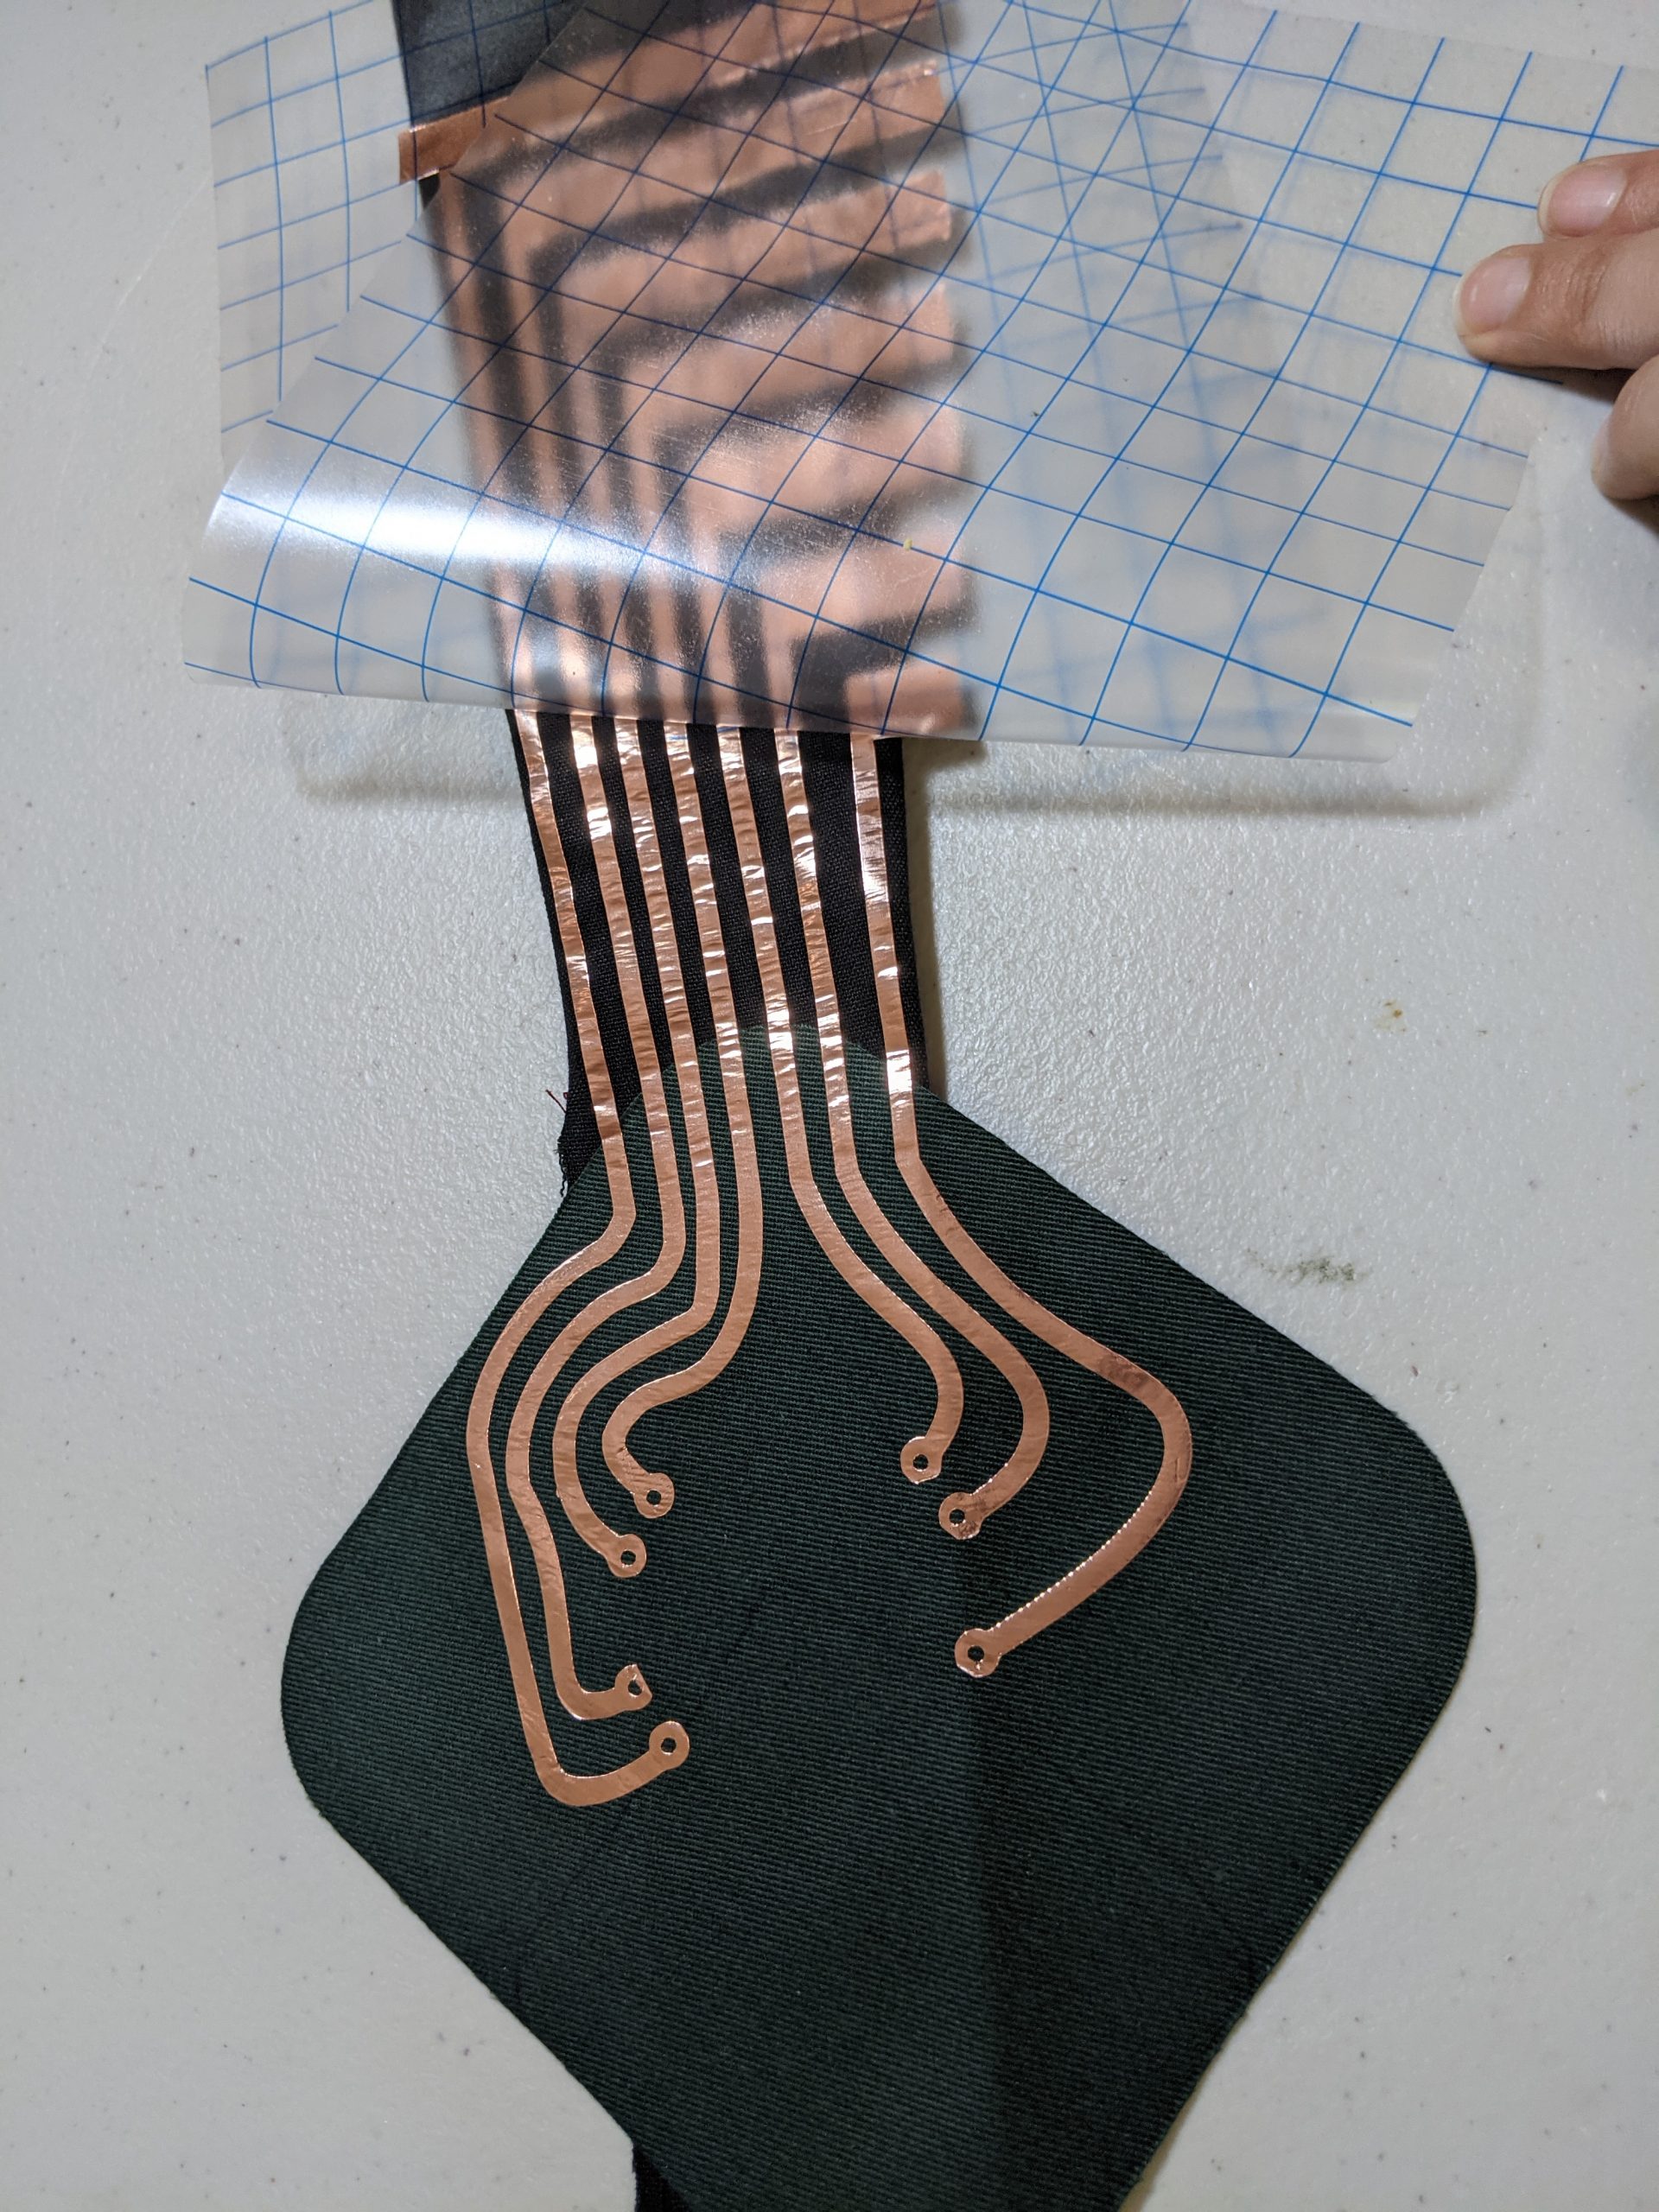
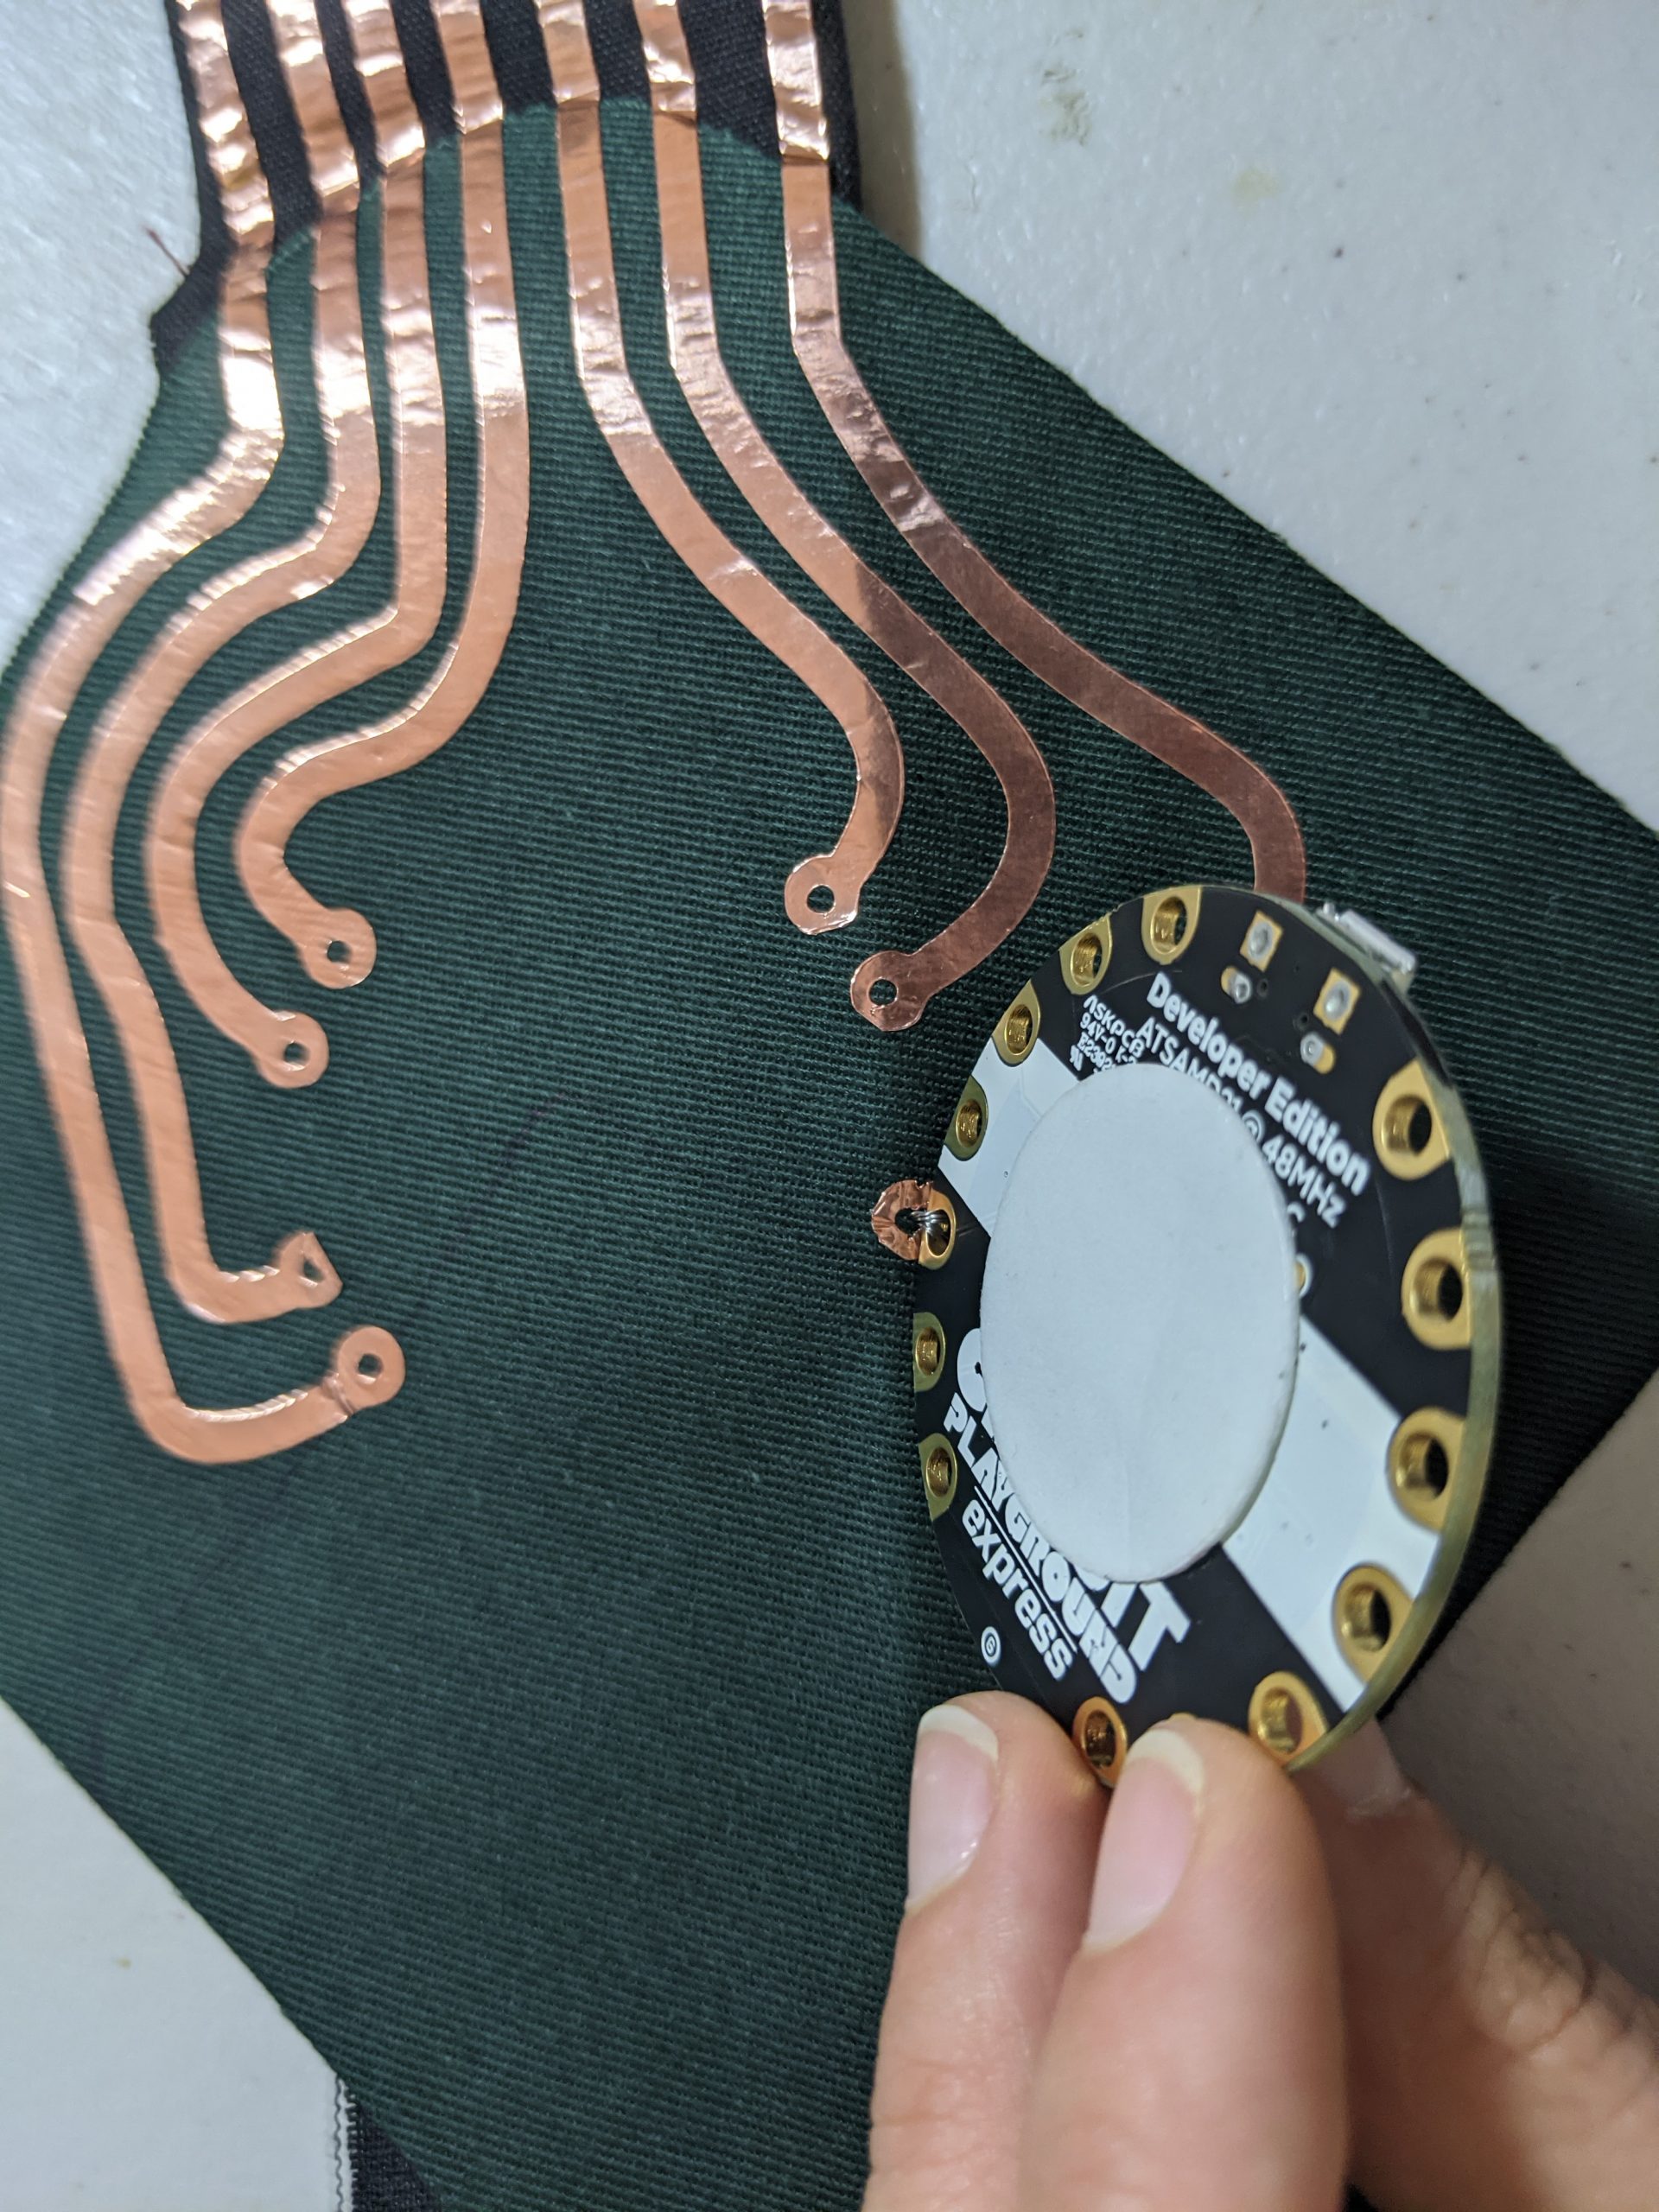
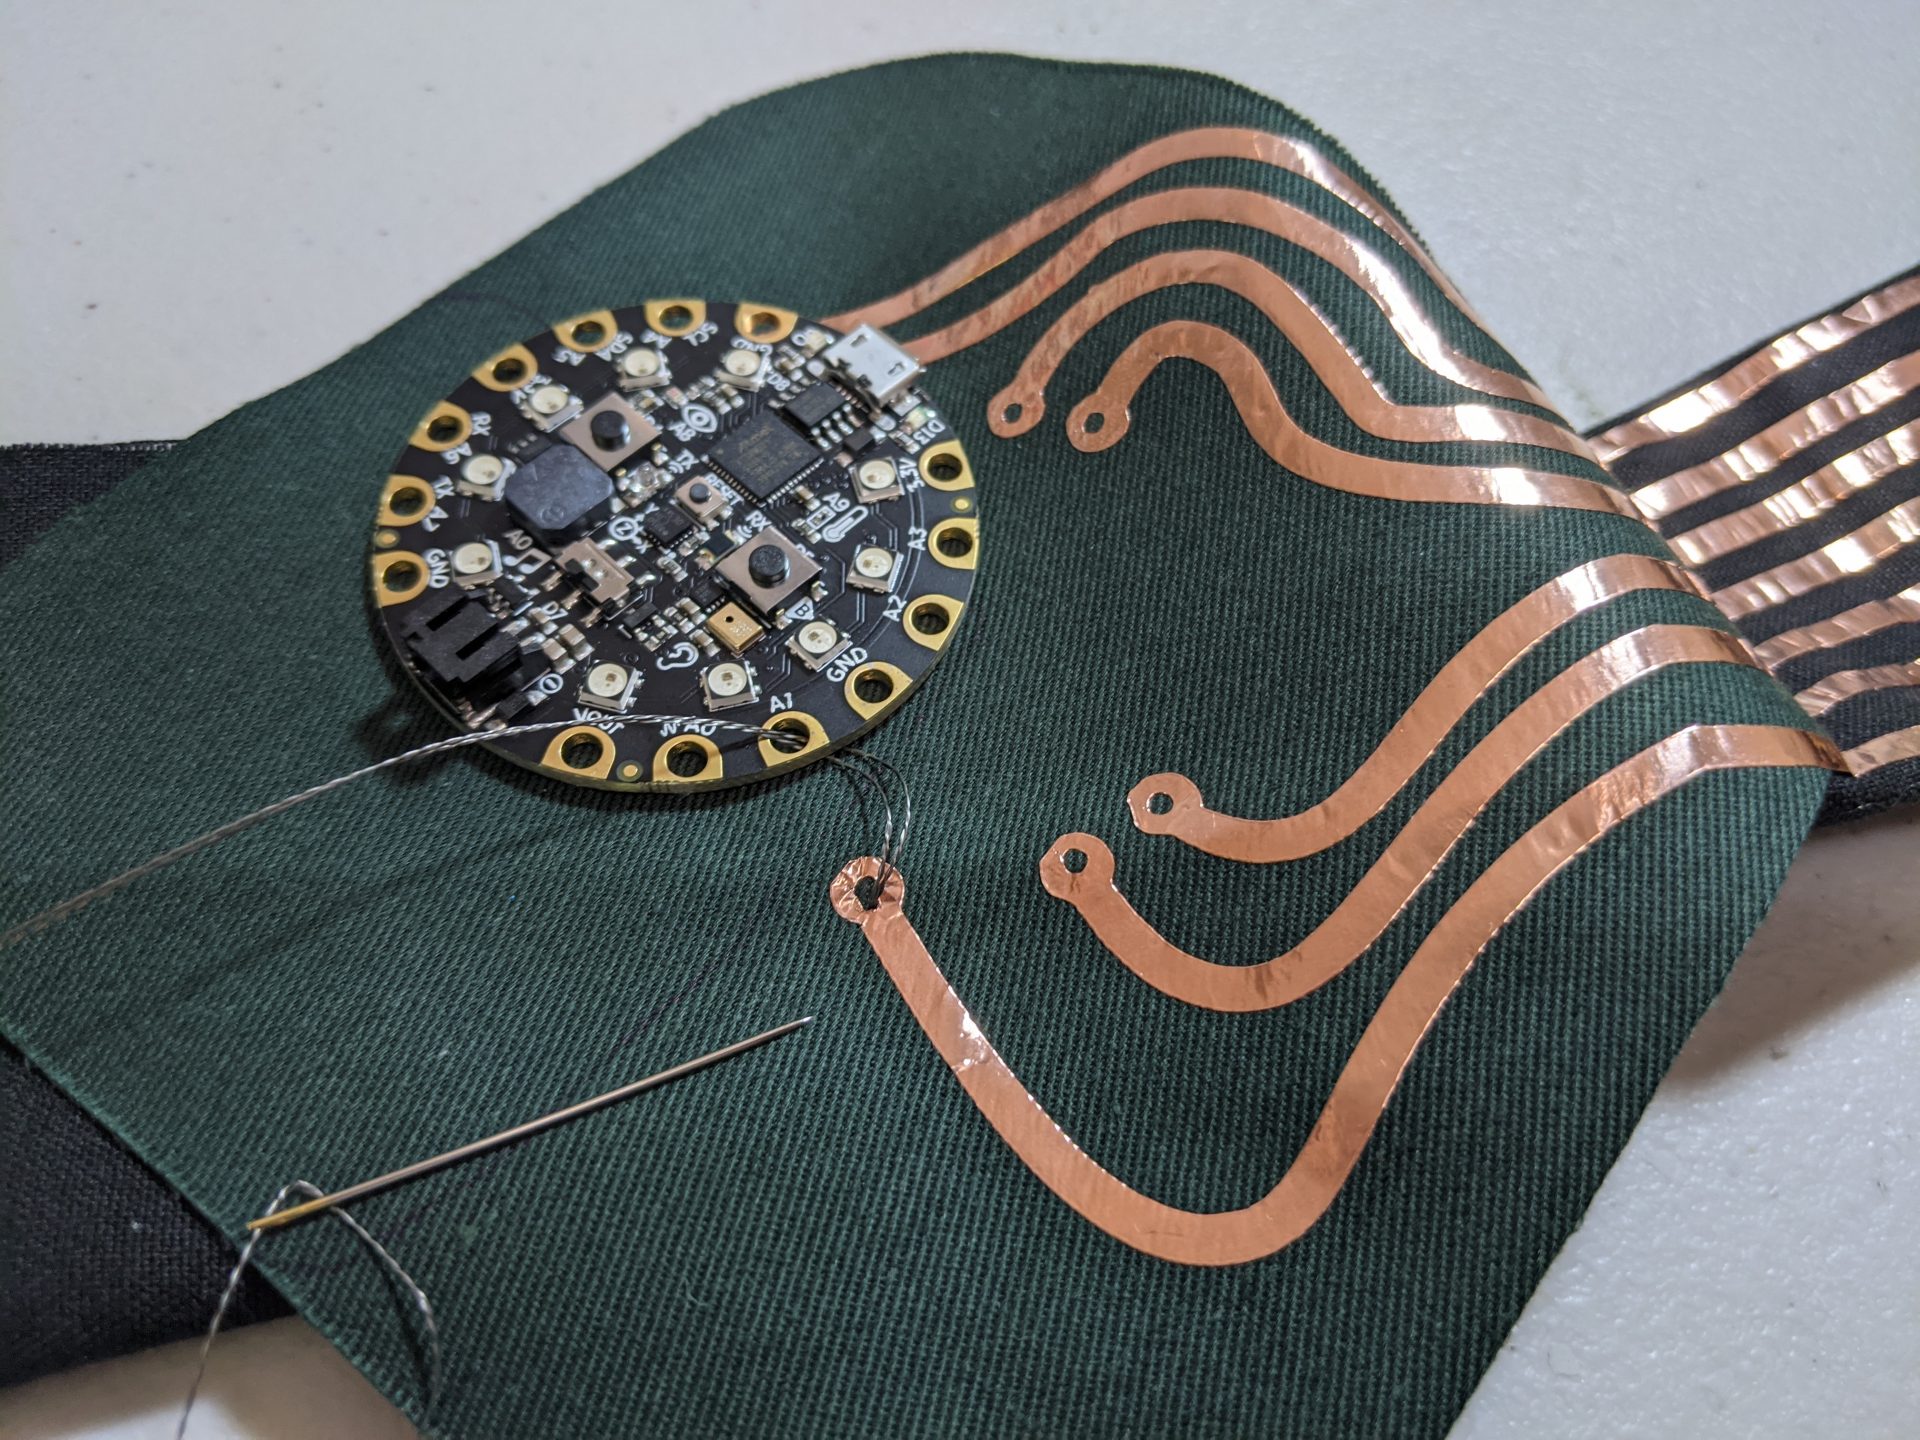
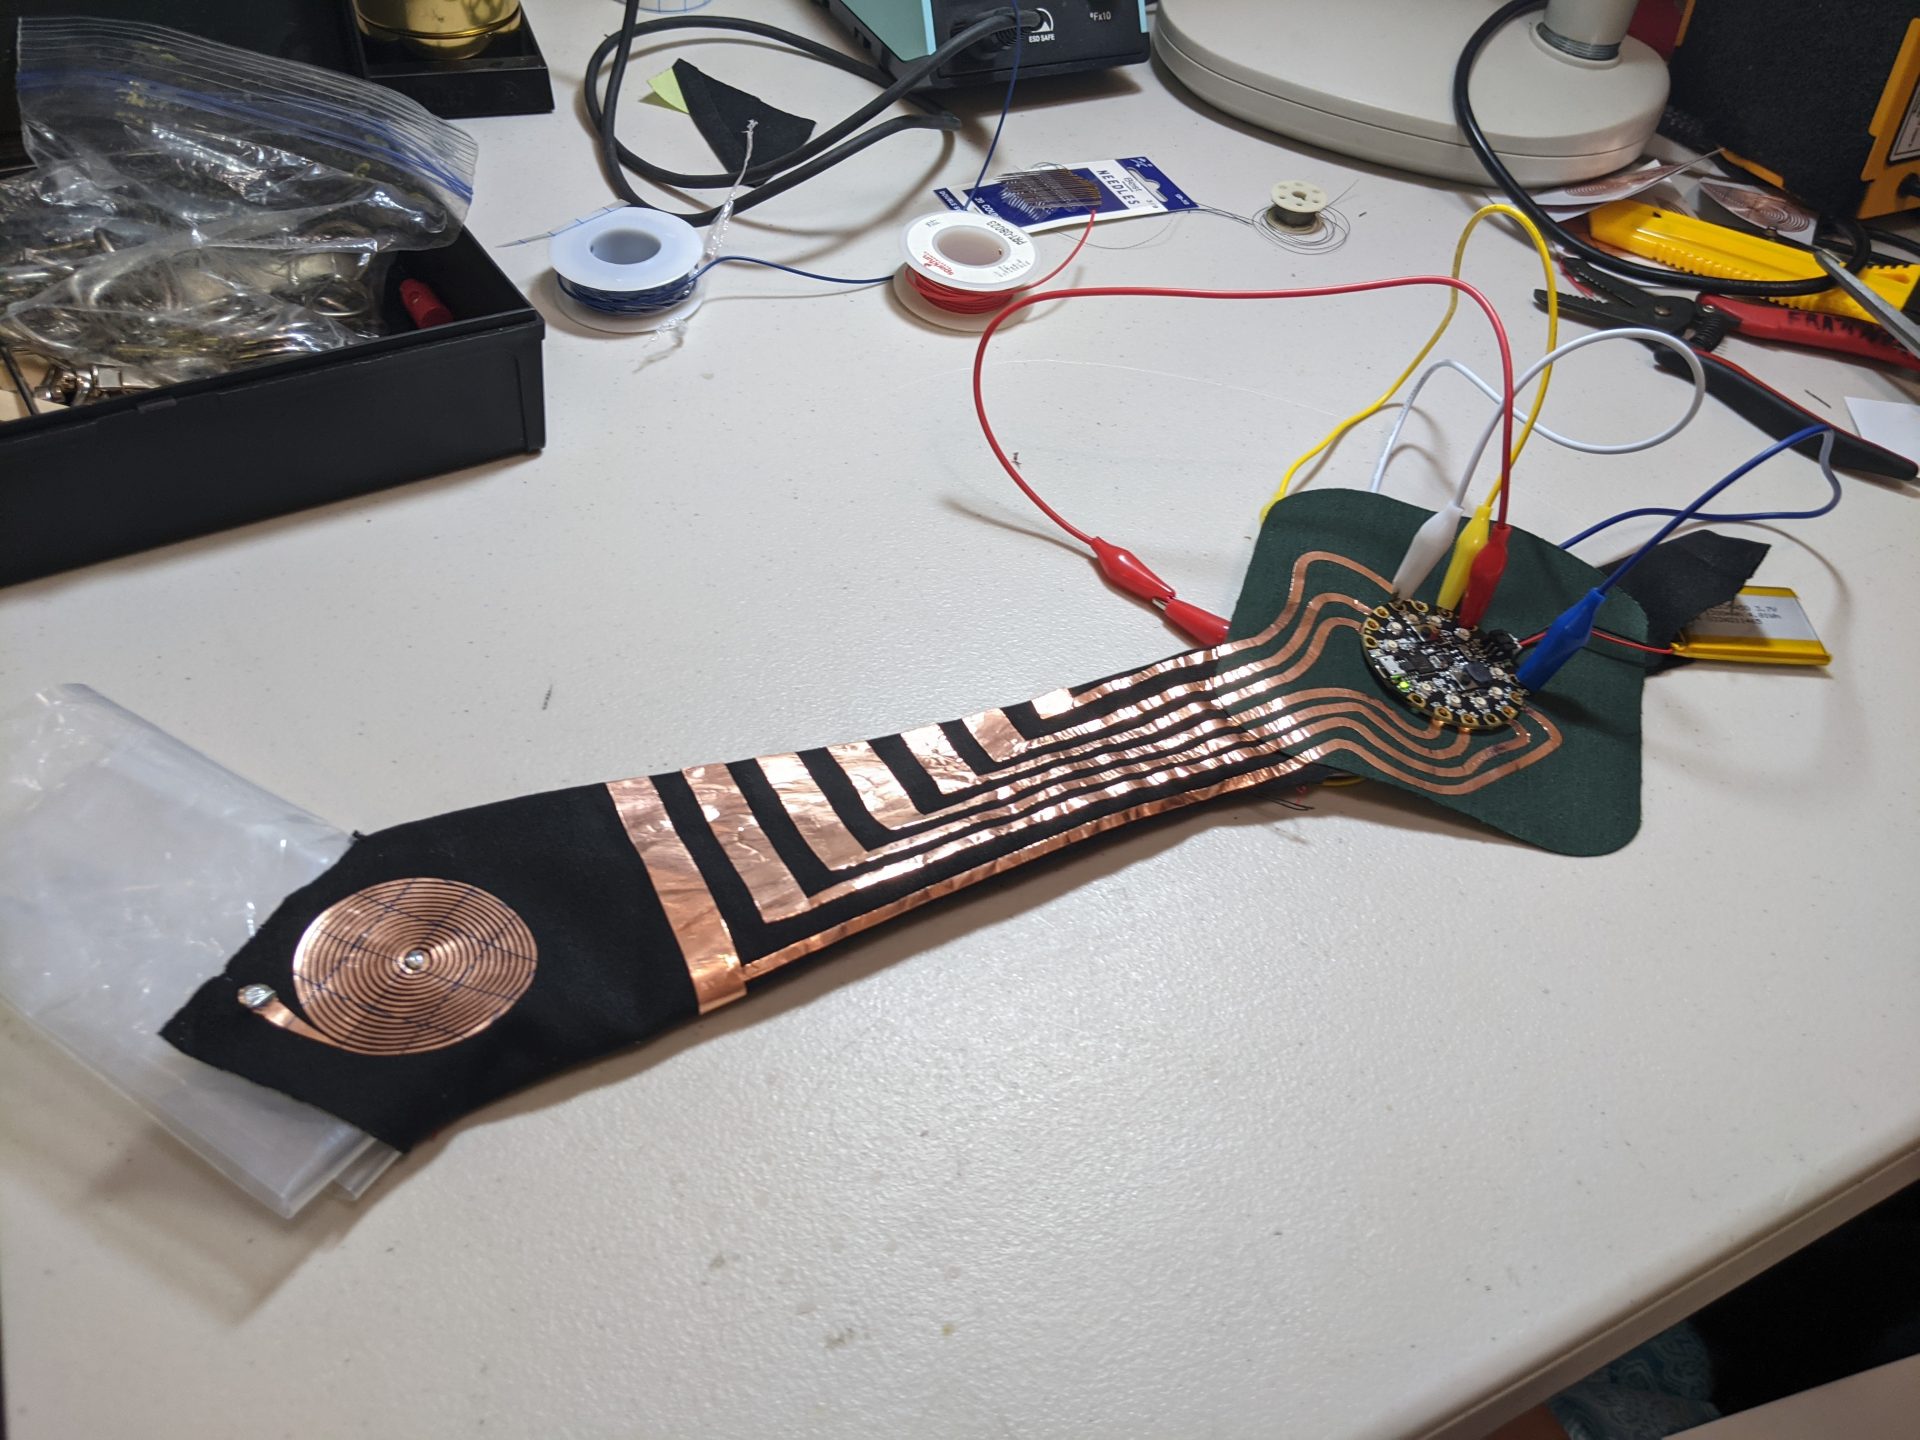
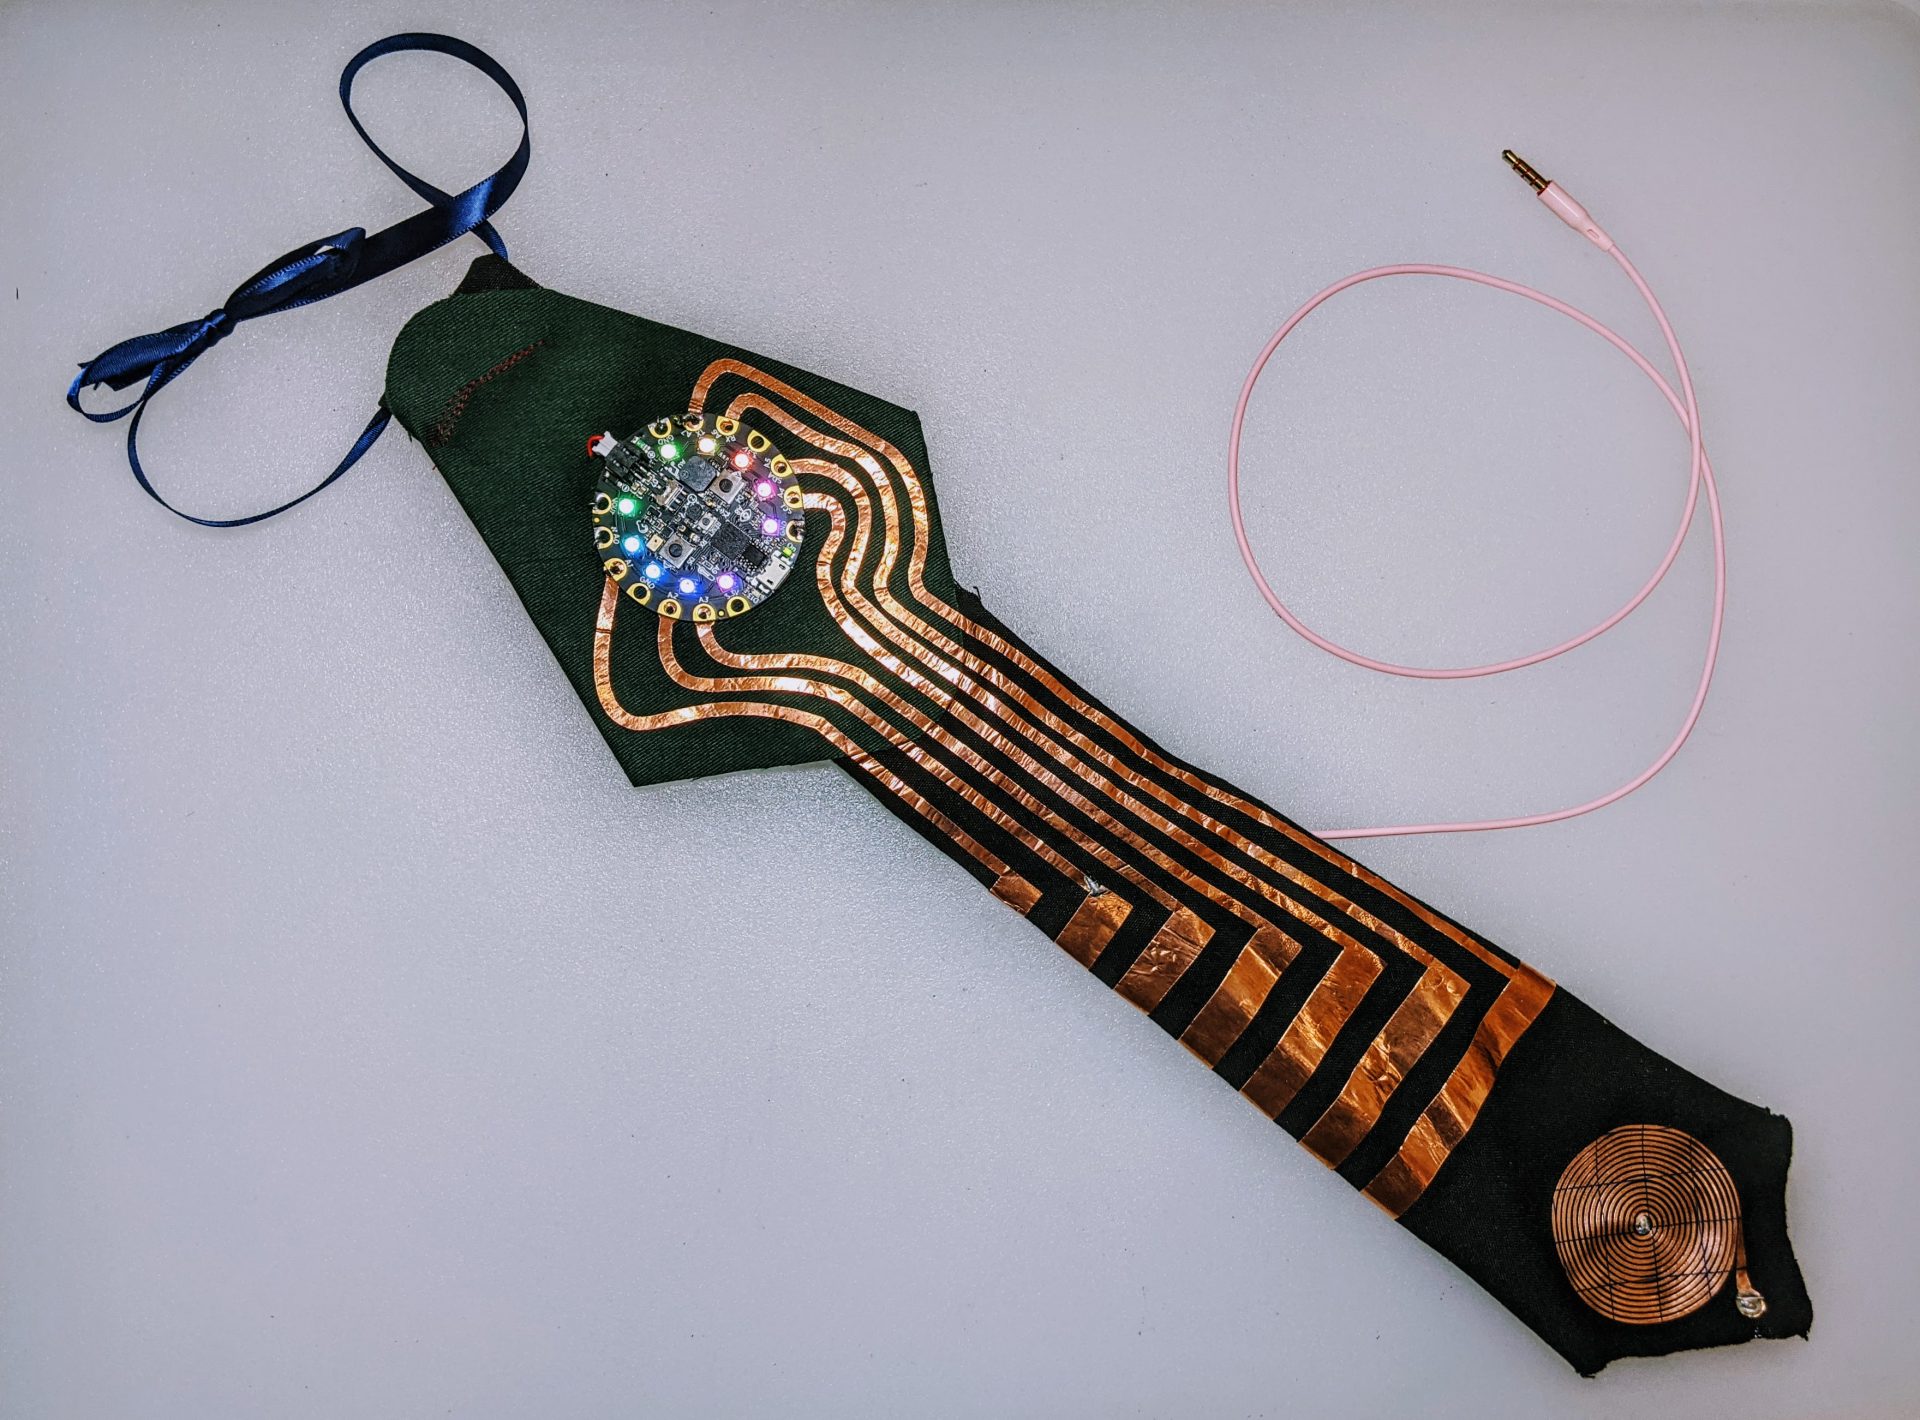
In the Summer of 2021, I led a workshop as part of CETI’s Enchanted Tech Festival, whose theme for the year was E-Textiles (wearable technology). Oriented towards beginners, my Capacitive Touch Keyboard workshop introduced some basic micro-controller programming along with how to built a playable capacitive-touch circuit, for integration into participants’ costumes/clothing.
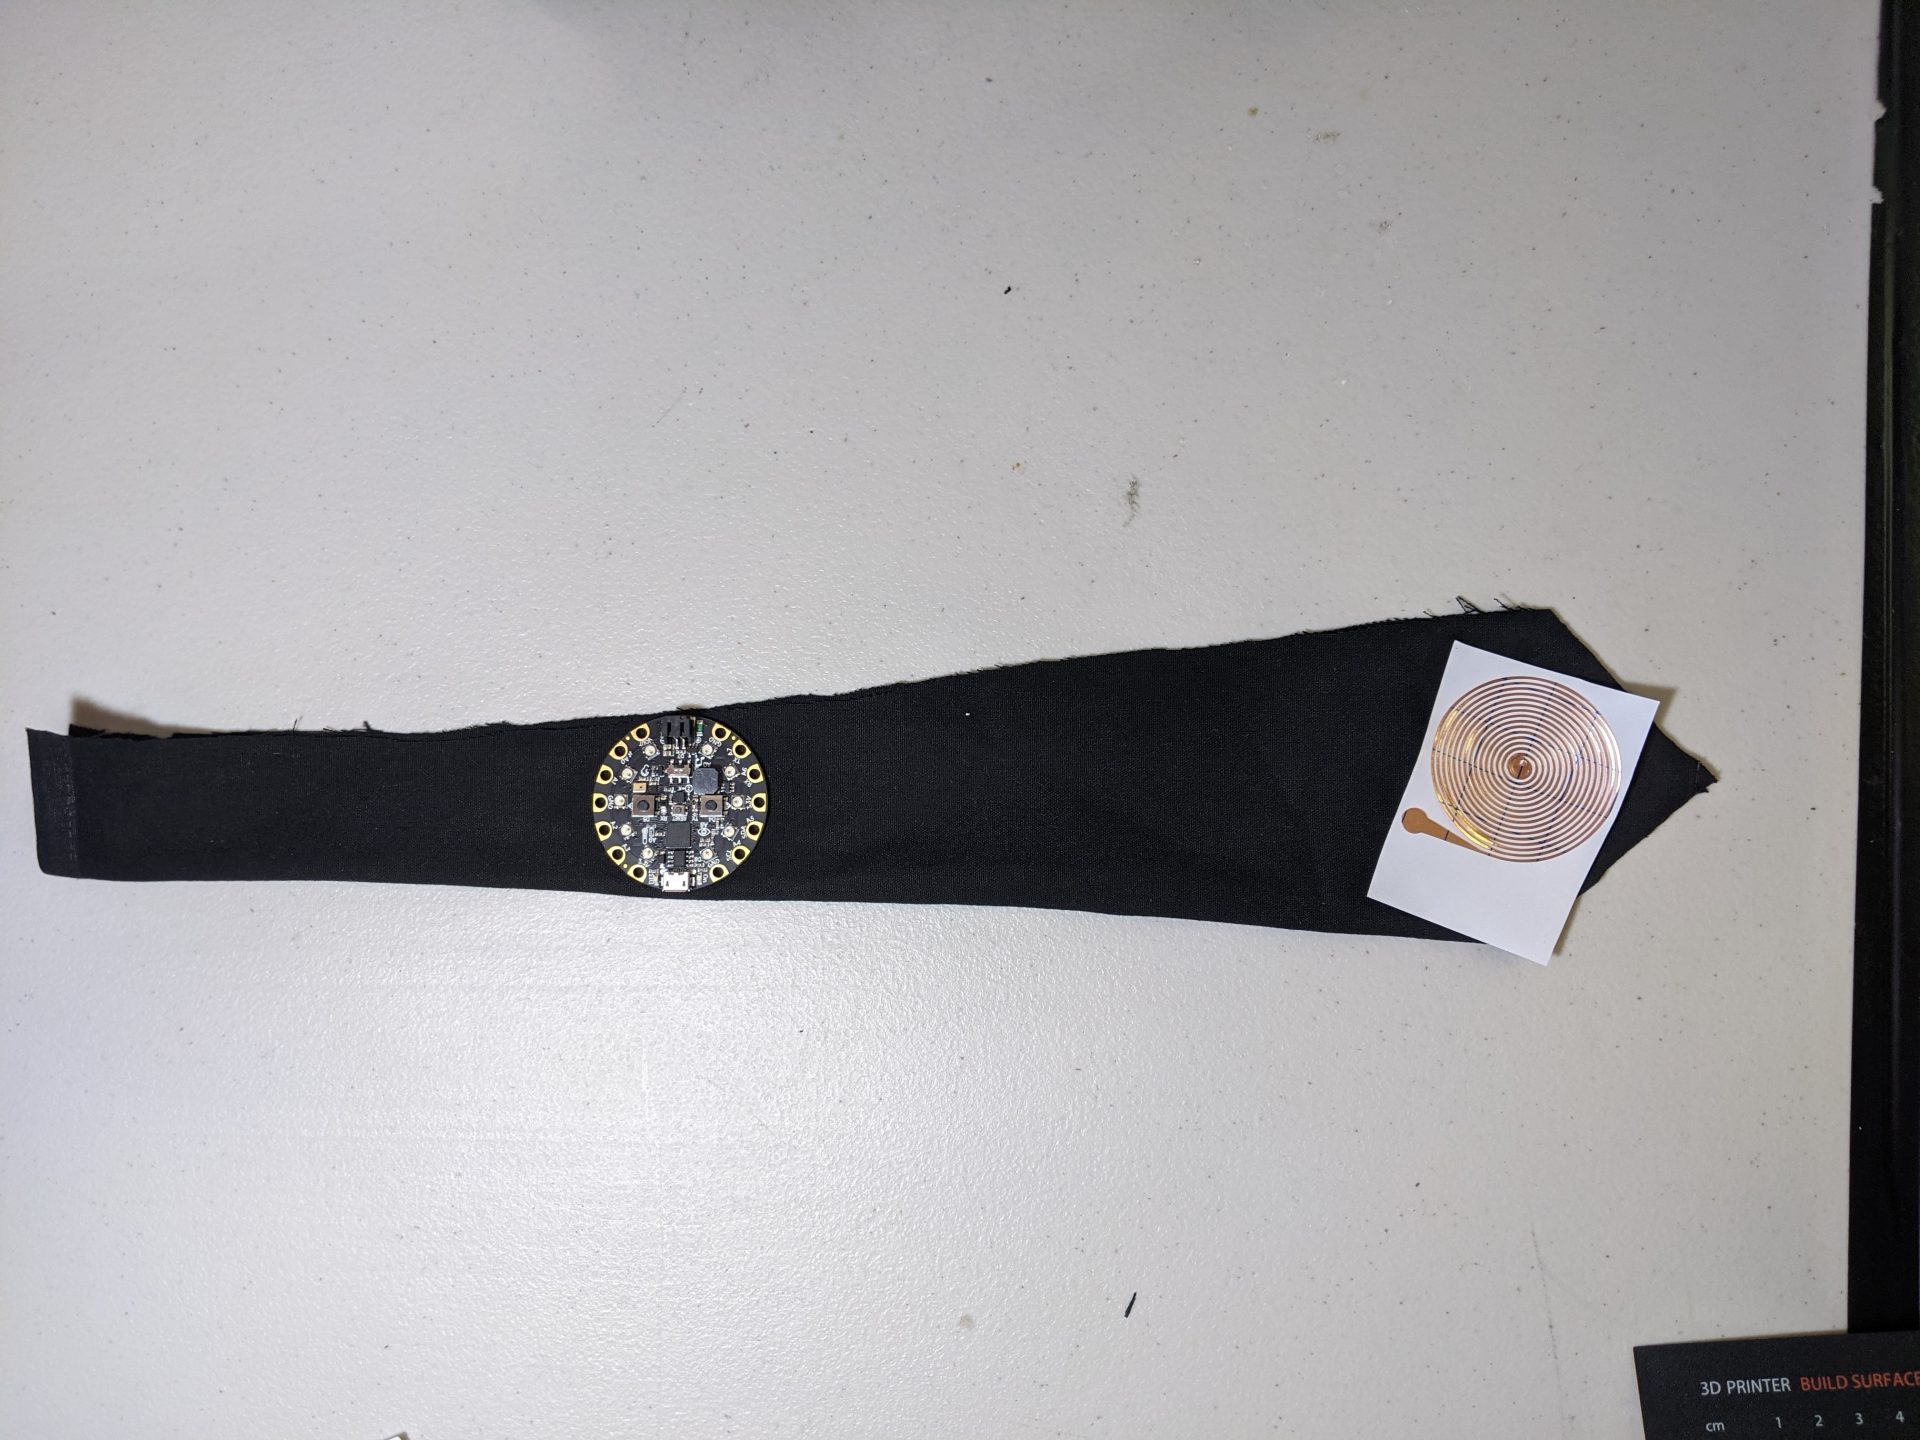
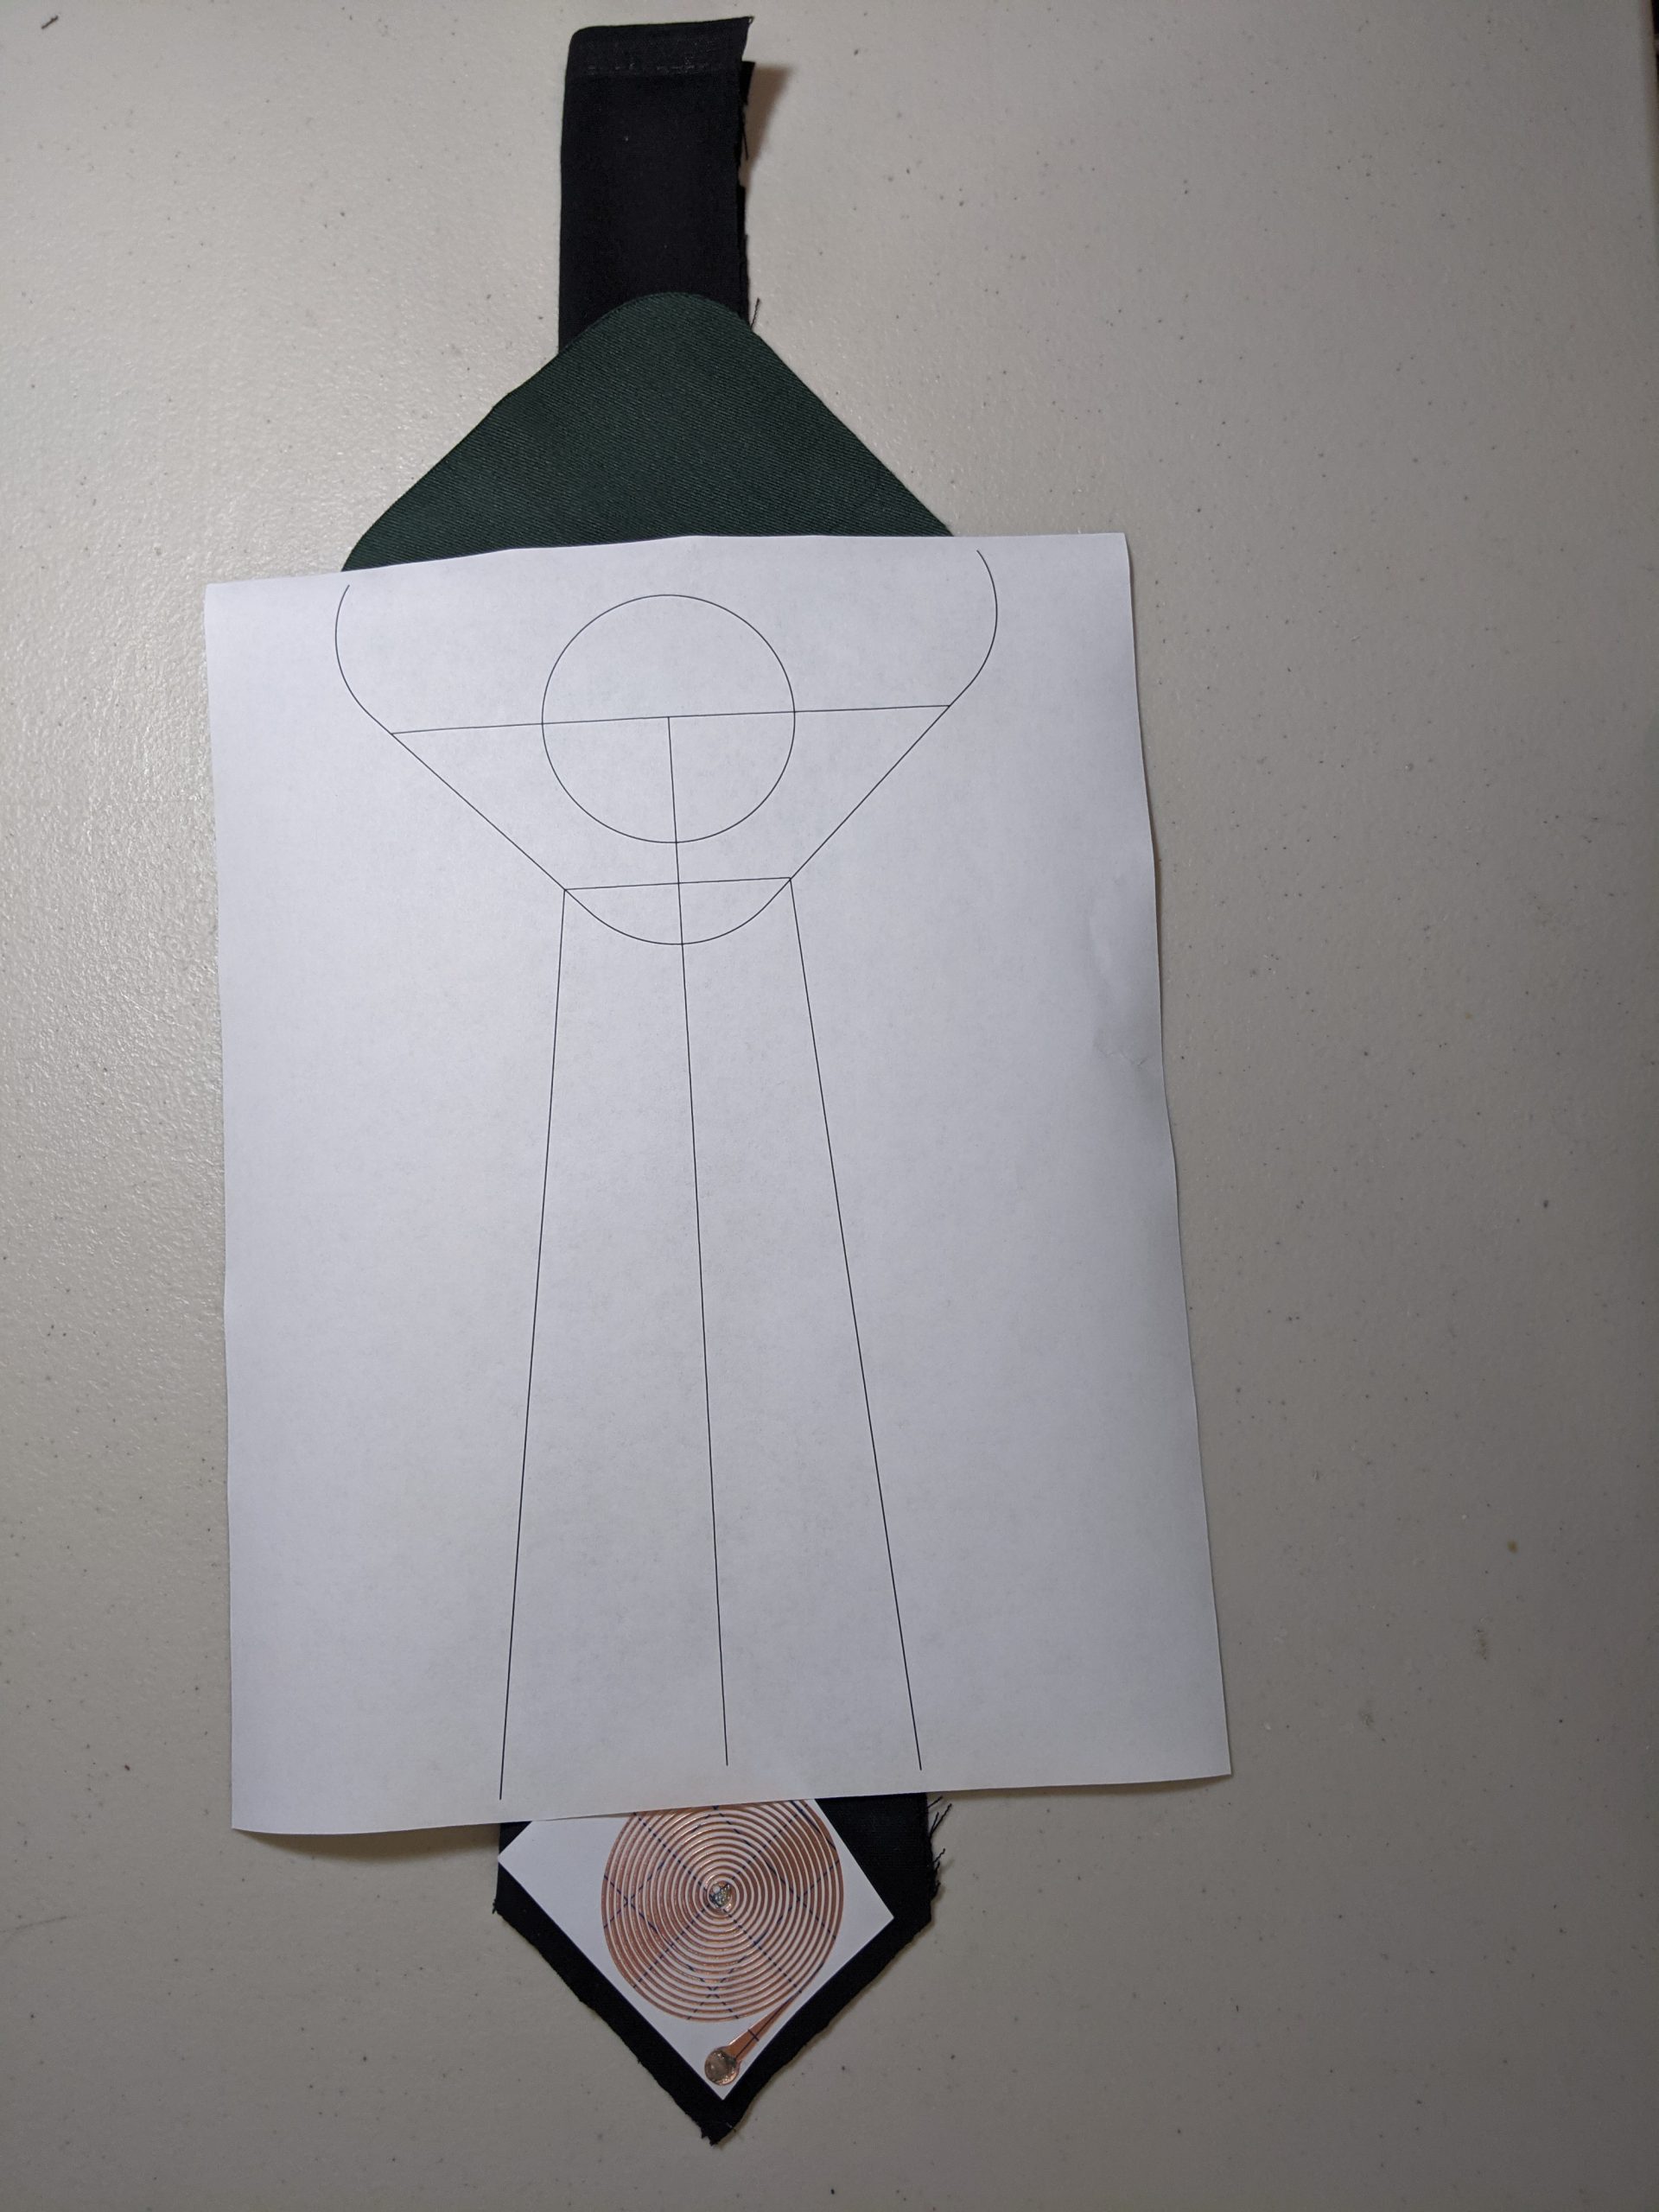
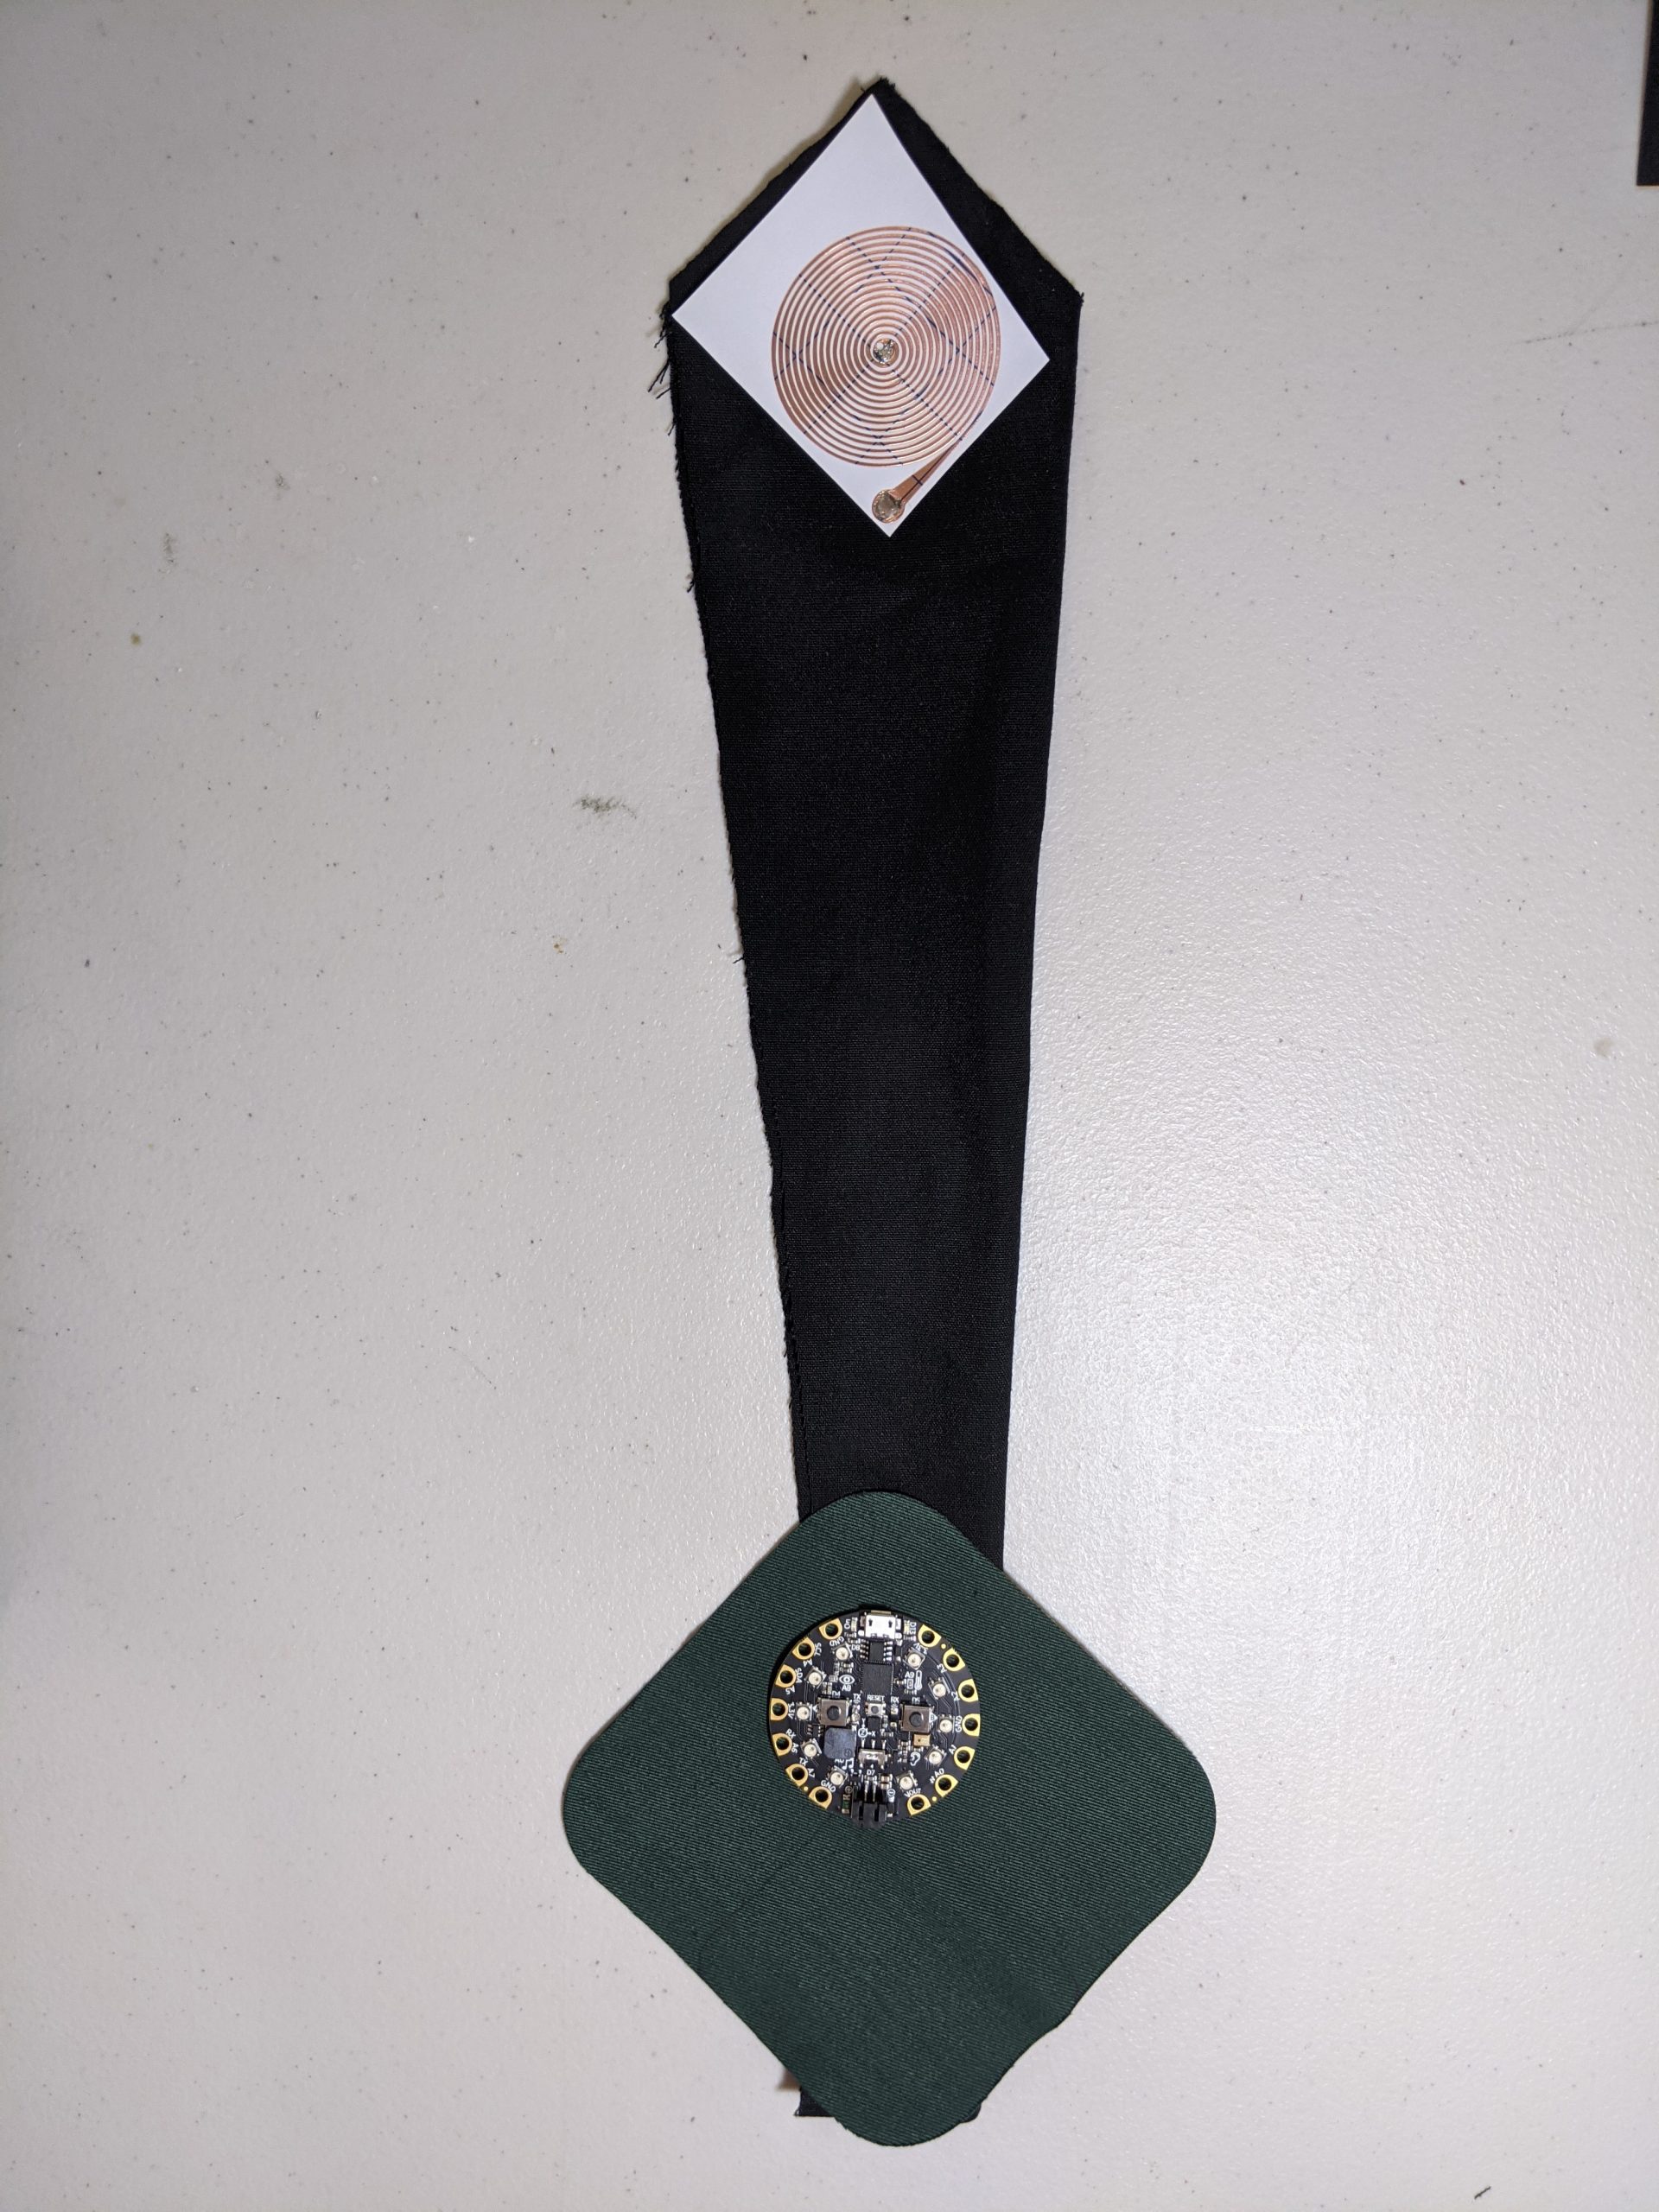
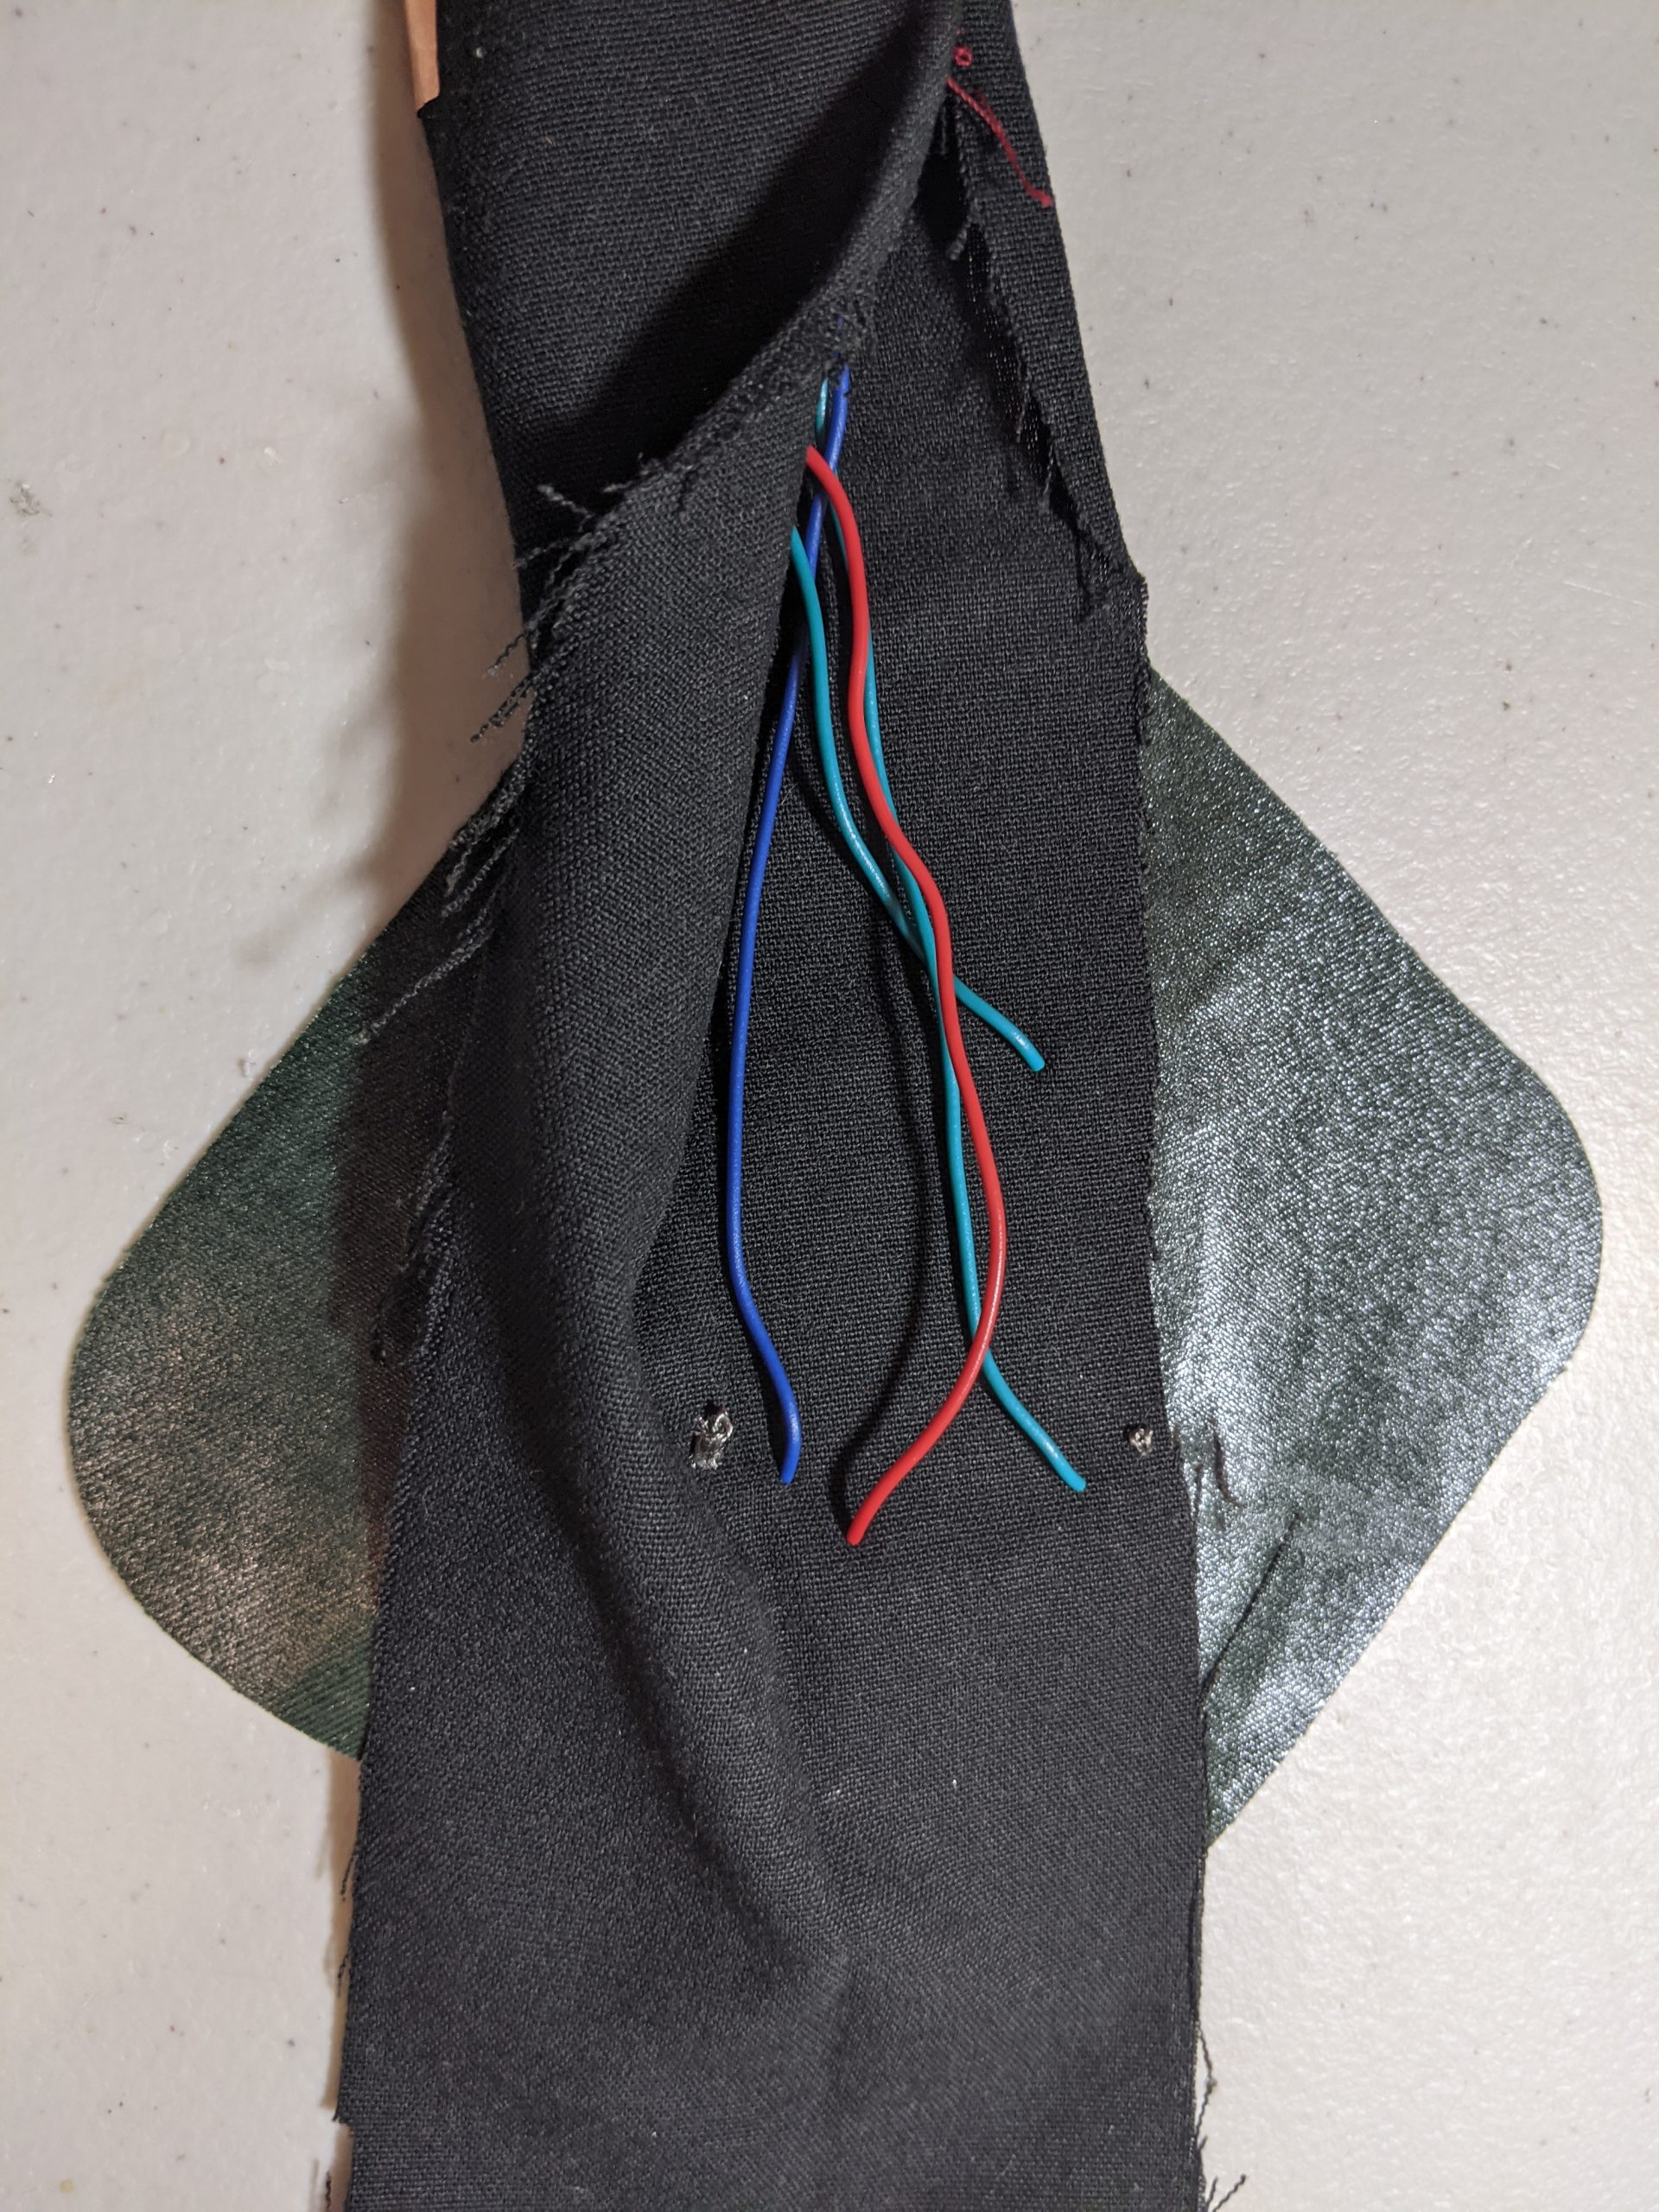
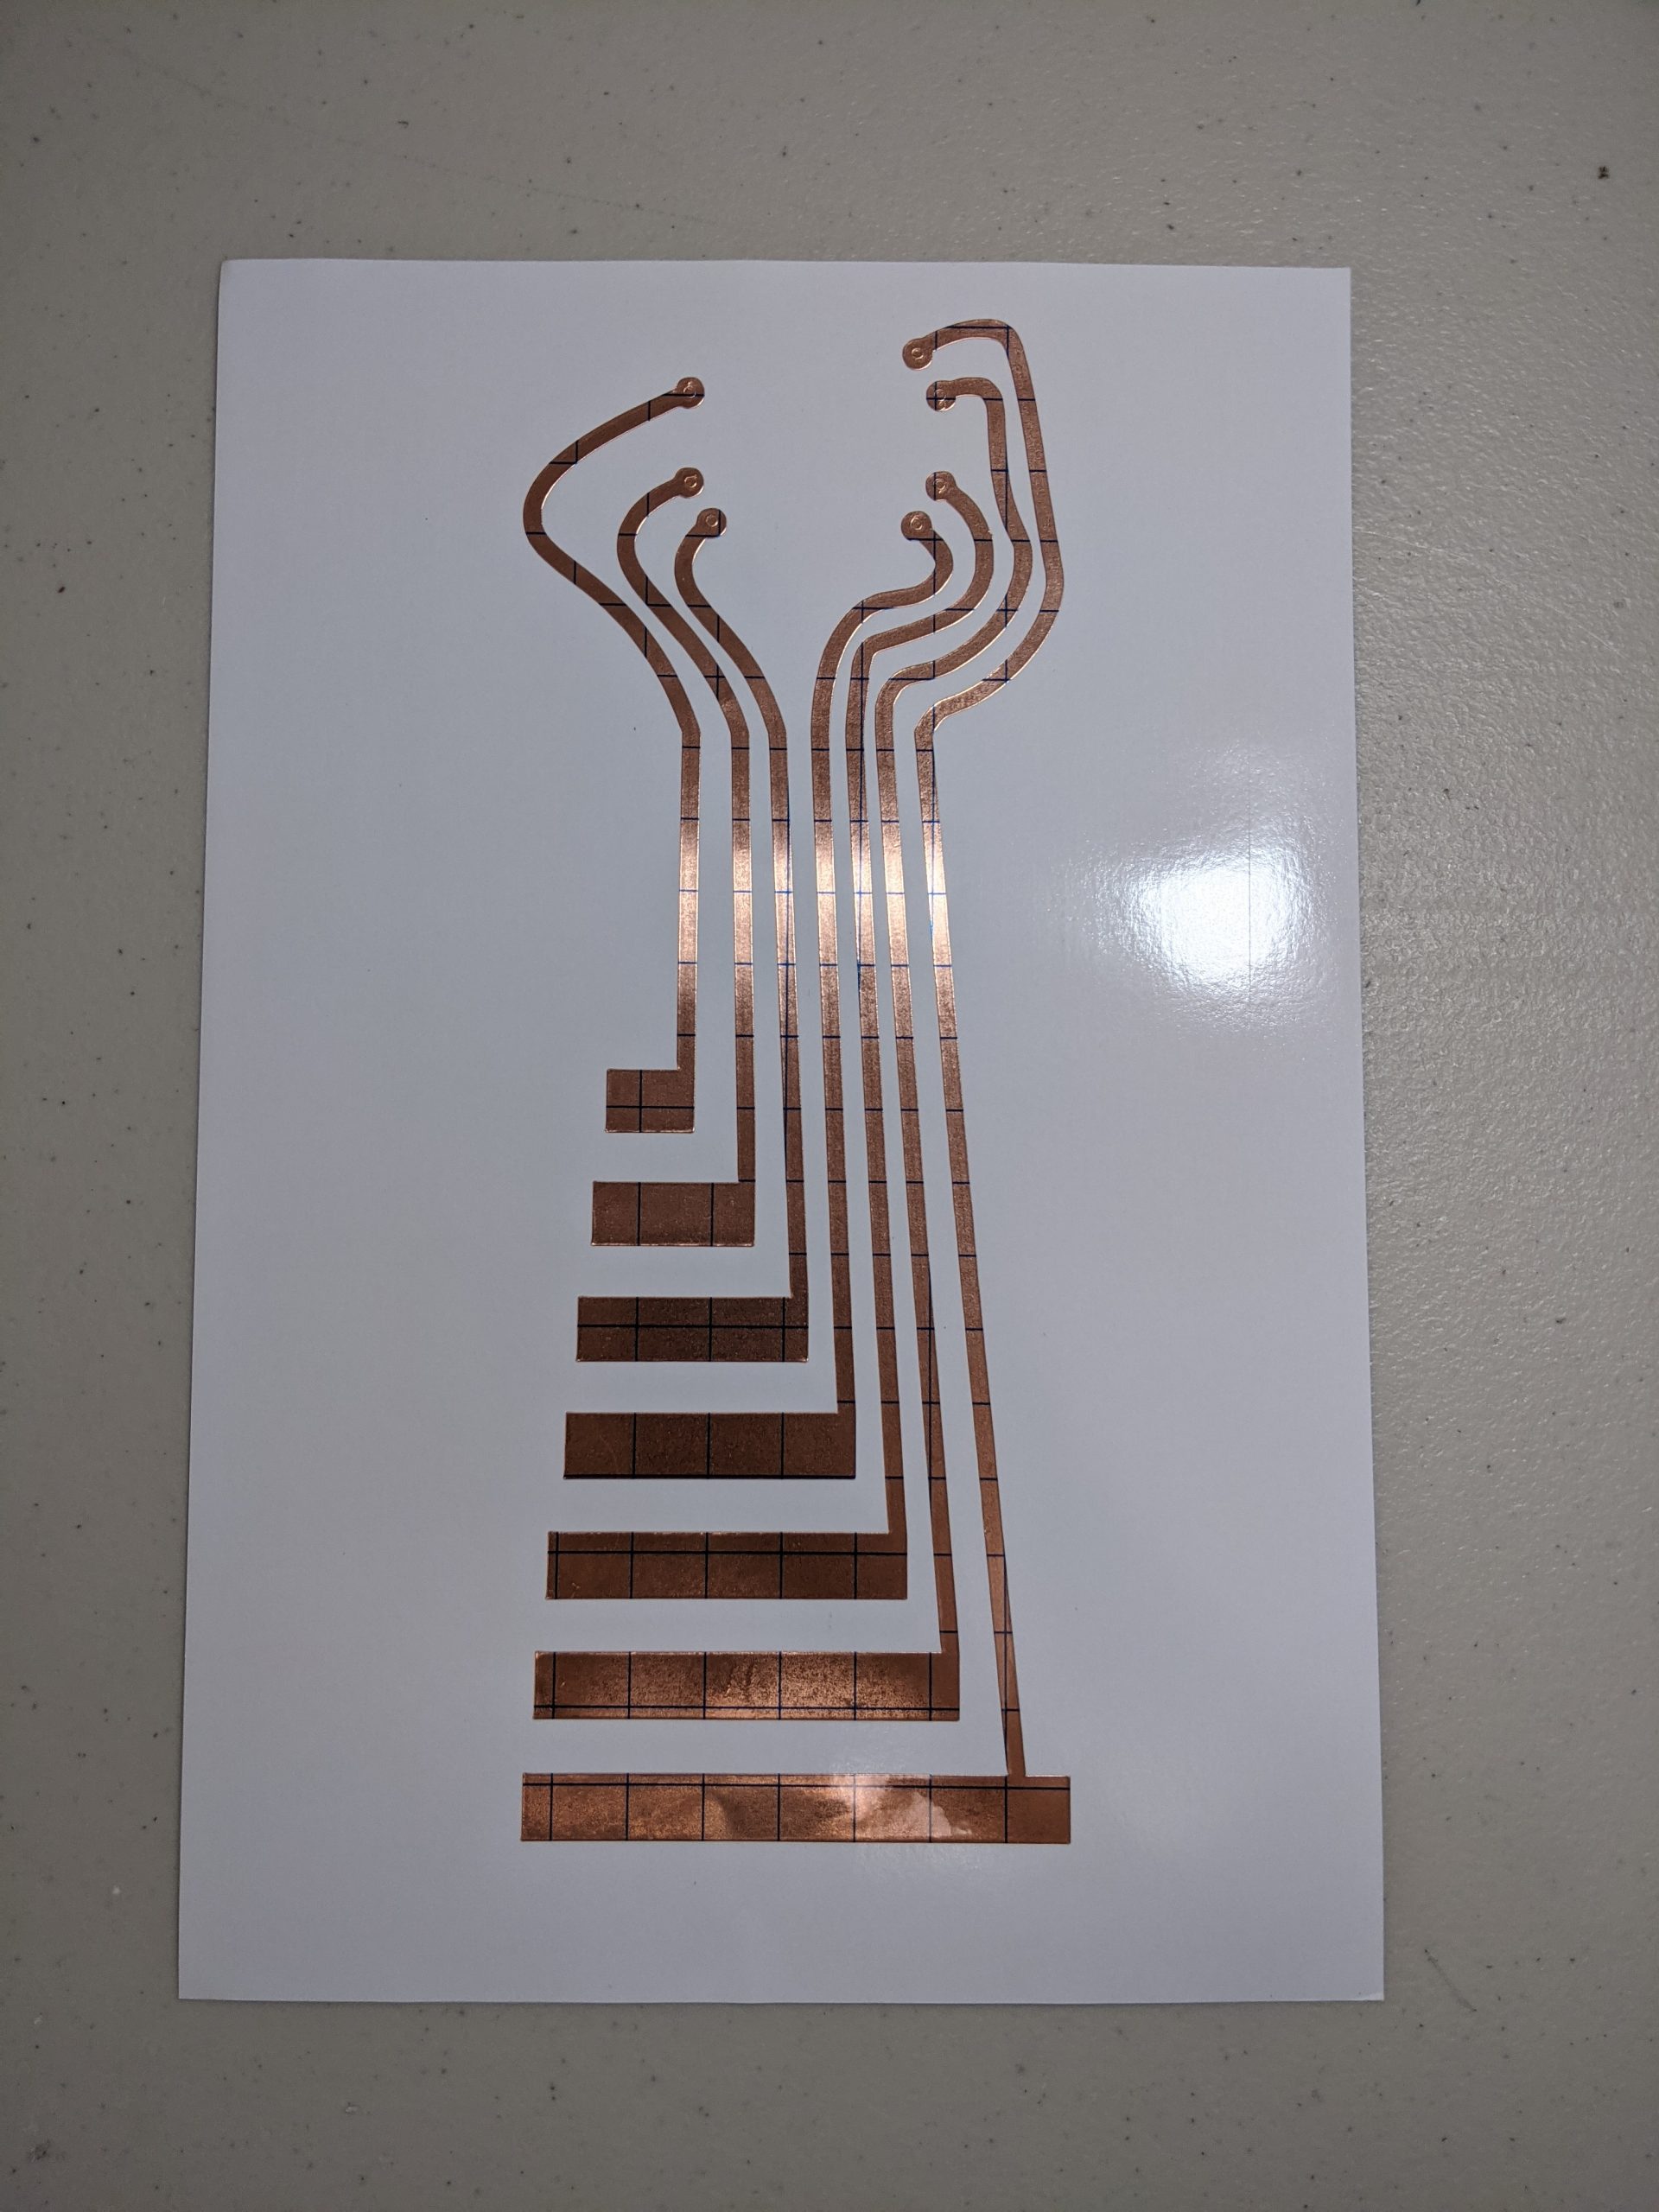
As a demo project, I chose to build a piano-key necktie that you could actually play!
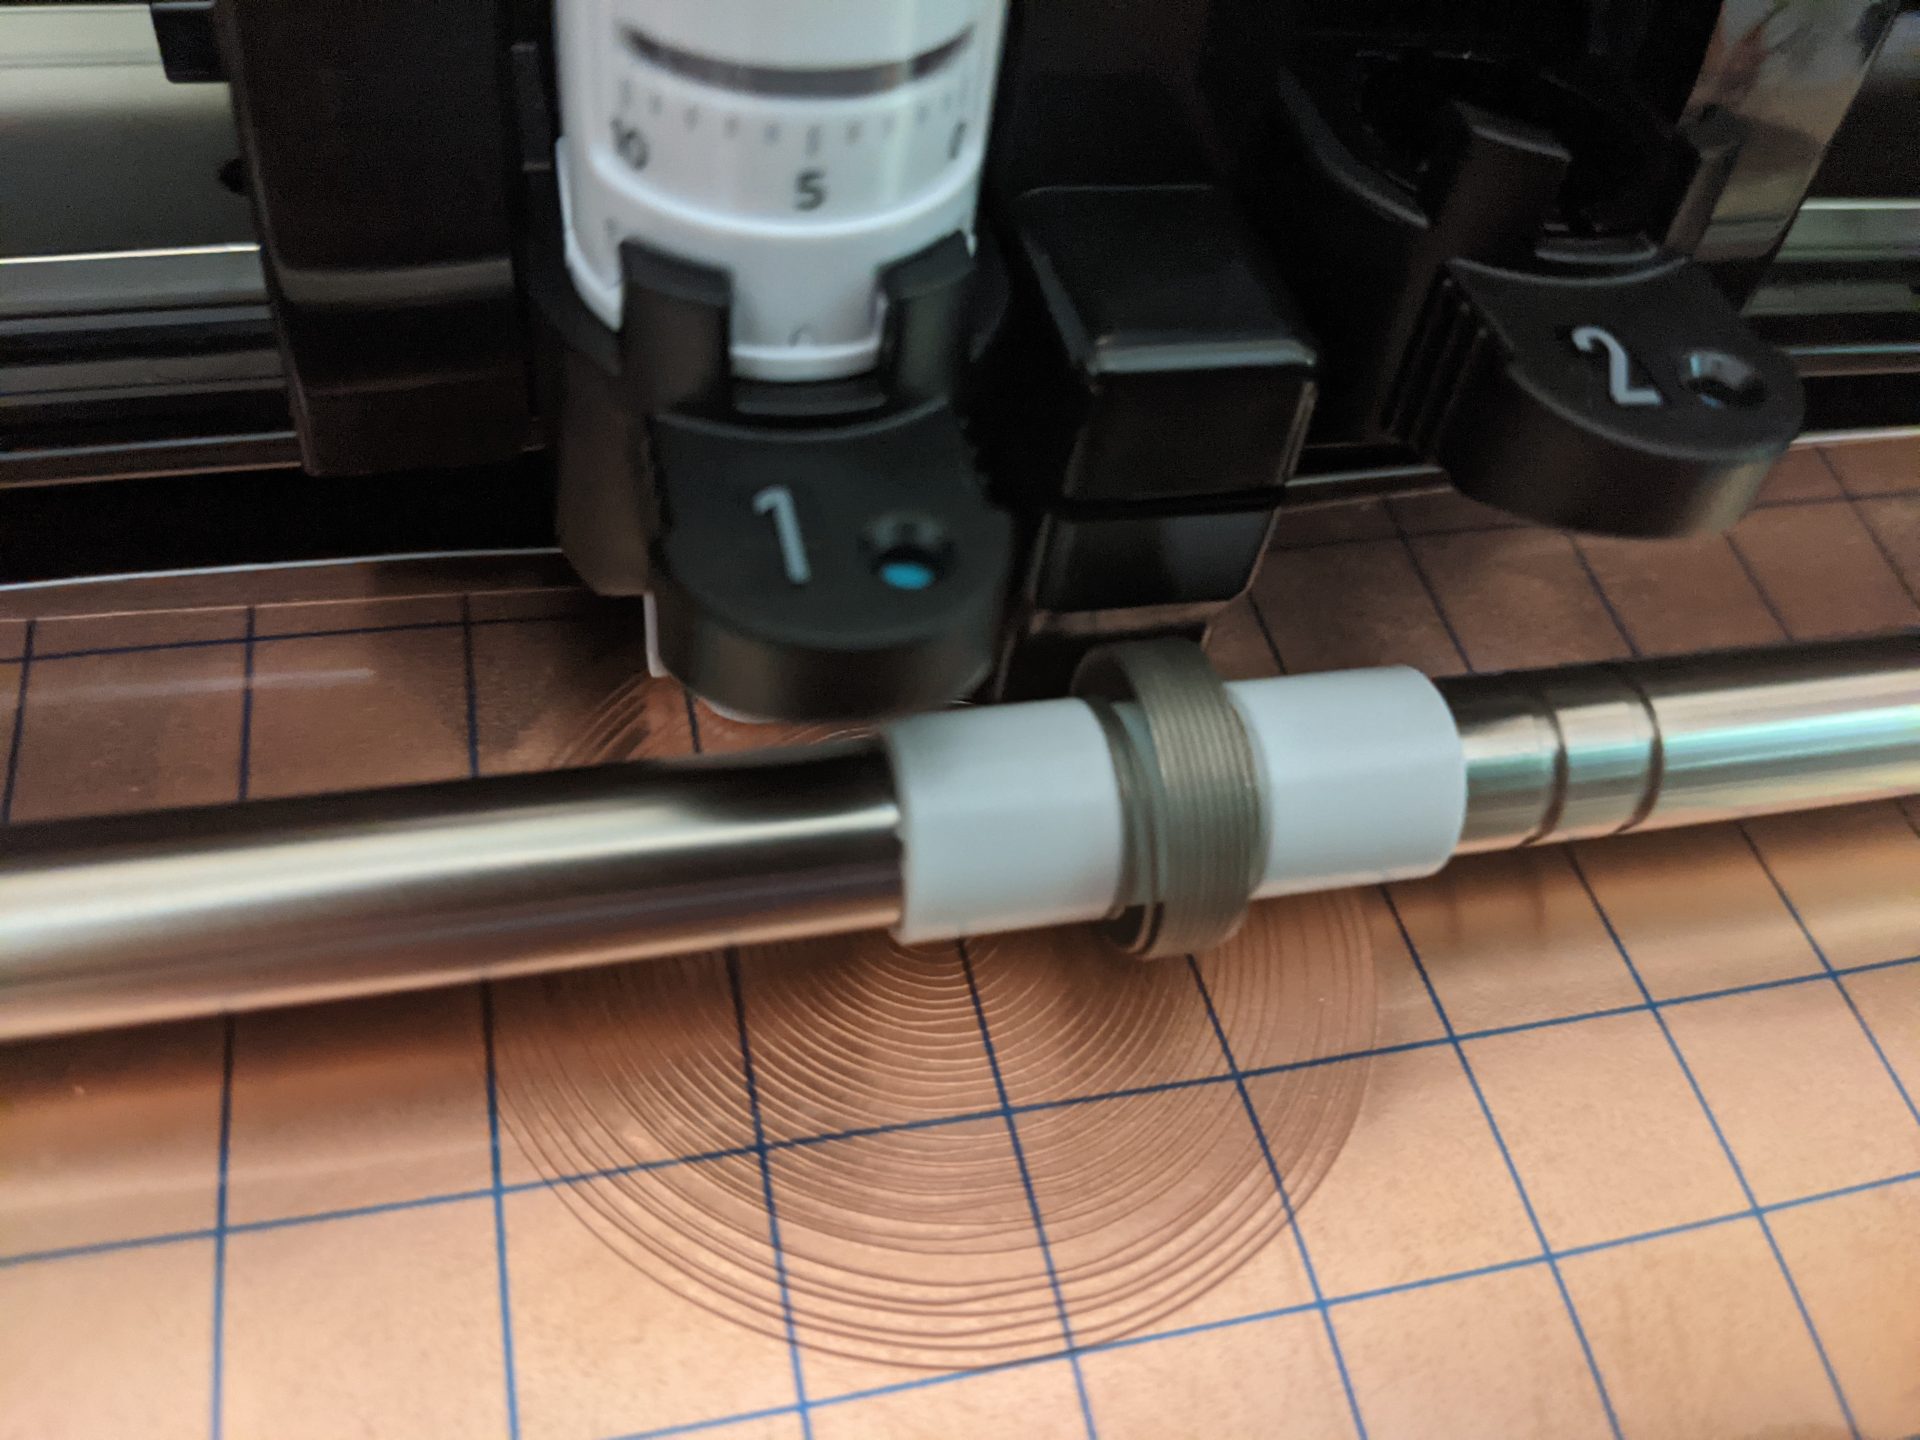
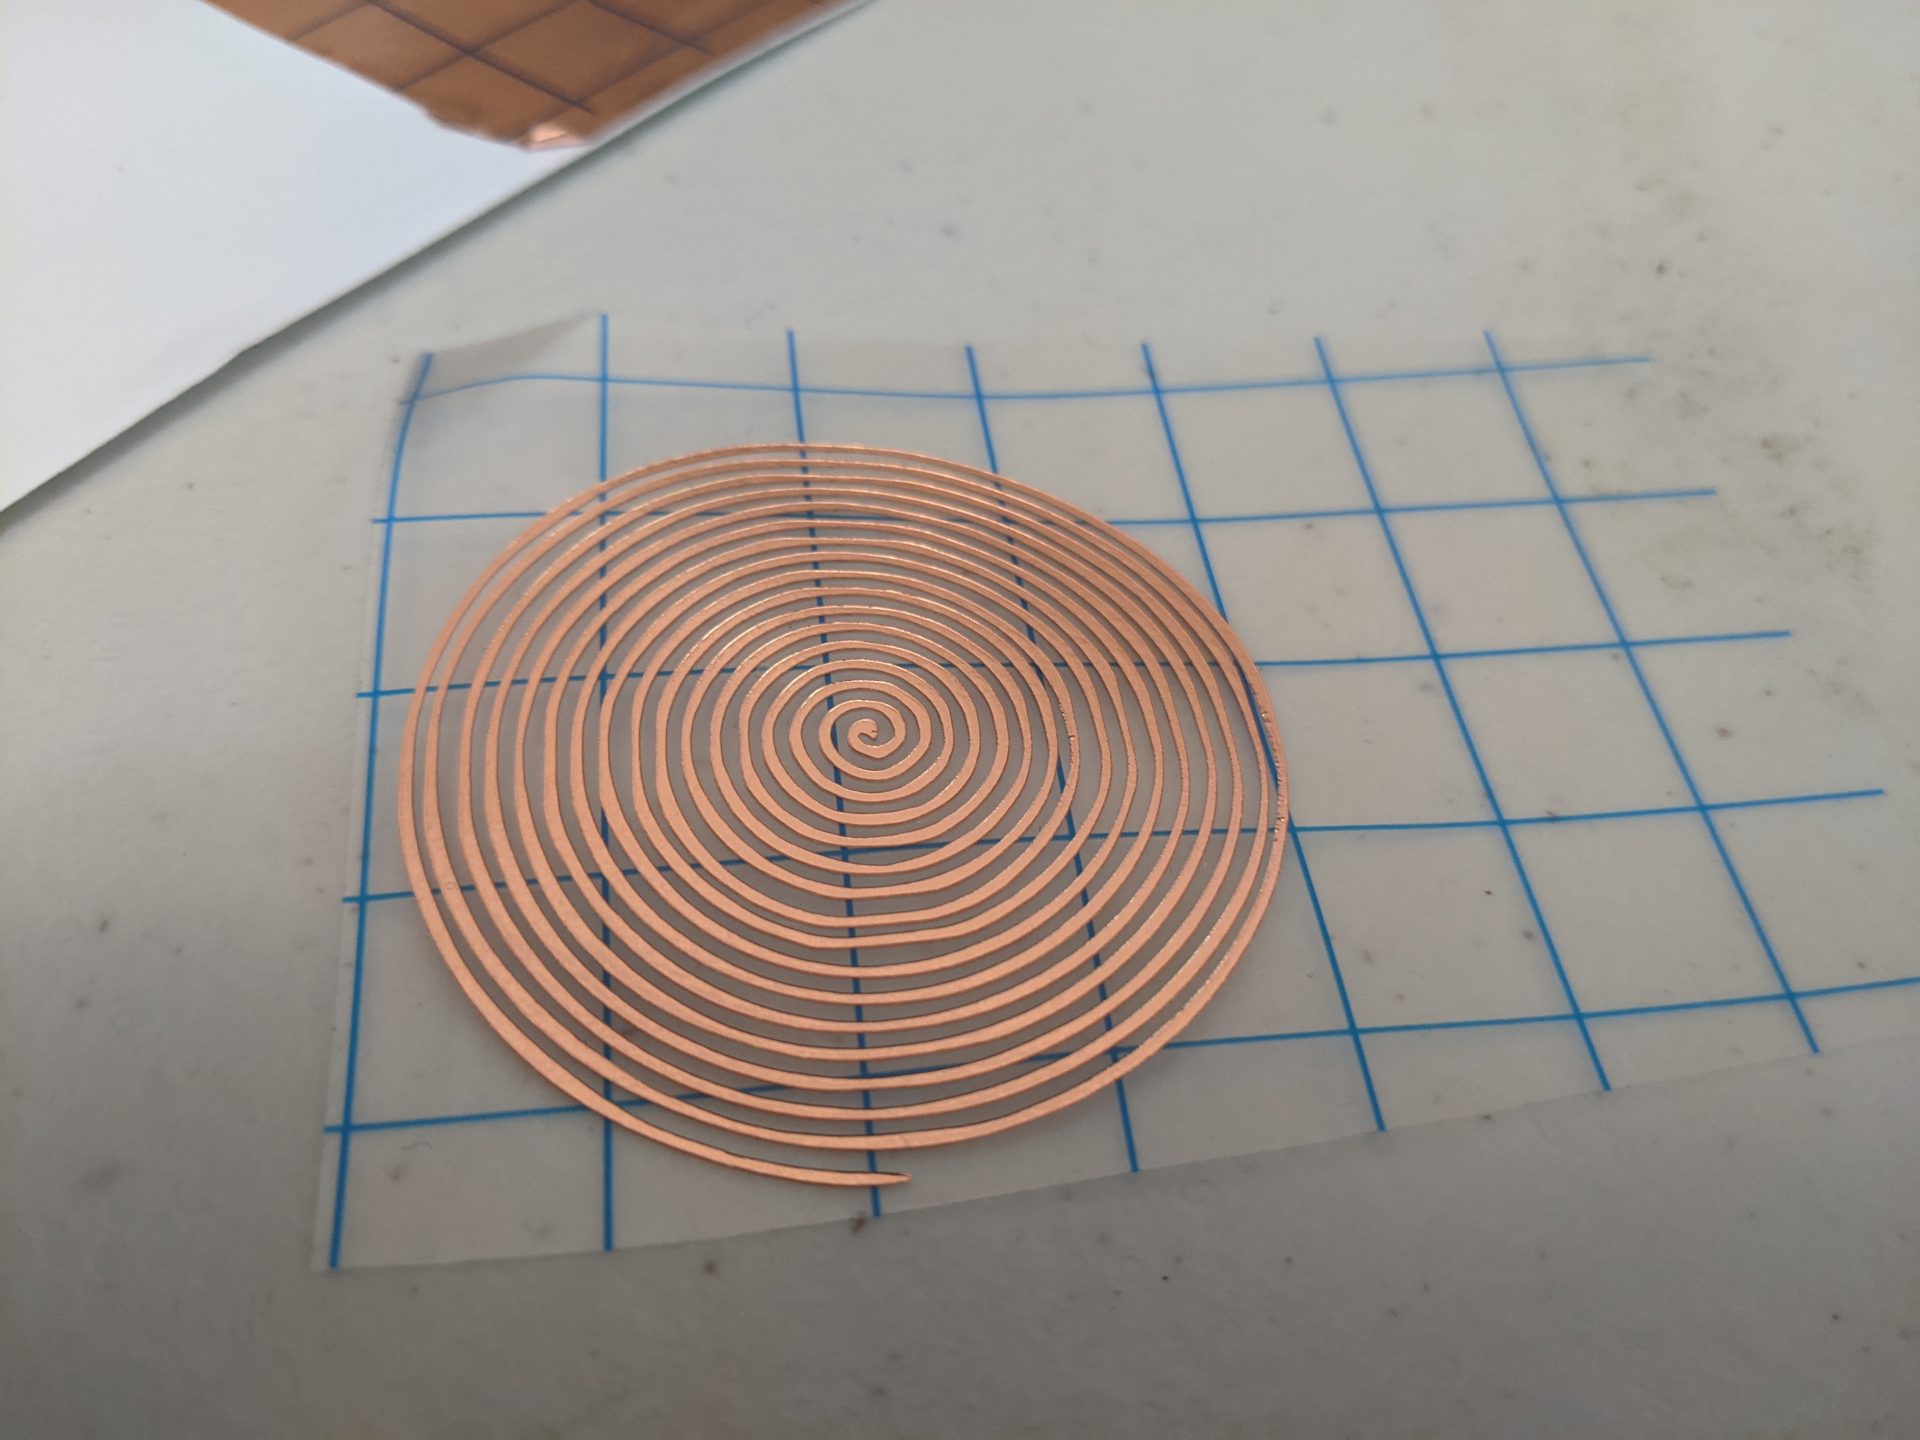
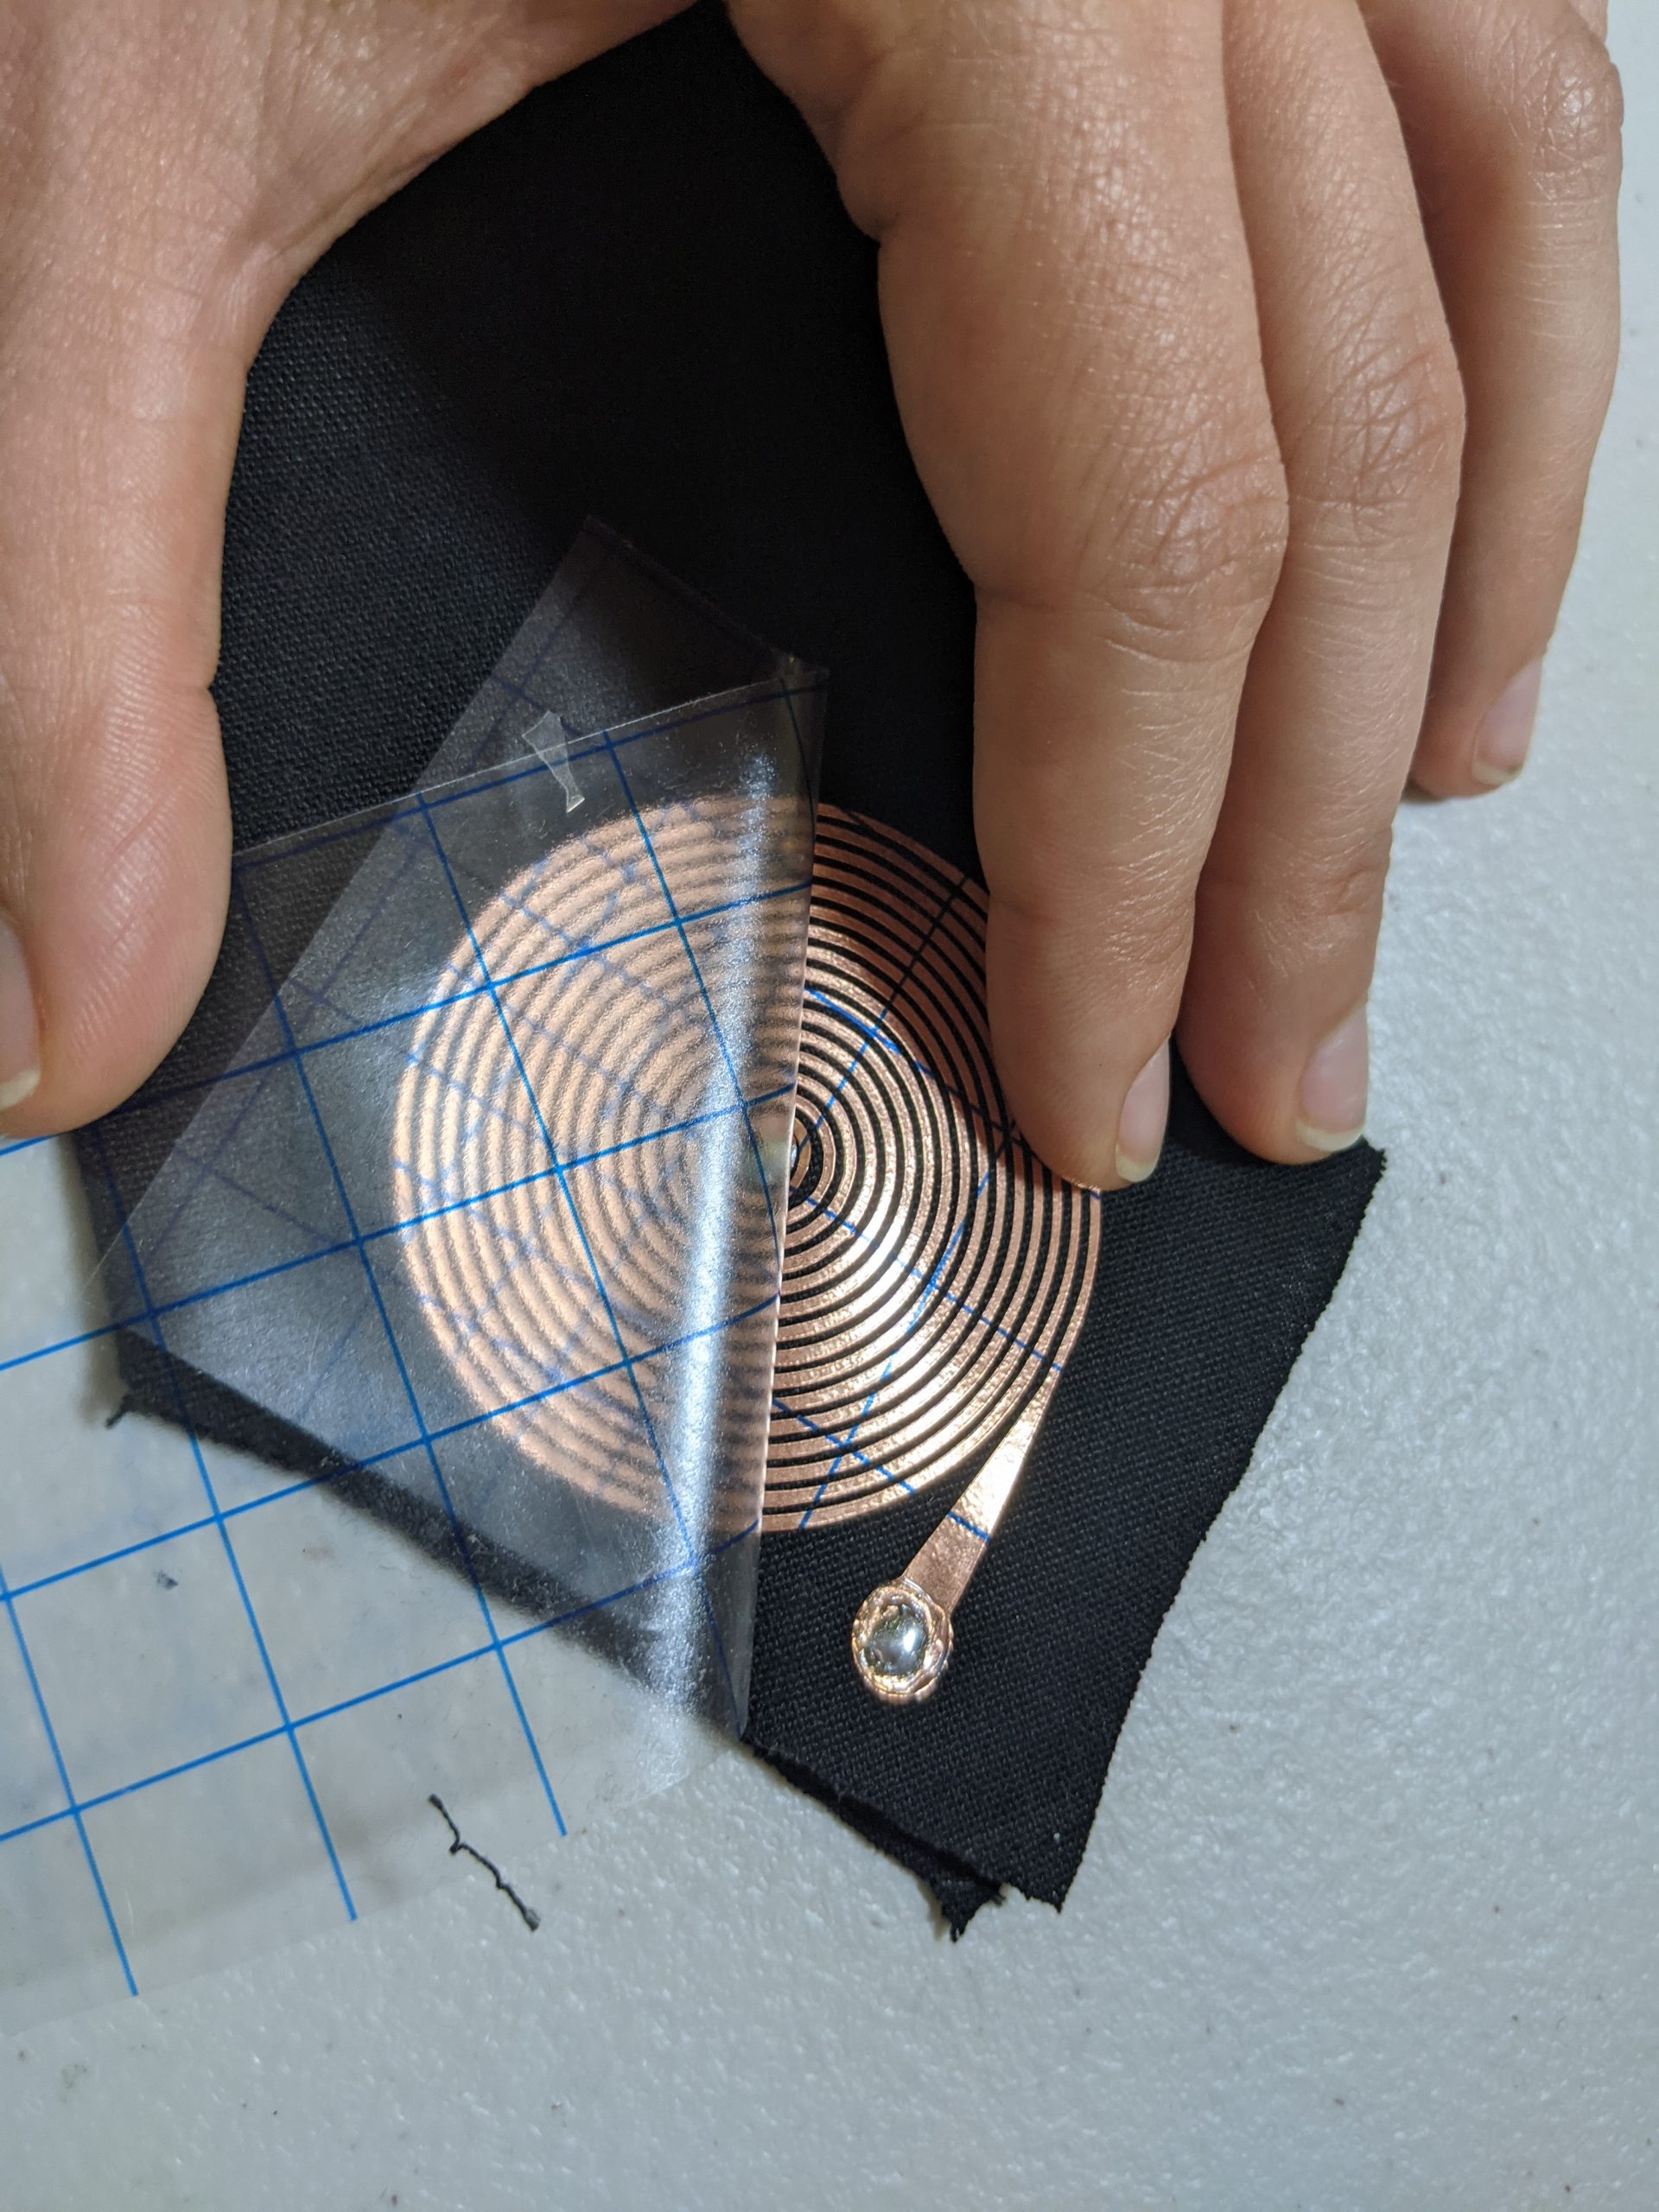
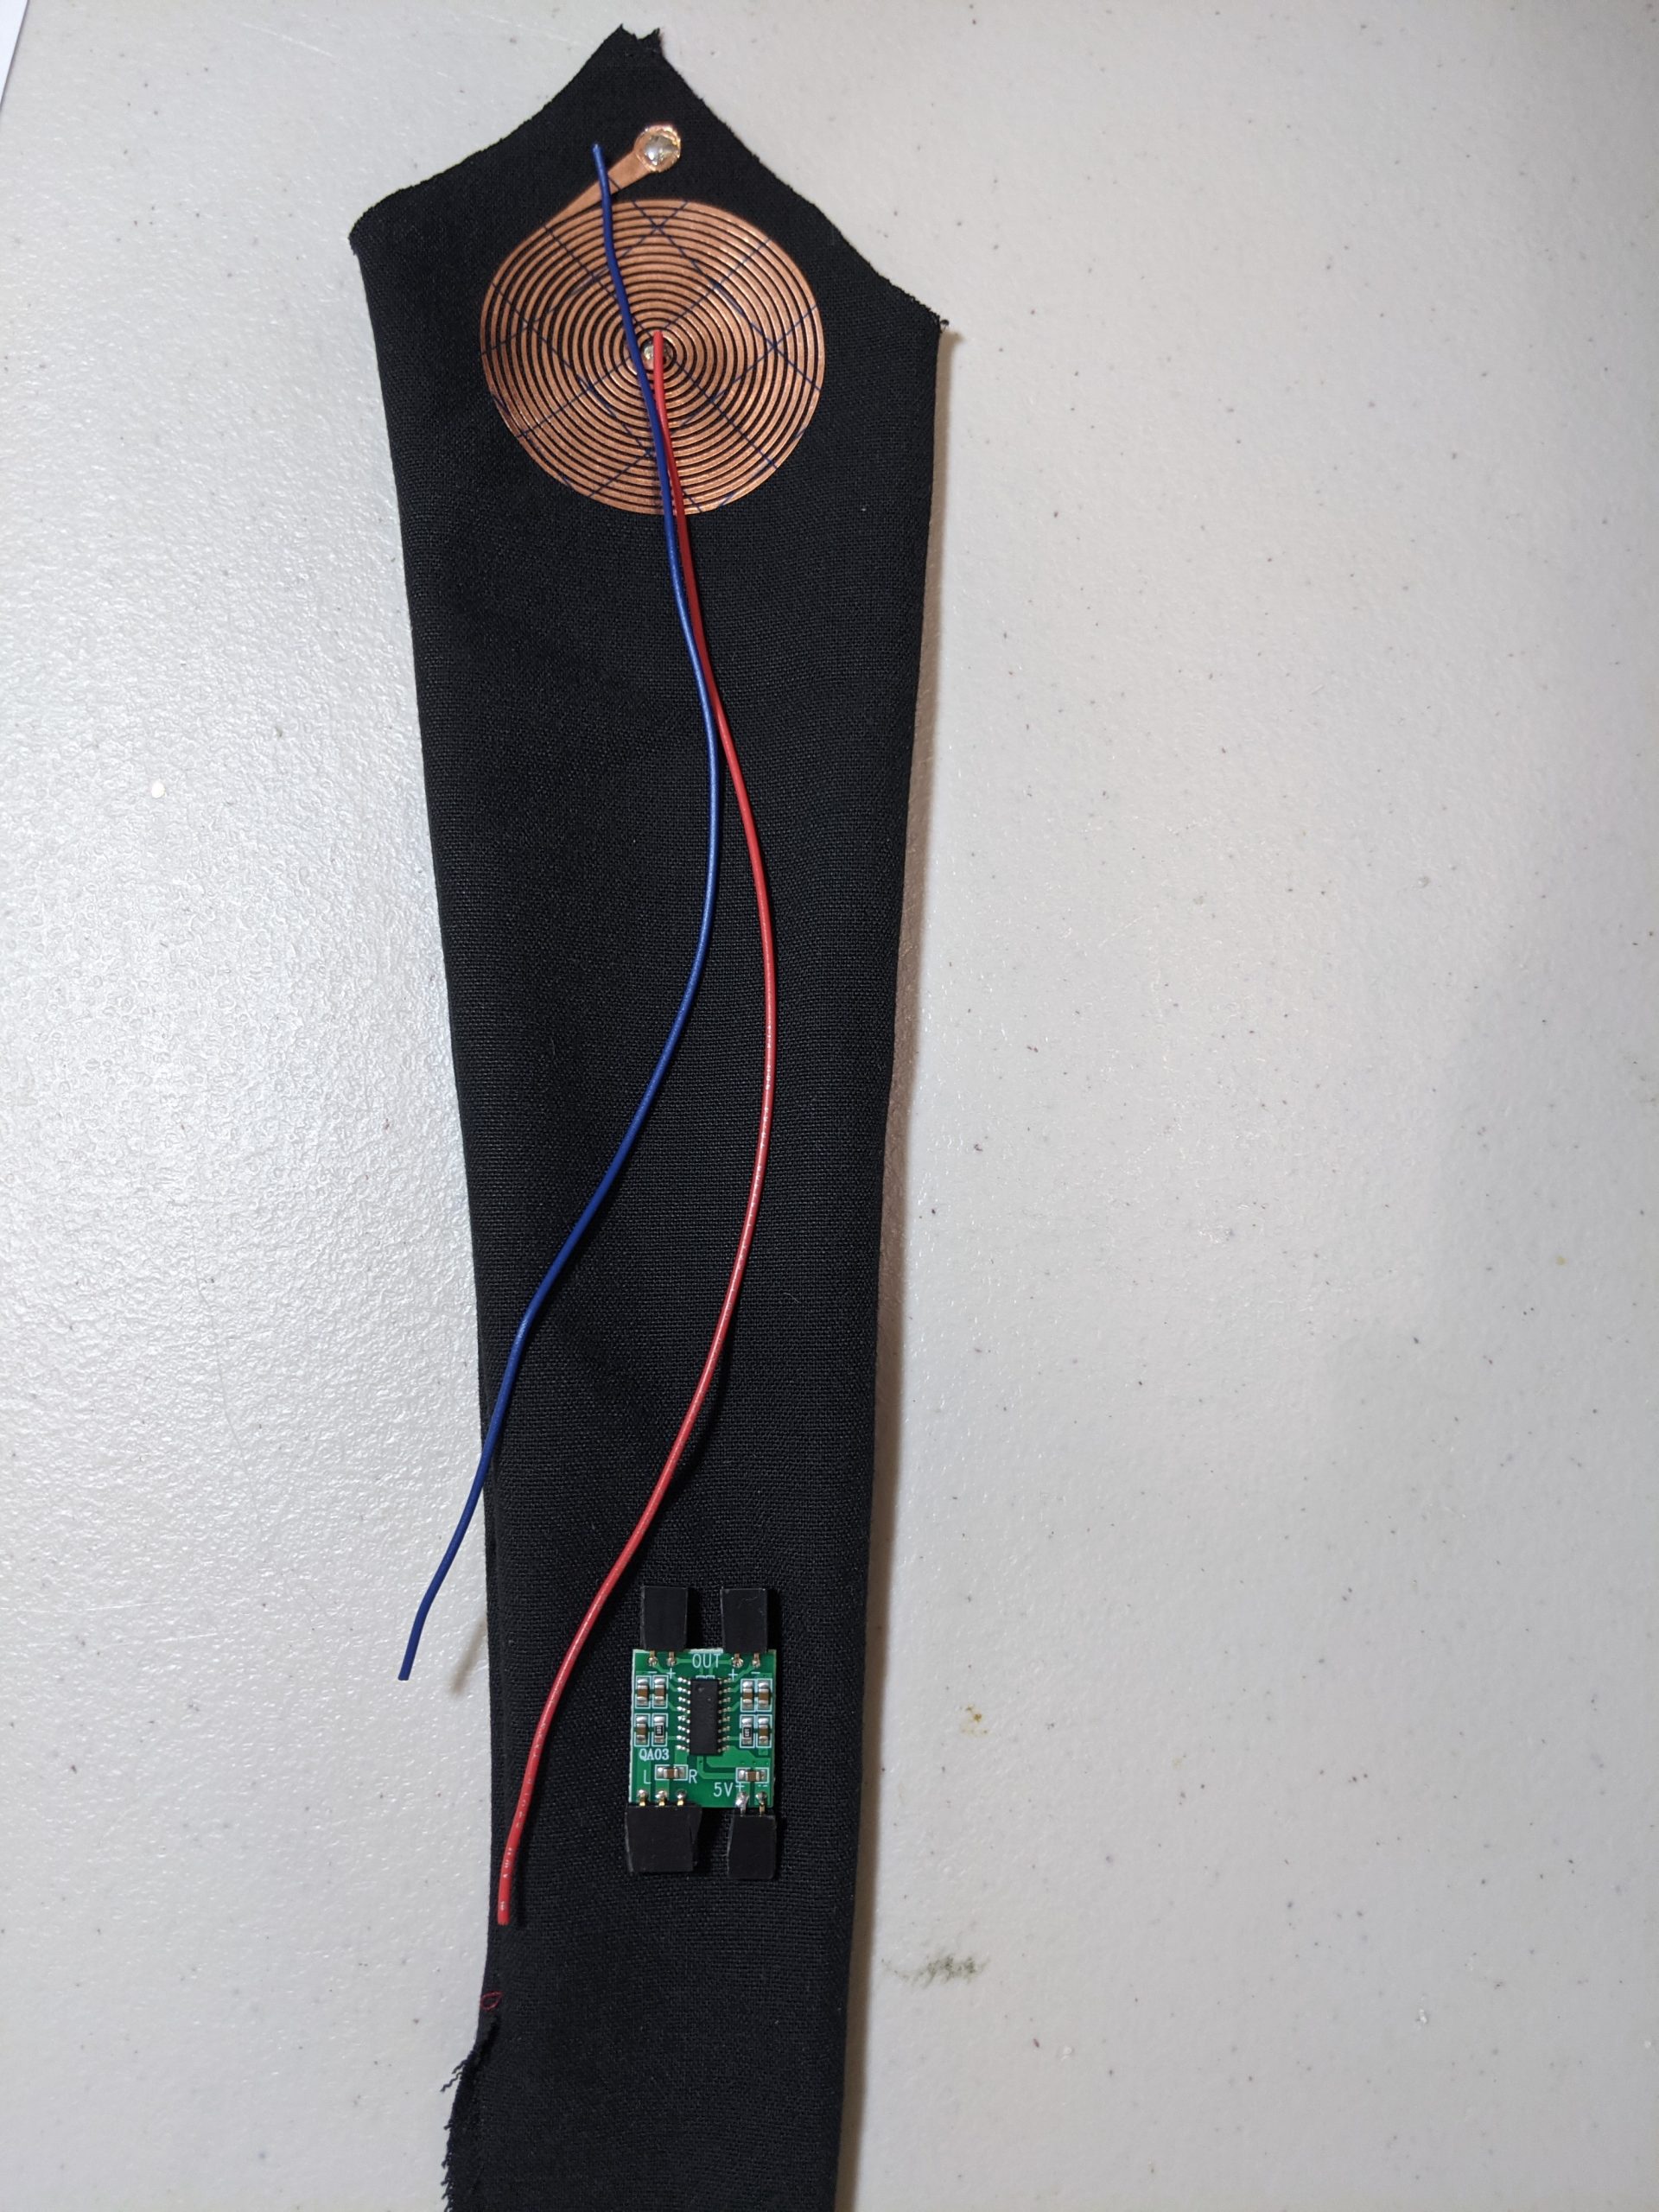
Fabrication required sewing supplies, a vinyl cutter (used to cut copper adhesive sheets), and a soldering iron (to solder speaker, amplifier chip, and connecting wires).
The Necktie was controlled by a Circuit Playground Express and programmed using Adafruit’s MakeCode block programming interface (See Example Keyboard Code)
Workshop Details
CETI E-Textiles SonicWear Workshop Recording
Workshop Goal:
Build a musical interface for your Circuit Playground. Start with Simple Capacitive touch interface & then elaborate.
Capacitive-Touch-Keyboard-WorkshopSupplies
Required Materials:
- Computer connected to internet (makecode.adafruit.com)
- Circuit Playground Express
- Micro USB Cable
- Conductive Tape
- Base material: Fabric, plastic, or paper
Optional Materials:
- Conductive materials Miscellaneous (aluminum foil, wire)
- Conductive or regular thread + needle
- Conductive ink pen
Downloadable Resources
Attached are the vector files and parts list used for the creation of both the Keyboard circuit, as well as the soft-speaker.
This lesson was paired with a DIY speaker workshop (slides not shown) whose parts and design files are also included.
