During quarantine, I have started to consider what maker projects I could accomplish mostly an apartment setting. I had recently committed to learning the guitar and was teaching a friend some basic electrical theory and soldering techniques so they could work on their guitar amps when I thought – wouldn’t it be cool if I could practice out of an amp I built? The end product won’t be apartment friendly (at full volume at least), but I could do 90% of the amp build in my home office.
Looking at some of the amp kits available online, it became apparent that building a vintage style tube amp is not cheap – after purchasing the chassis, transformers, tubes, cabinet and speaker, and components, I’d be looking at around $600+ for an amp I’d still have to put together myself.
Checking out other builds on guitar forums, it became clear that a lot of folks that build their own tube amps harvest expensive components from less desirable tube technology – like defunct tube organs & radio consoles, which people will give away for next to nothing on Craigslist (a “please remove this giant oddity from my house” kind of thing).
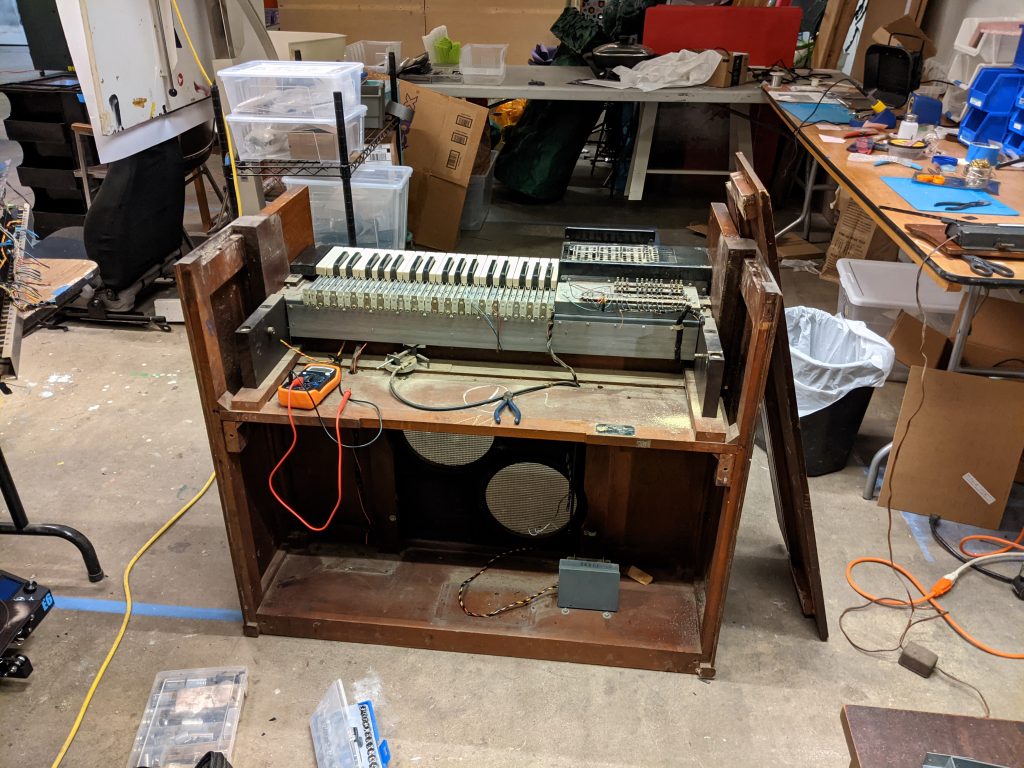
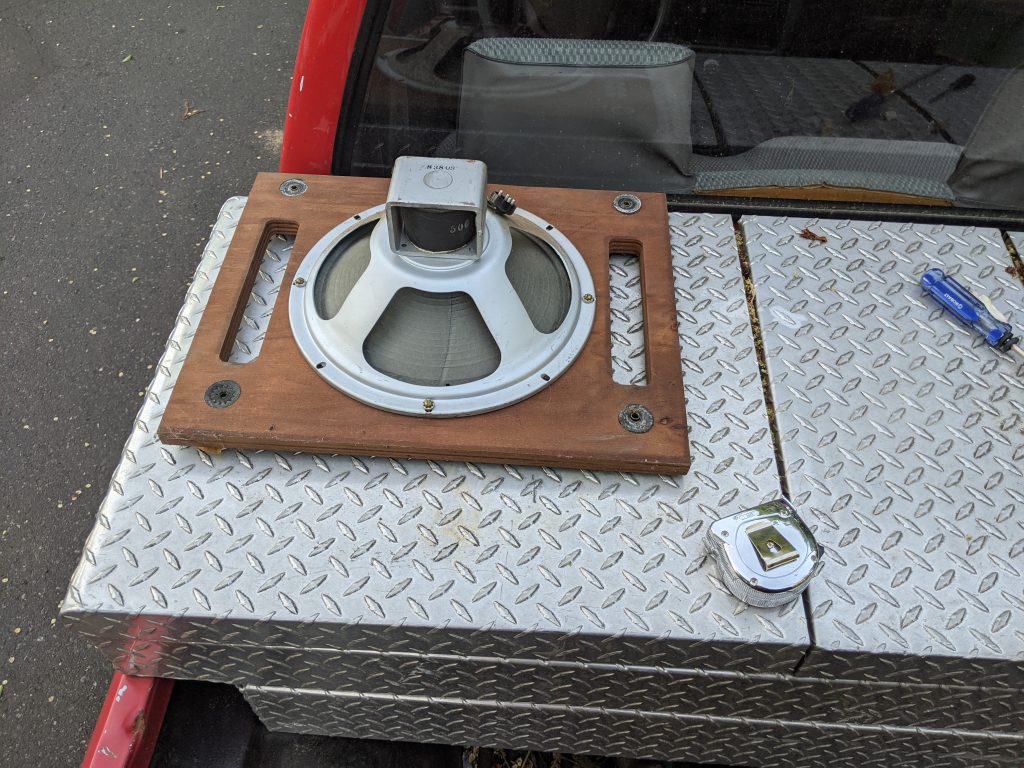
After digging through a few organs, there were some useful components – a 15W 4ohm speaker, some prized capacitors, chokes, etc – but no power transformers that would work for a guitar amp. Finally, I got a Hammond AO39 organ chassis from an organ repairman for $20. This contained a transformer pair that could theoretically provide enough voltage for a guitar amp.
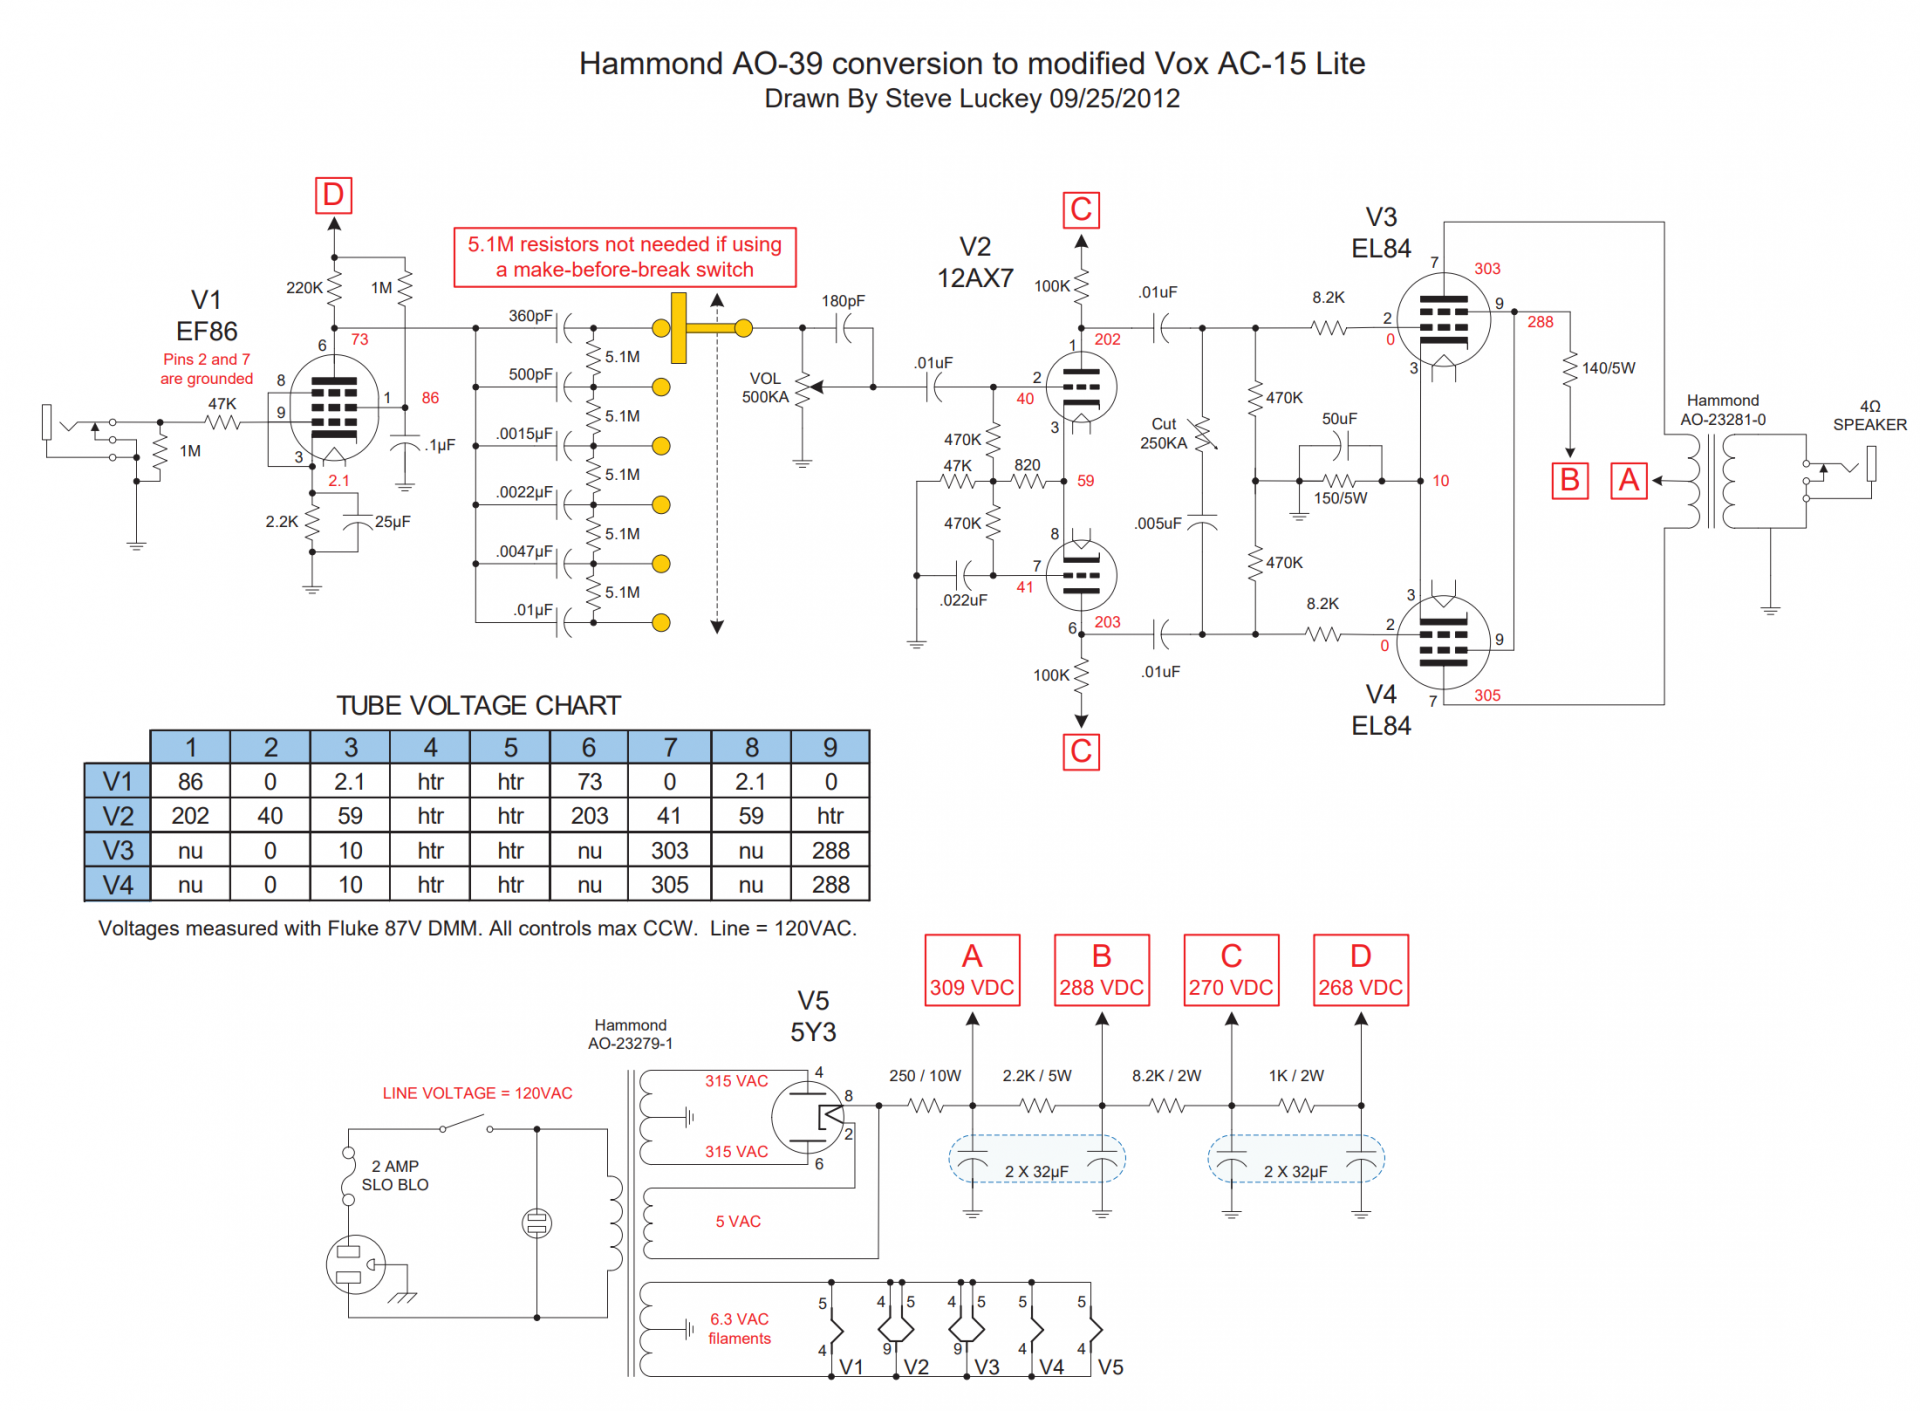
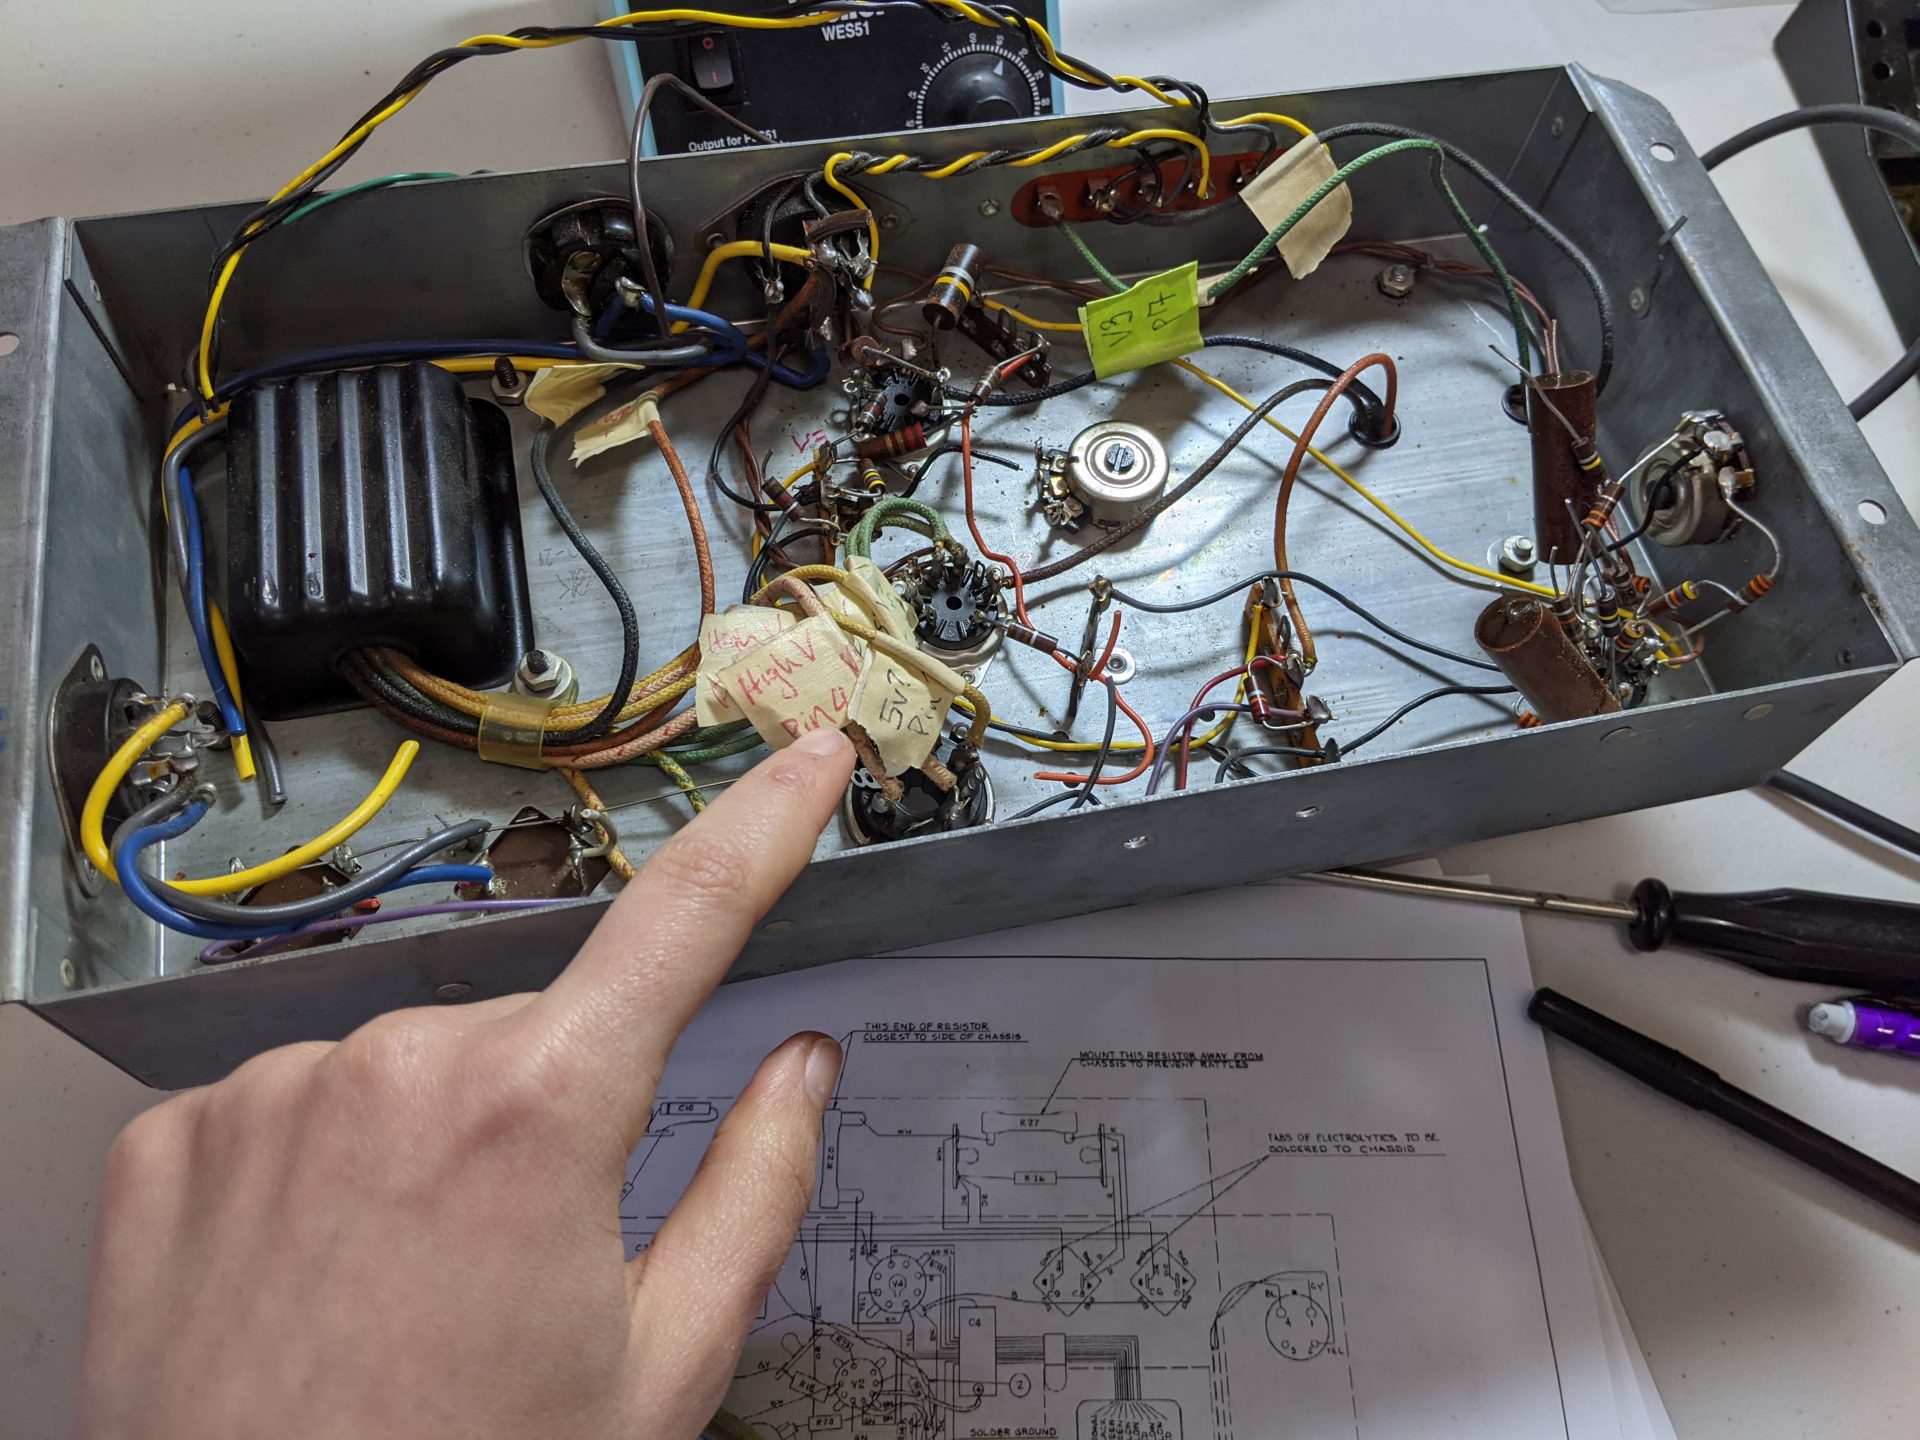
Not being picky, I decided to see what amp would be best for these particular transformers – and I found that someone (Steve Luckey) had already done a conversion of the *exact* organ amp I had into a simplified Vox AC15 guitar amp (same sound, fewer controls). They managed to use the same chassis and some of the same tube sockets in the conversion, and best of all, they shared their schematic! Though it was a custom design and I had no way of knowing if it would work – I decided it was too good of a match for my organ to pass up. Check out “Slucky’s” conversion and site here: https://sluckeyamps.com/hammond/hammond.htm
HammondAO39toAC15Lite
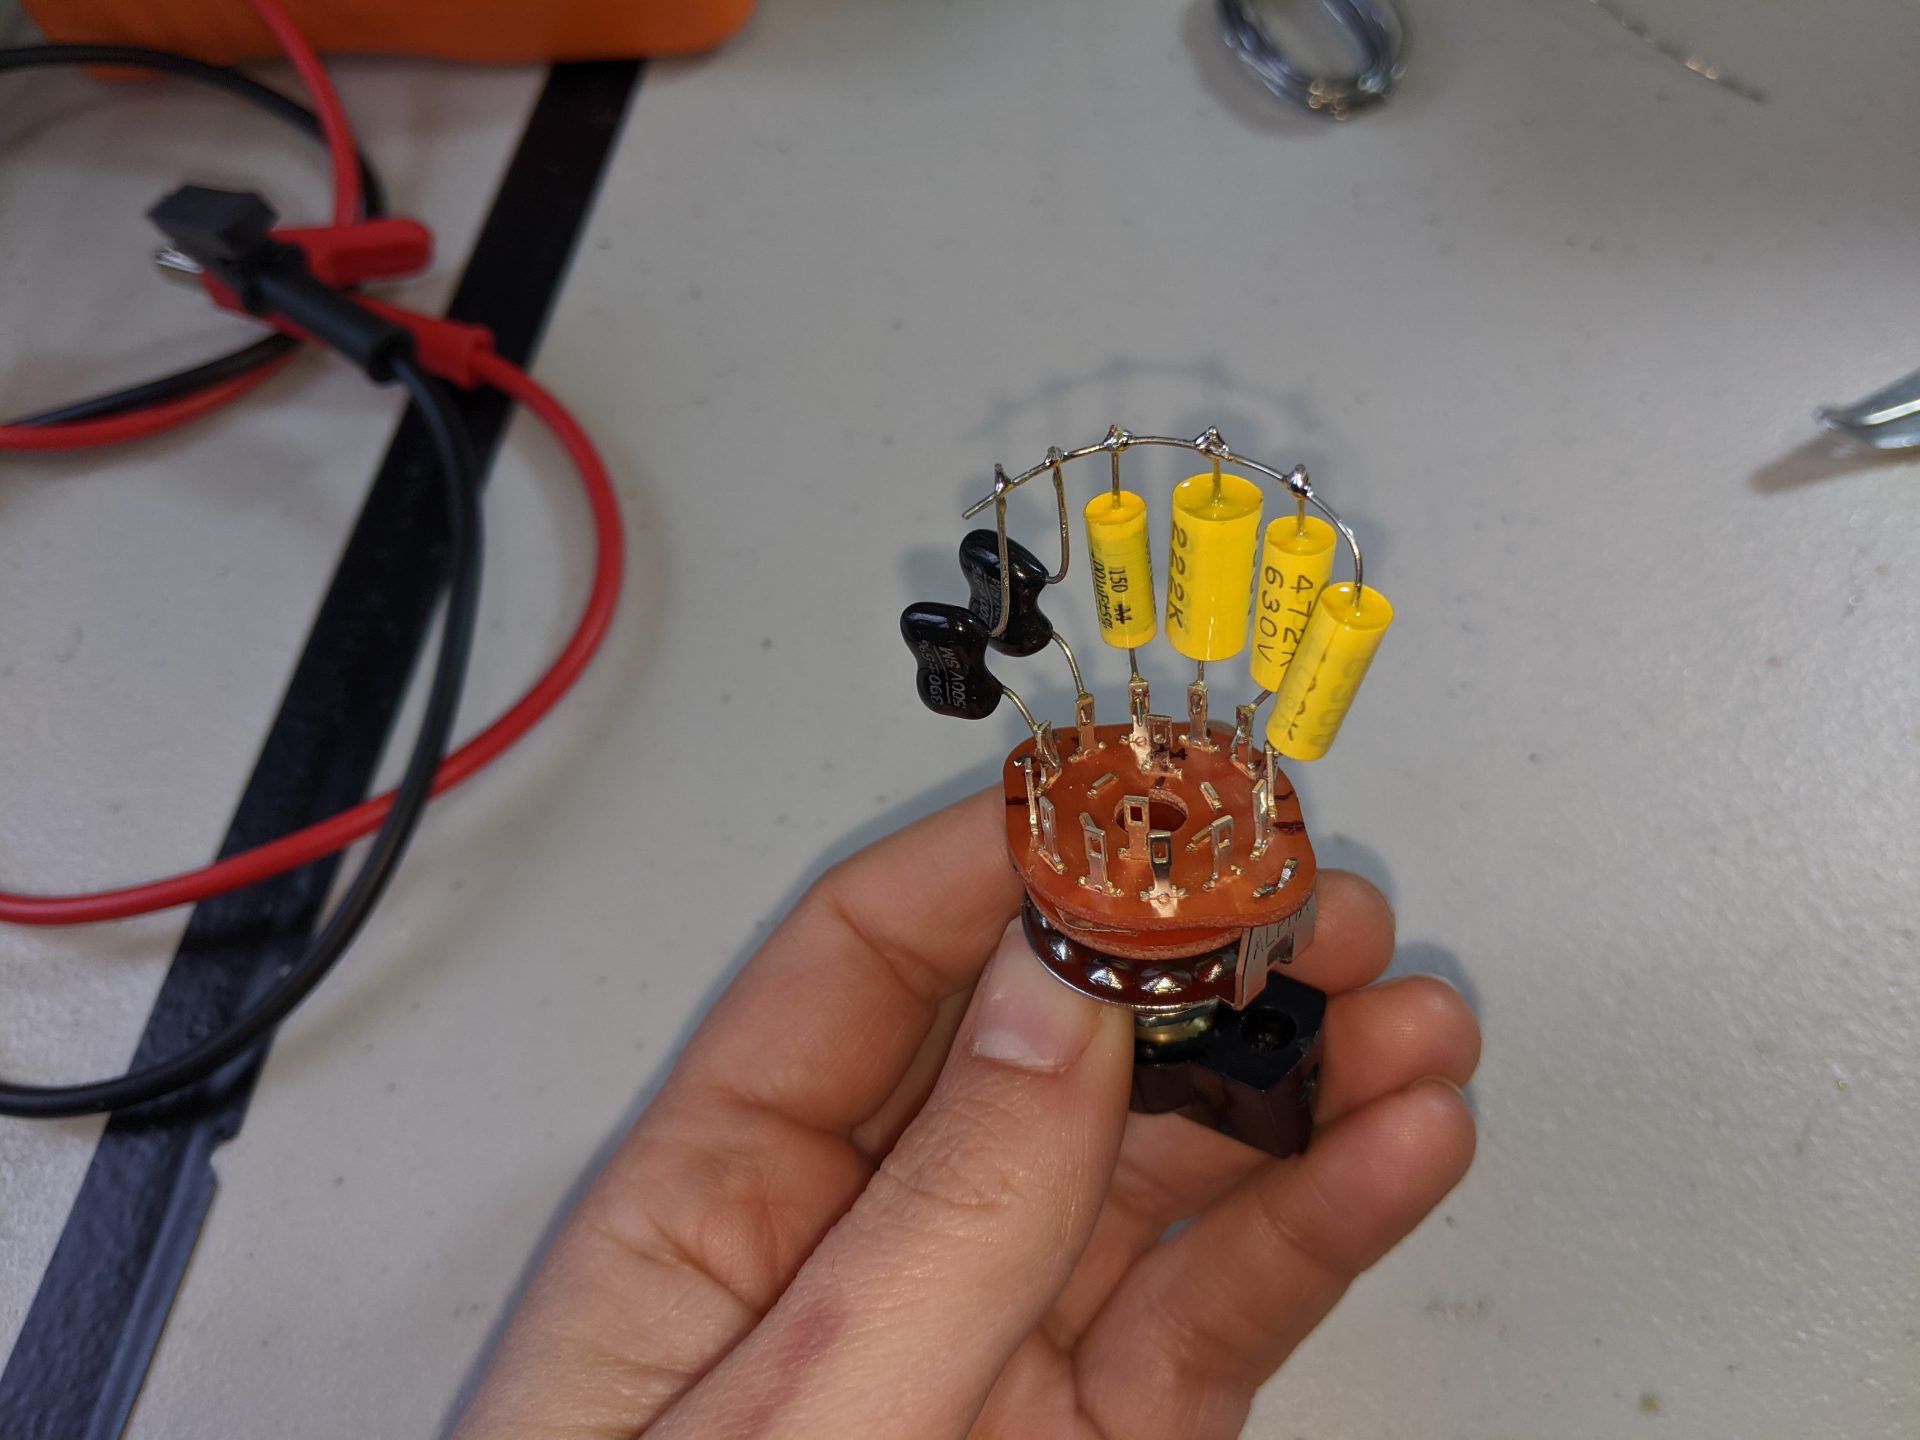
Now I had a chassis, transformers, speaker, & schematic. Next step was to build a parts list and order all the components in the schematic above (tubes, sockets, capacitors, resistors, wire, switches, etc). I sourced most of my components from Antique Electronic Supply as well as Hoffman Amp Supply. I couldn’t match all components exactly, had to fudge a couple of resistor and cap values, but got pretty close. The total came out to about $120.
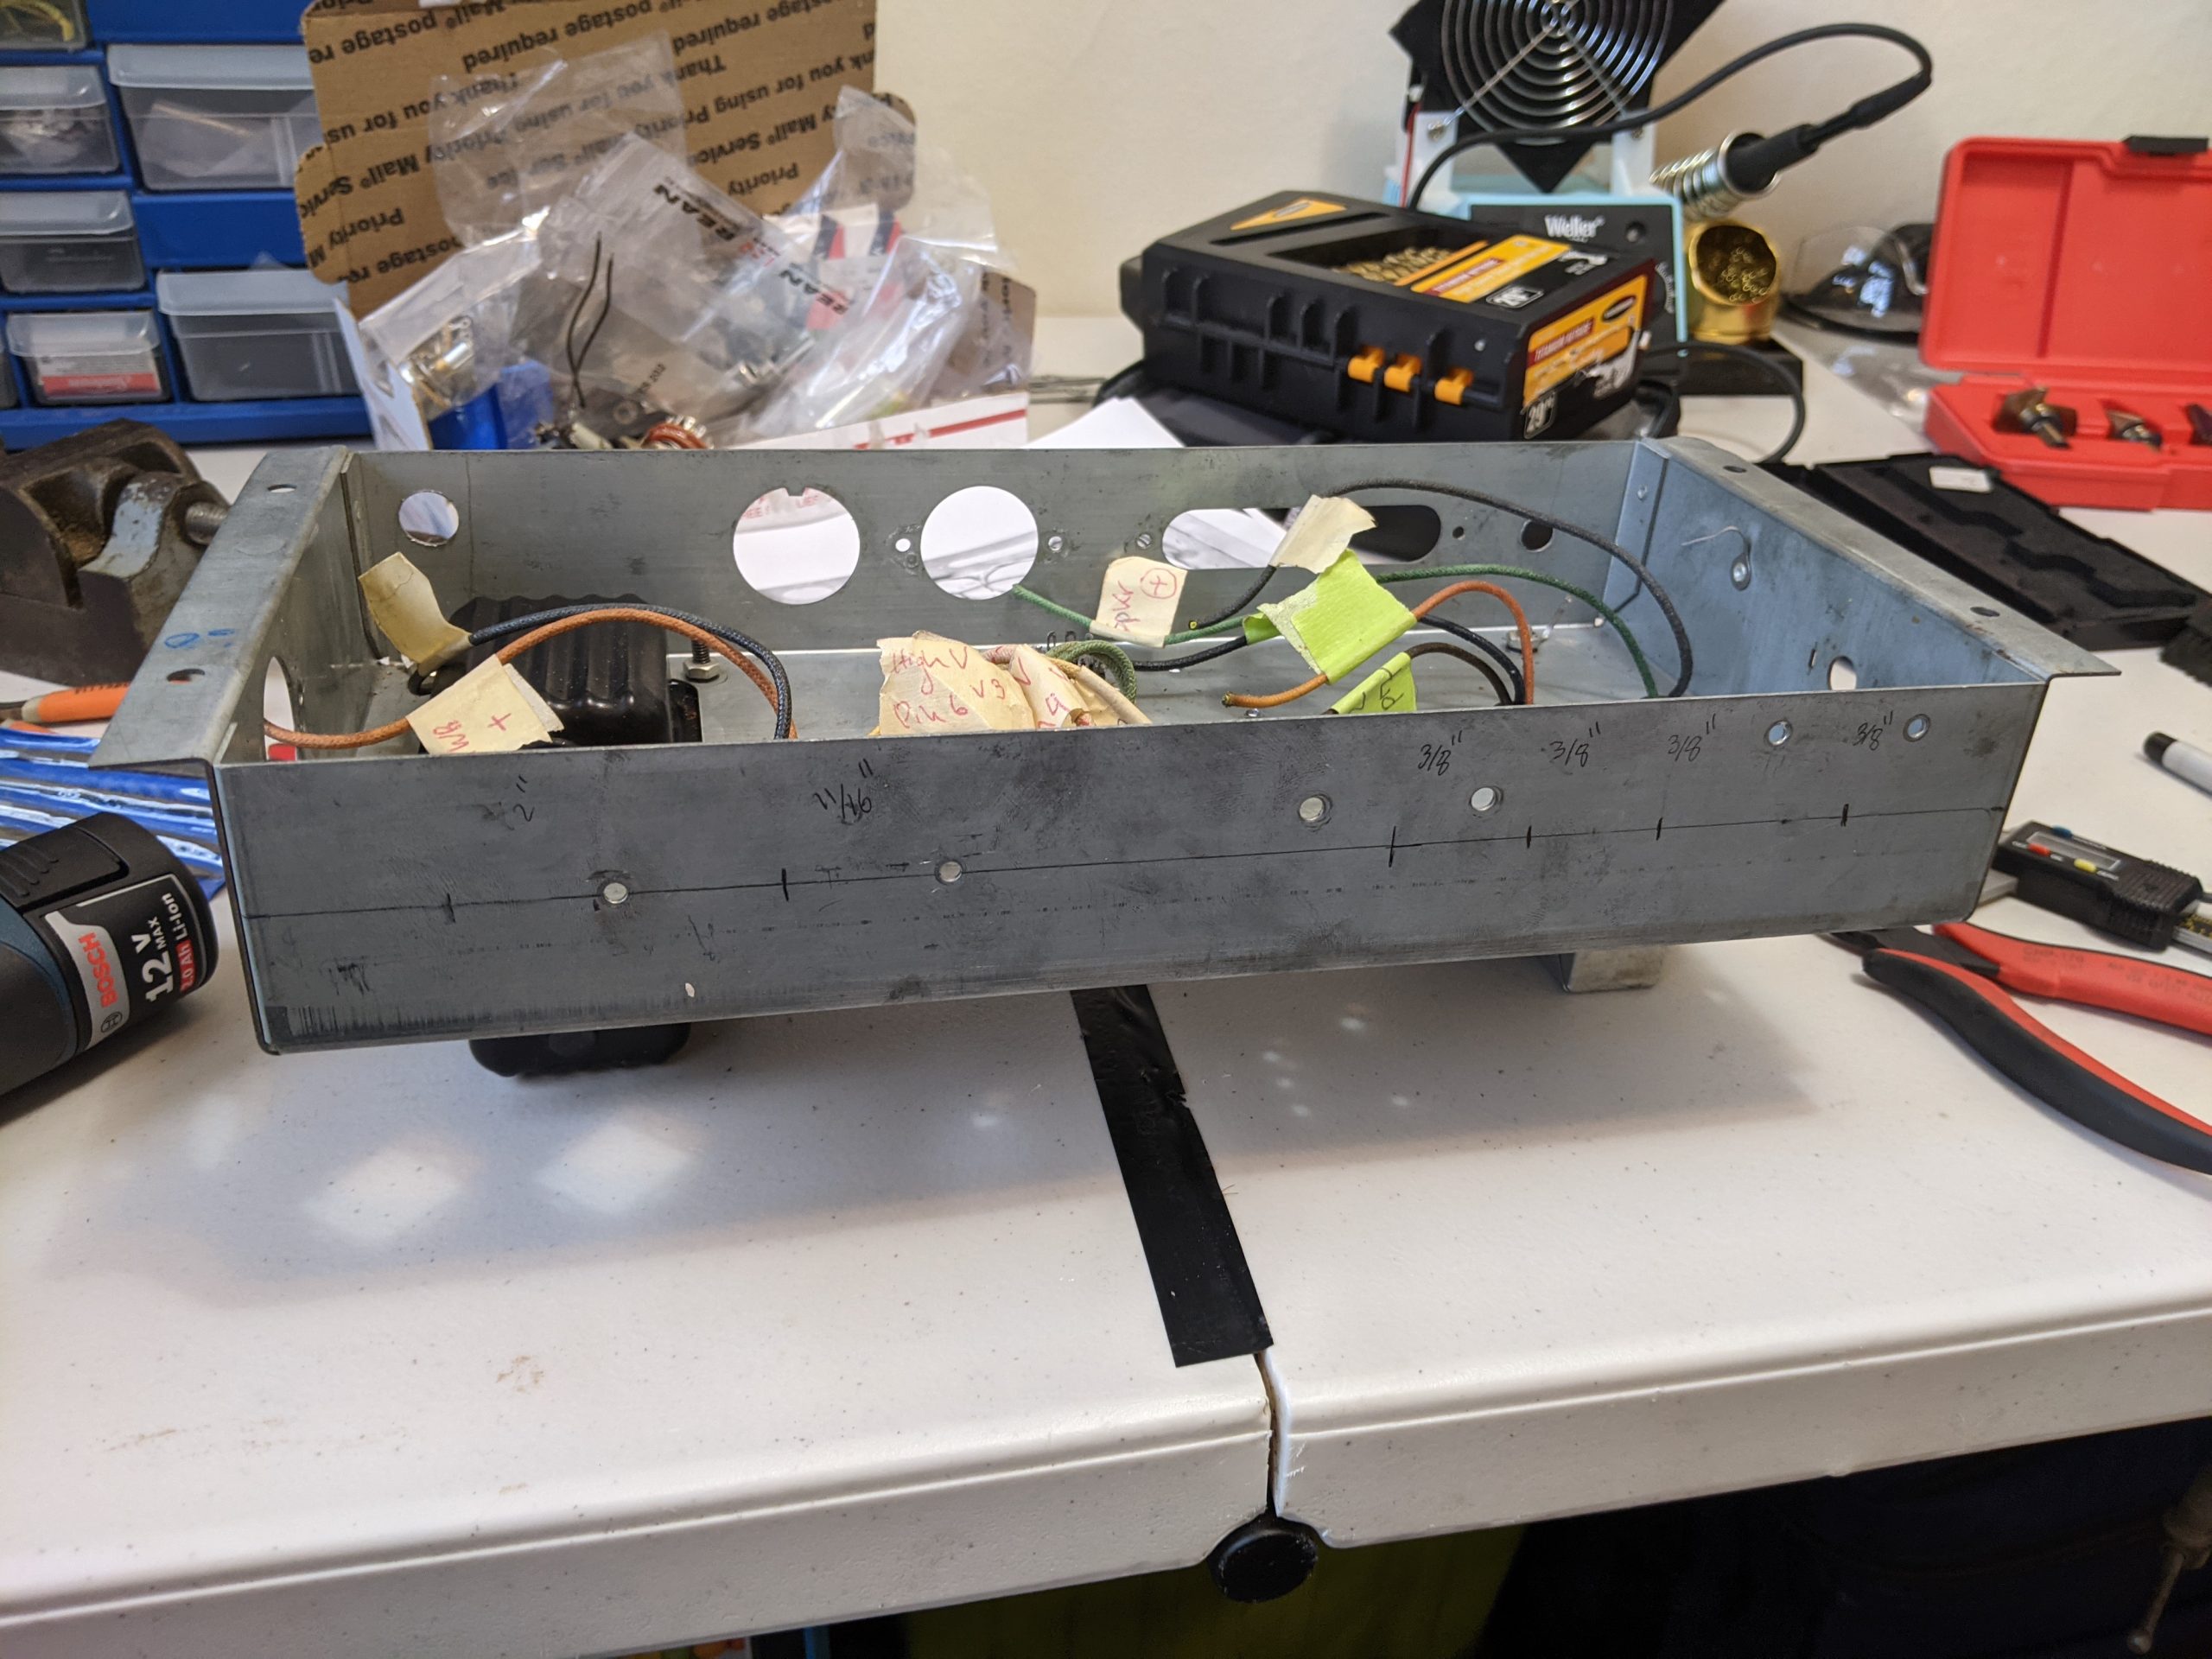
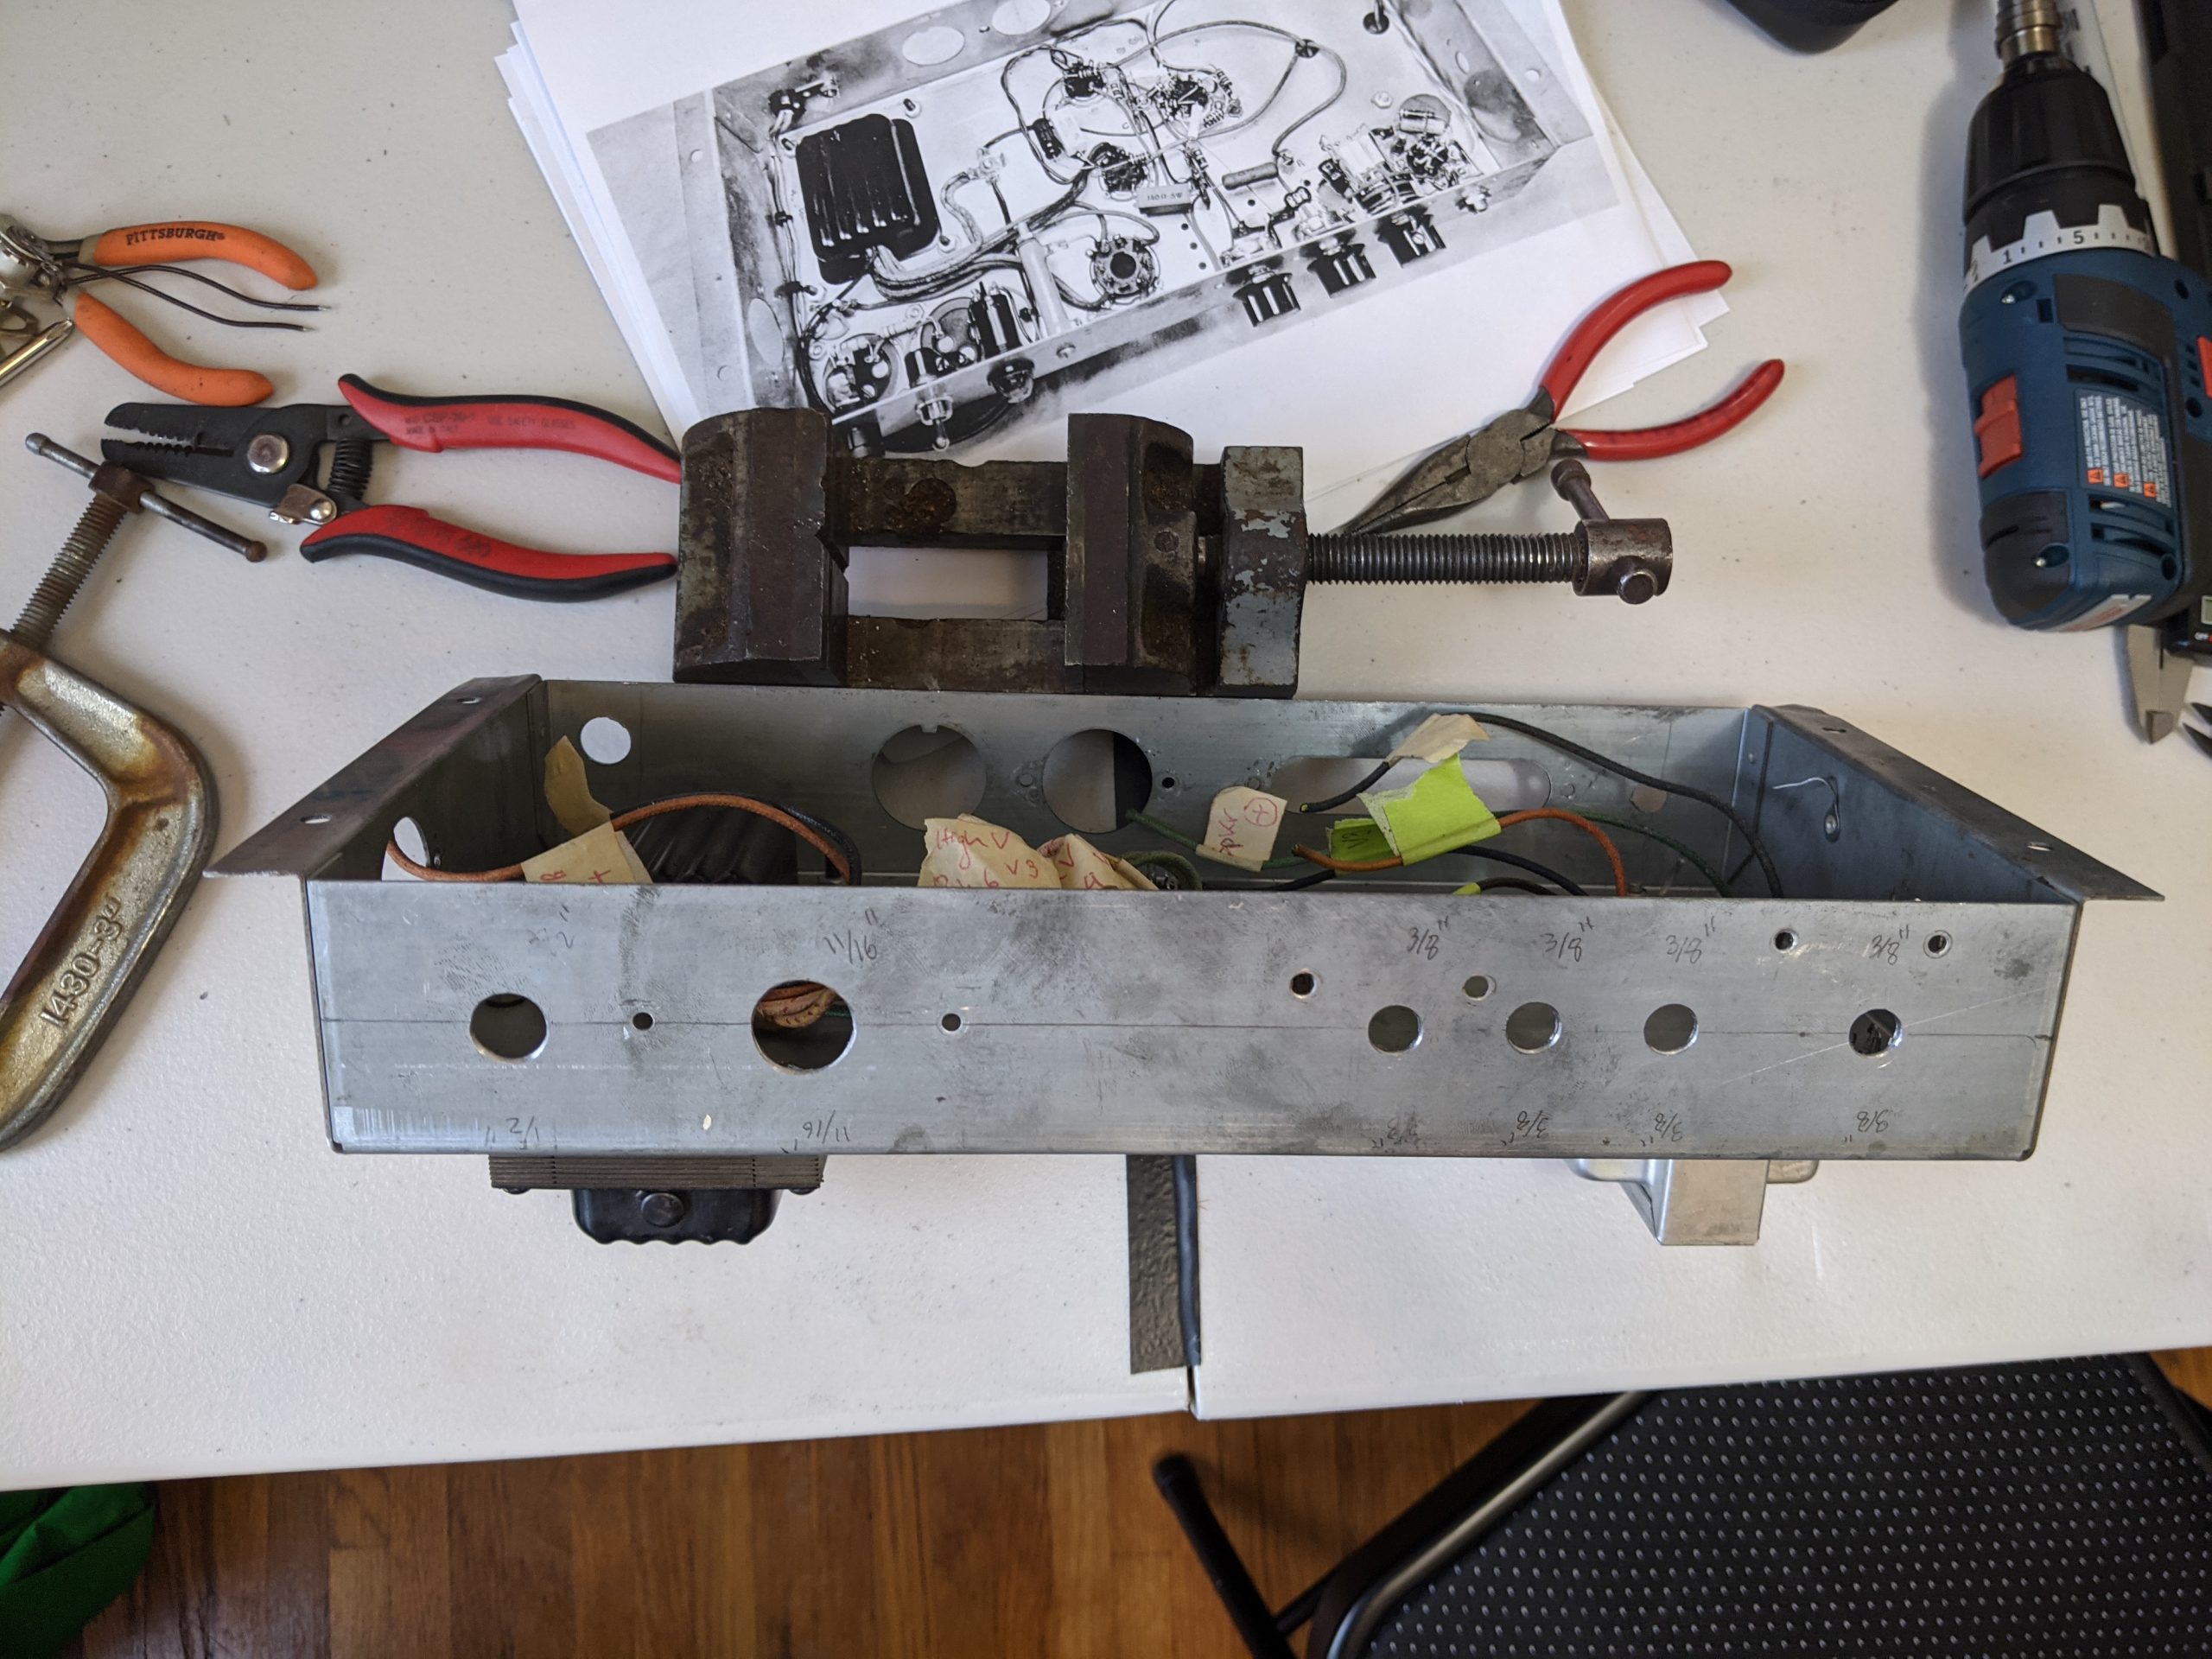
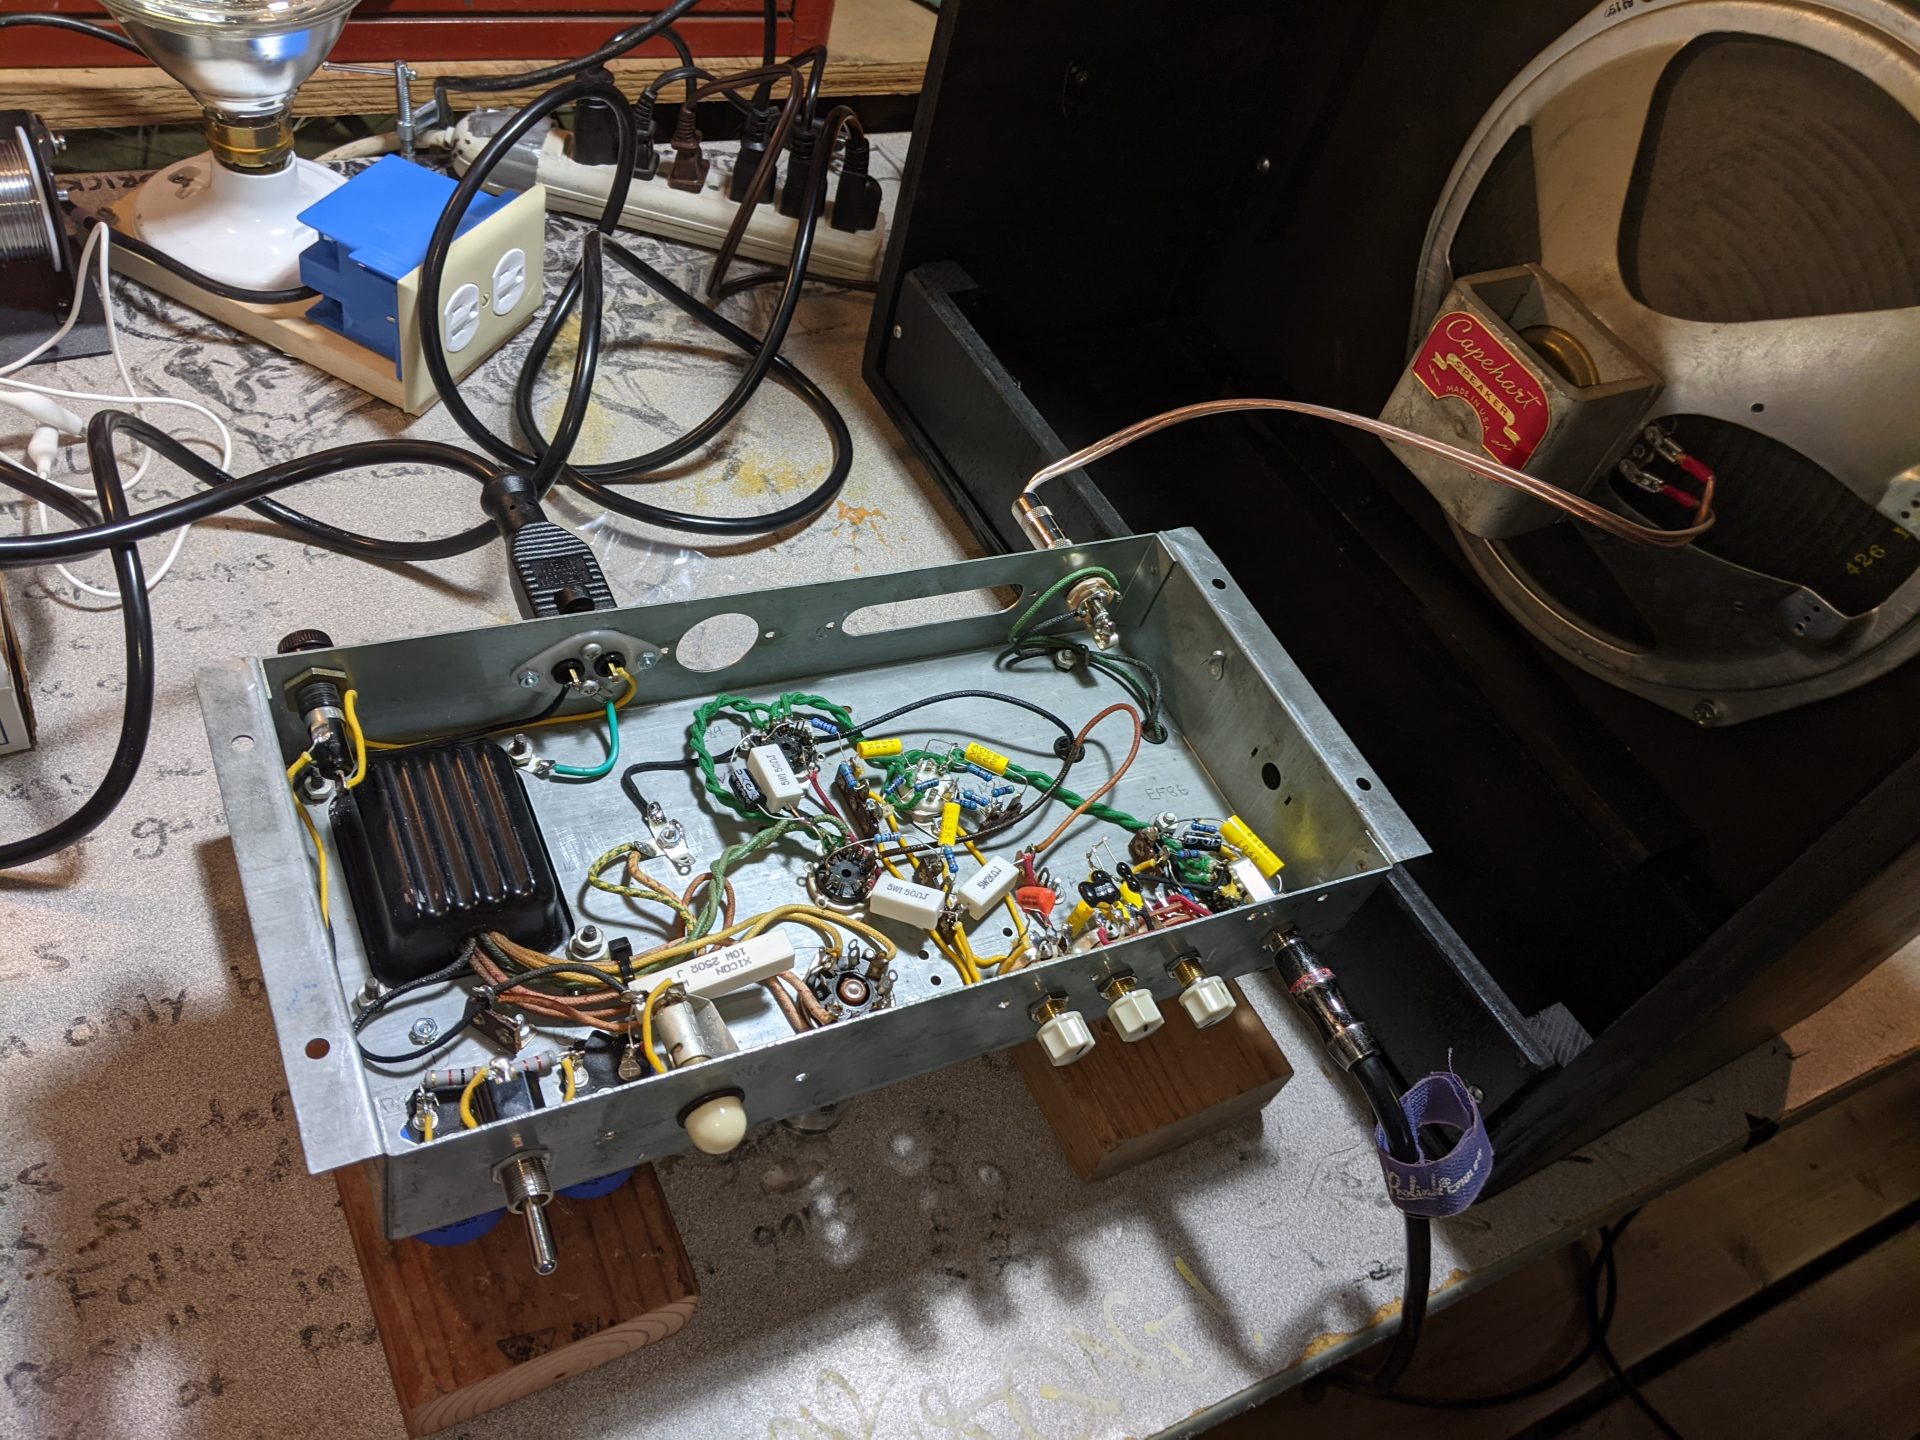
While waiting for parts, I identified leads, and cleared out all the components from the chassis that couldn’t be re-used in the final design.
Buildout
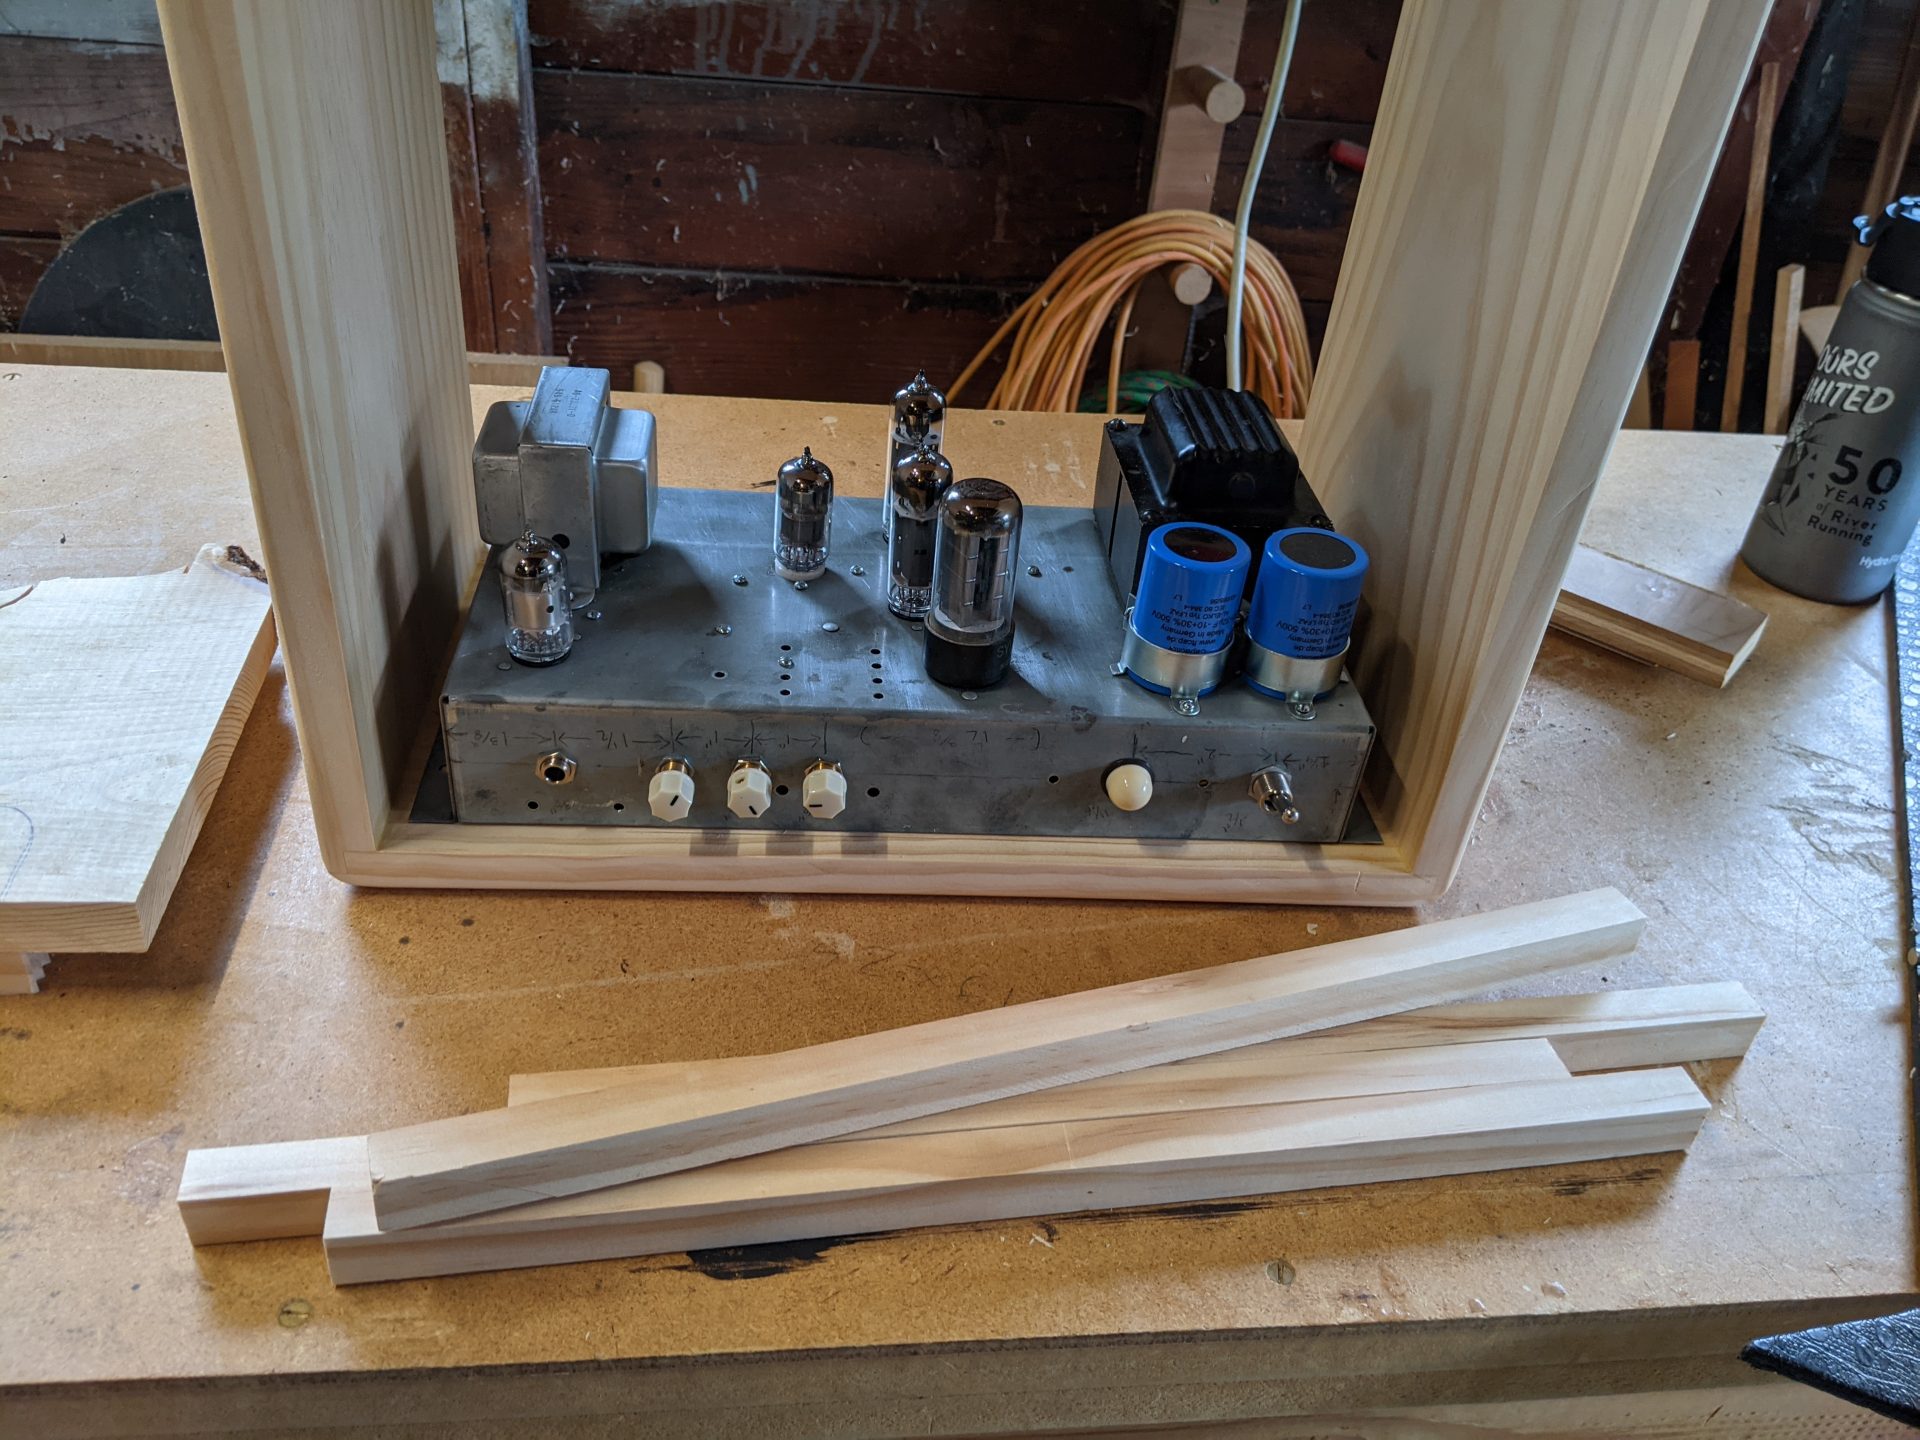
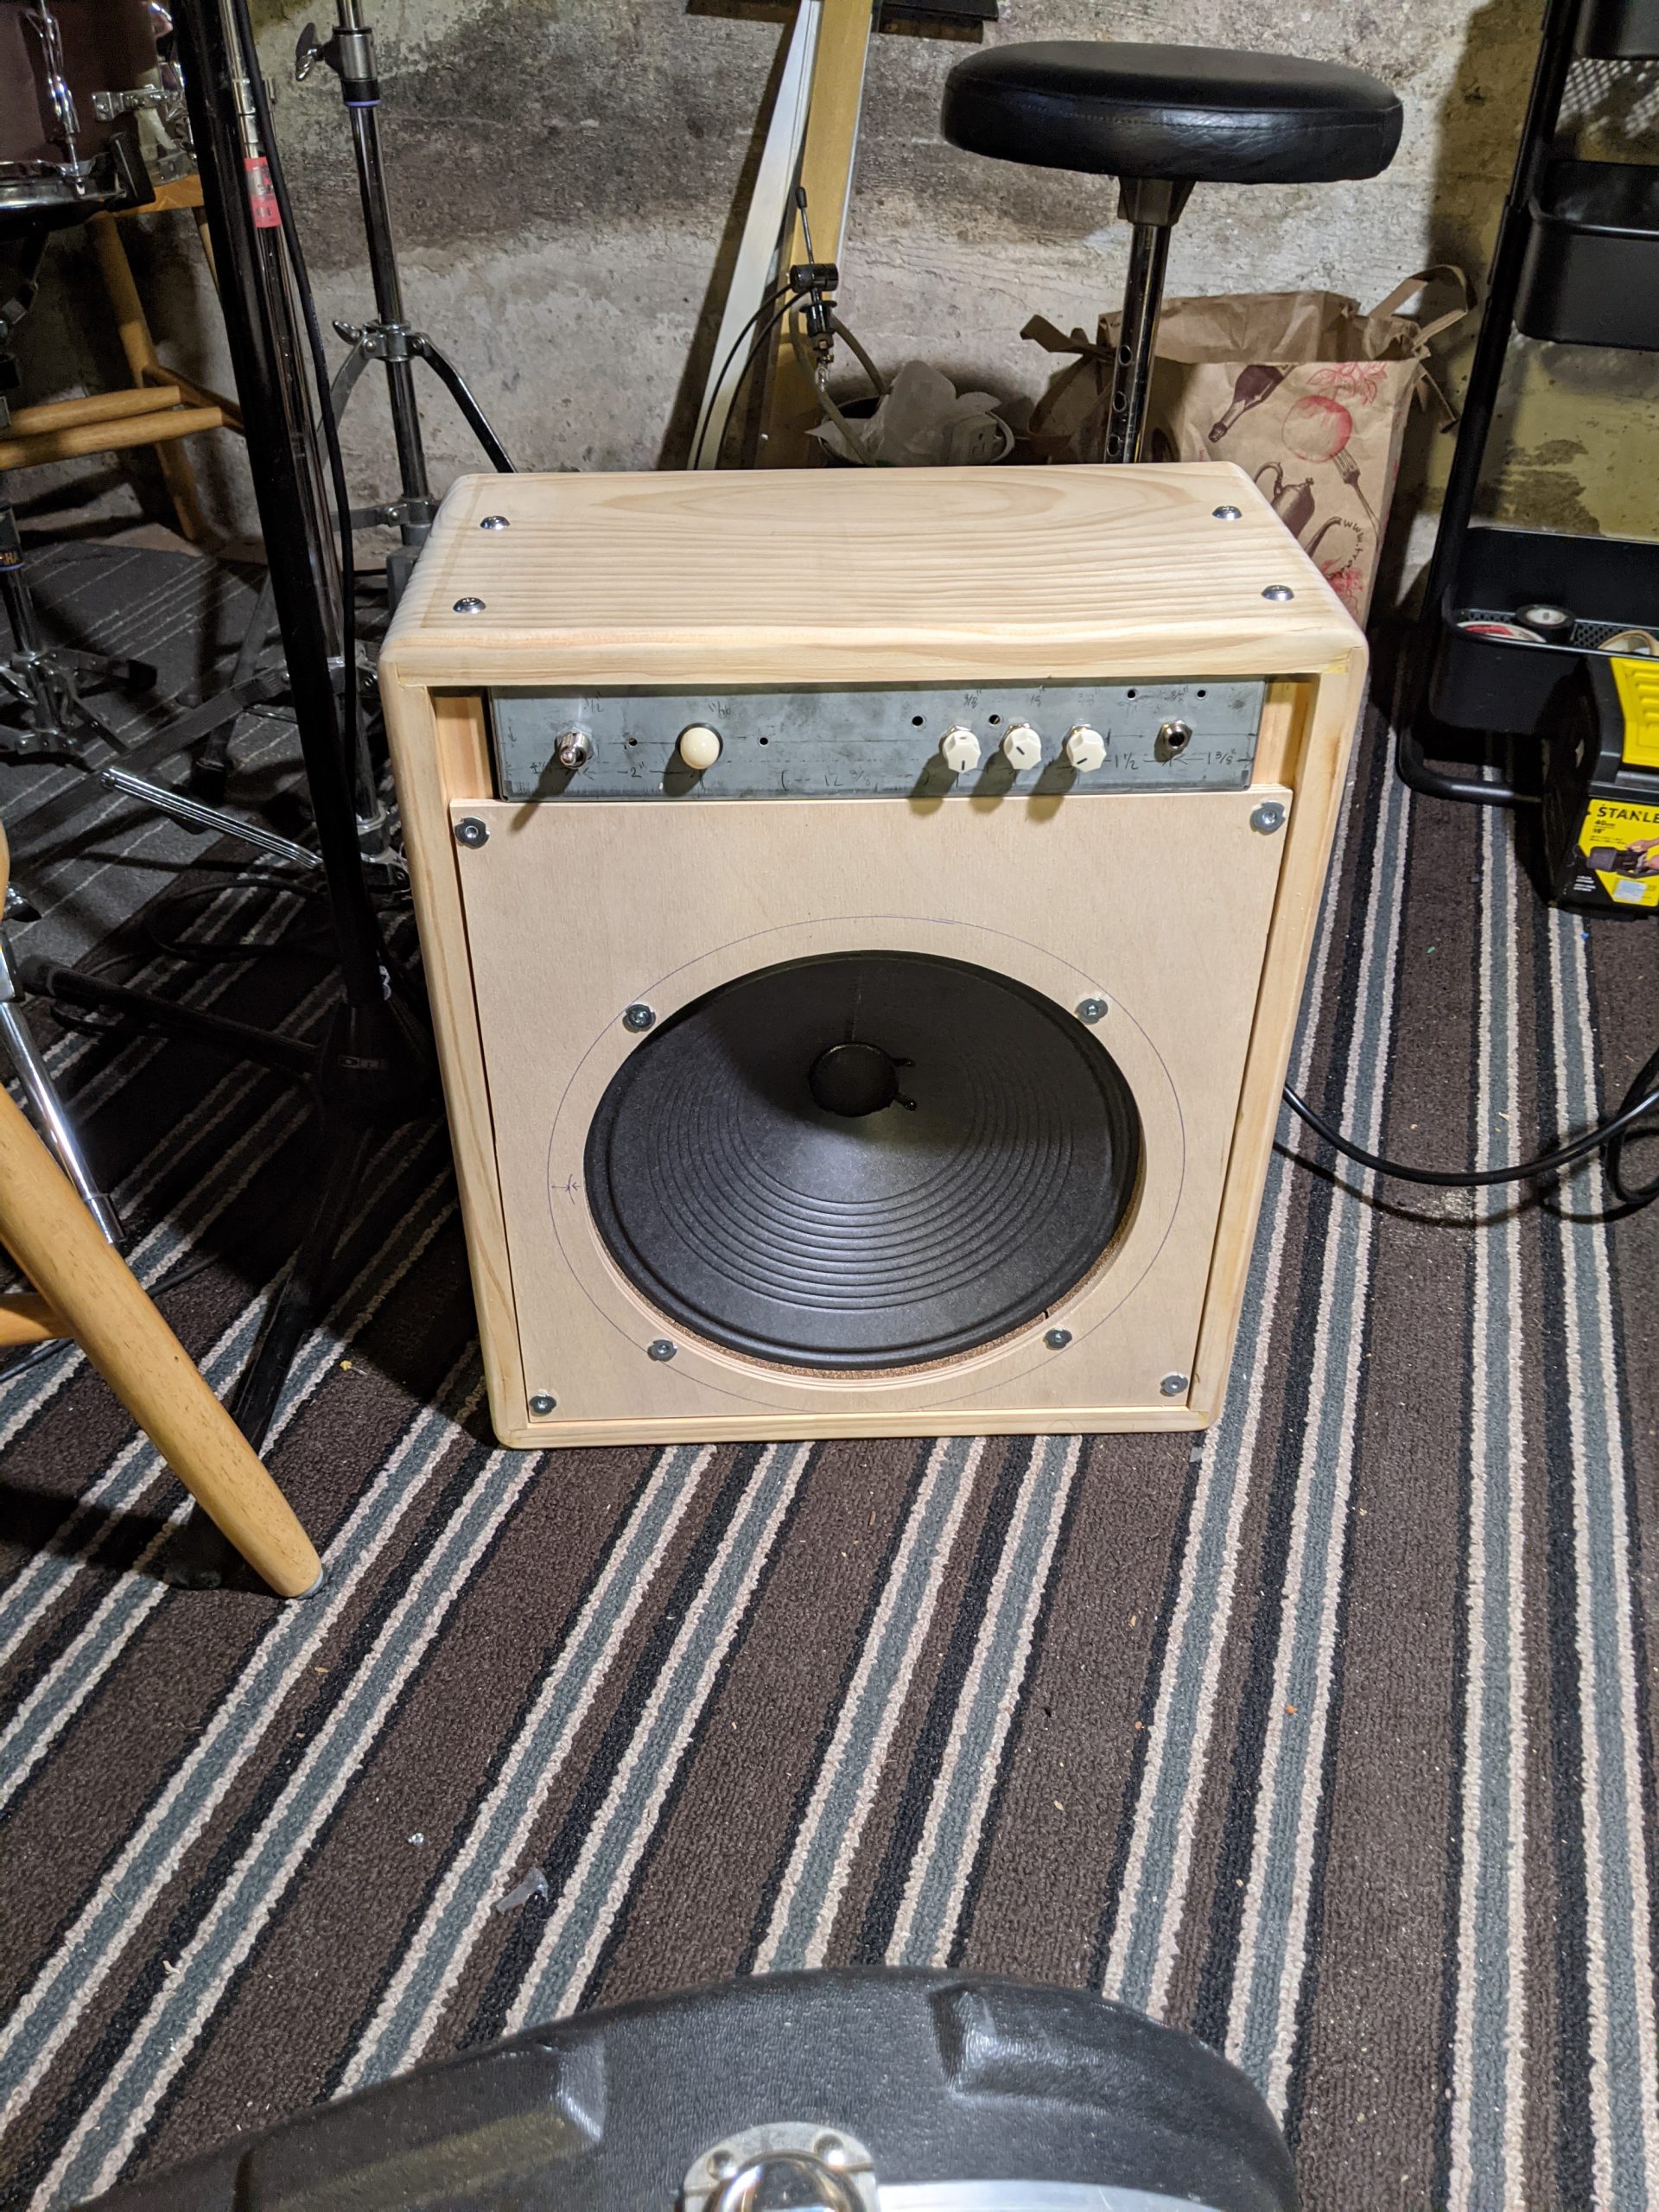
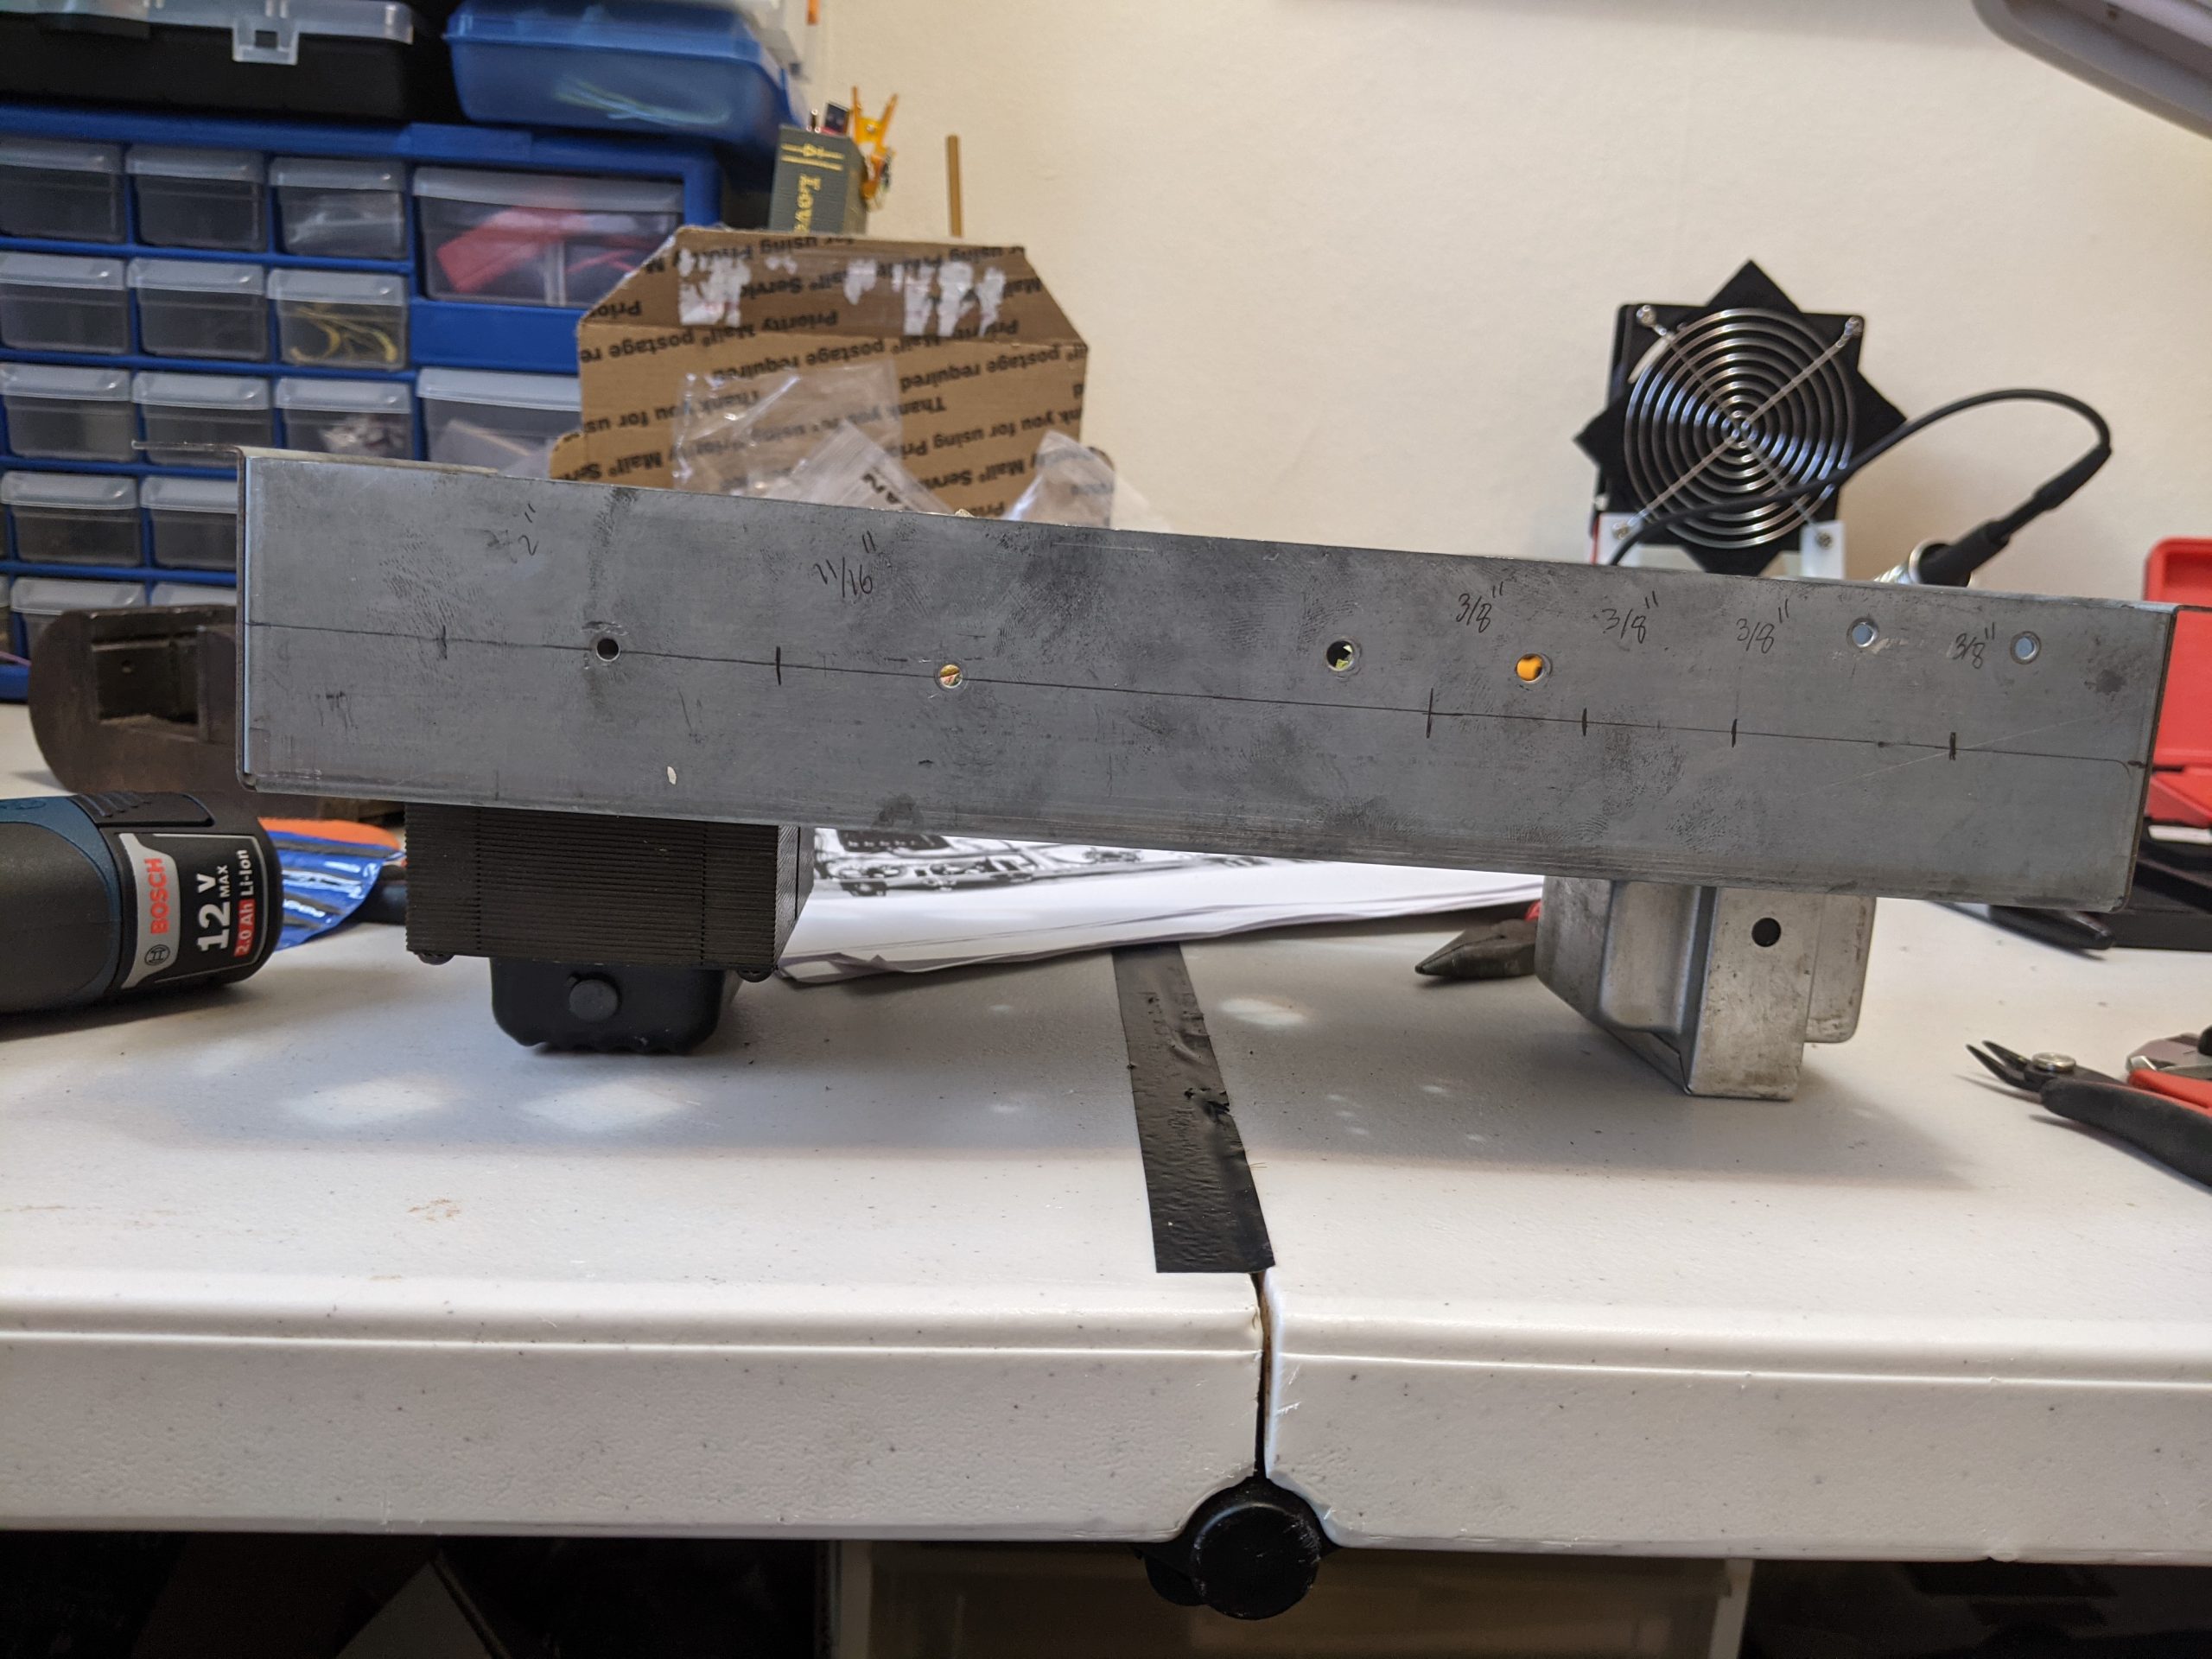
When the parts arrived, I measured the pieces that would have to be mounted to the chassis. I then drilled mounting holes and inserted all the sockets, switches, and filter caps.
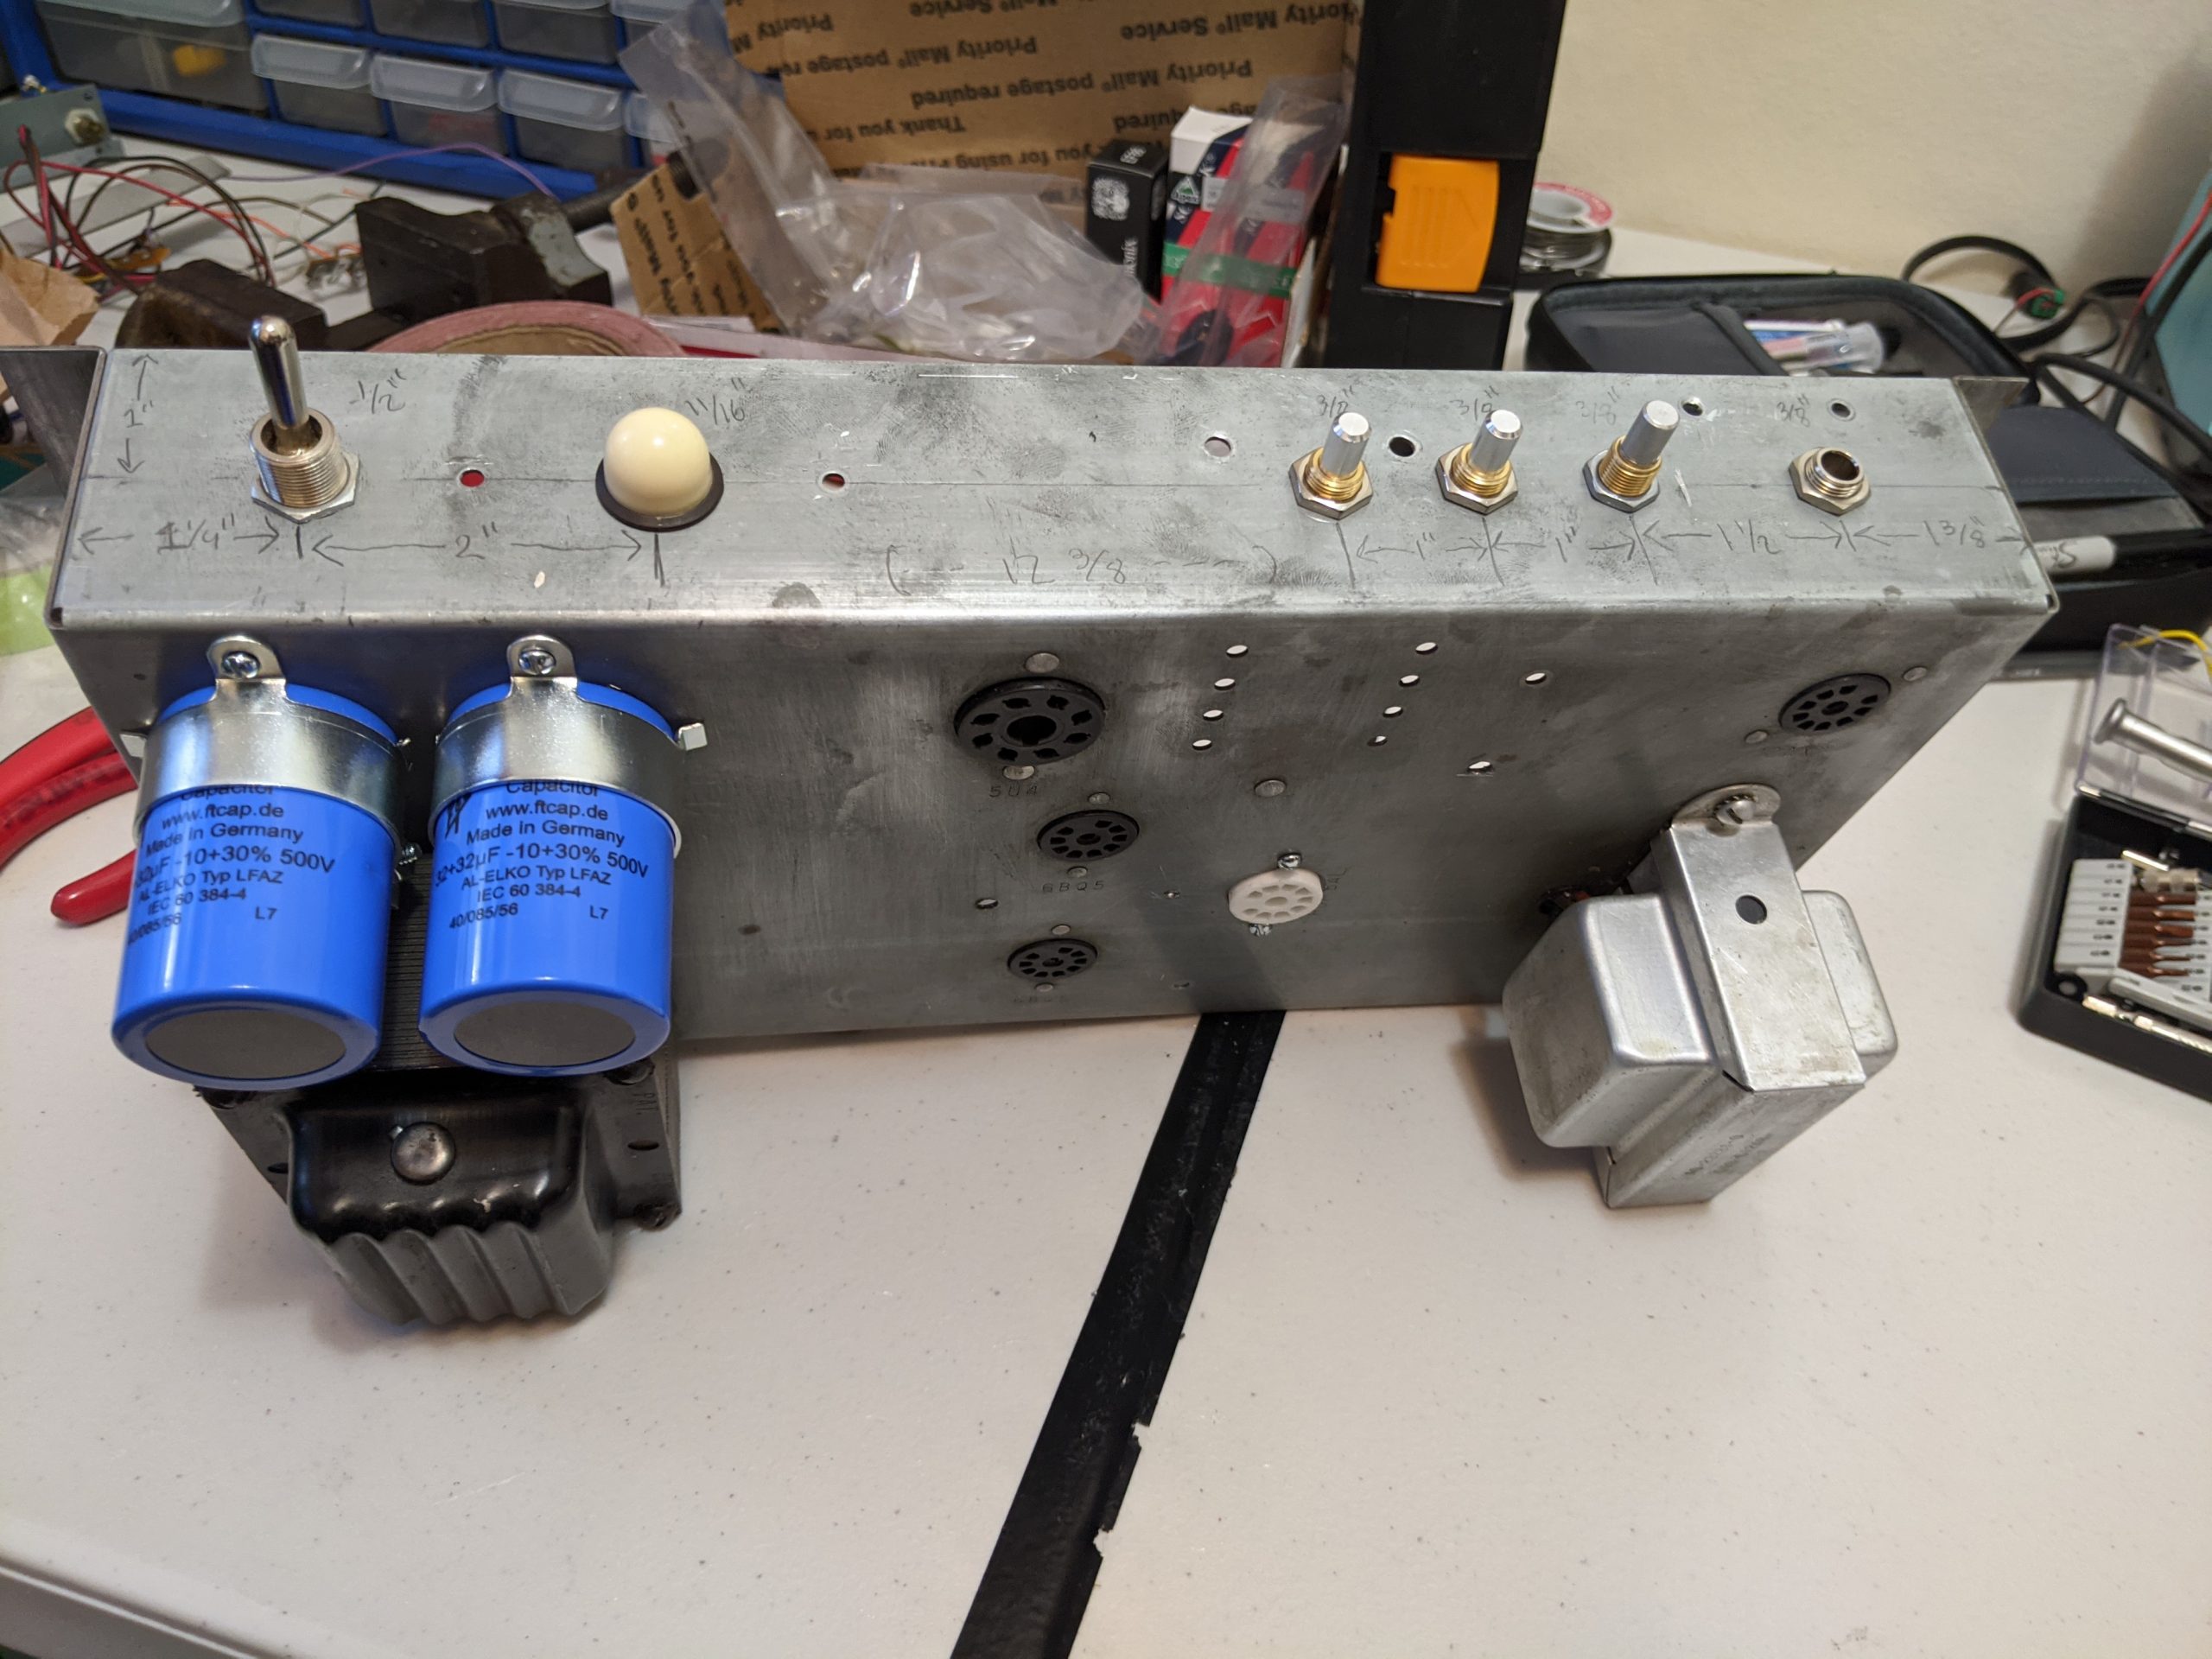
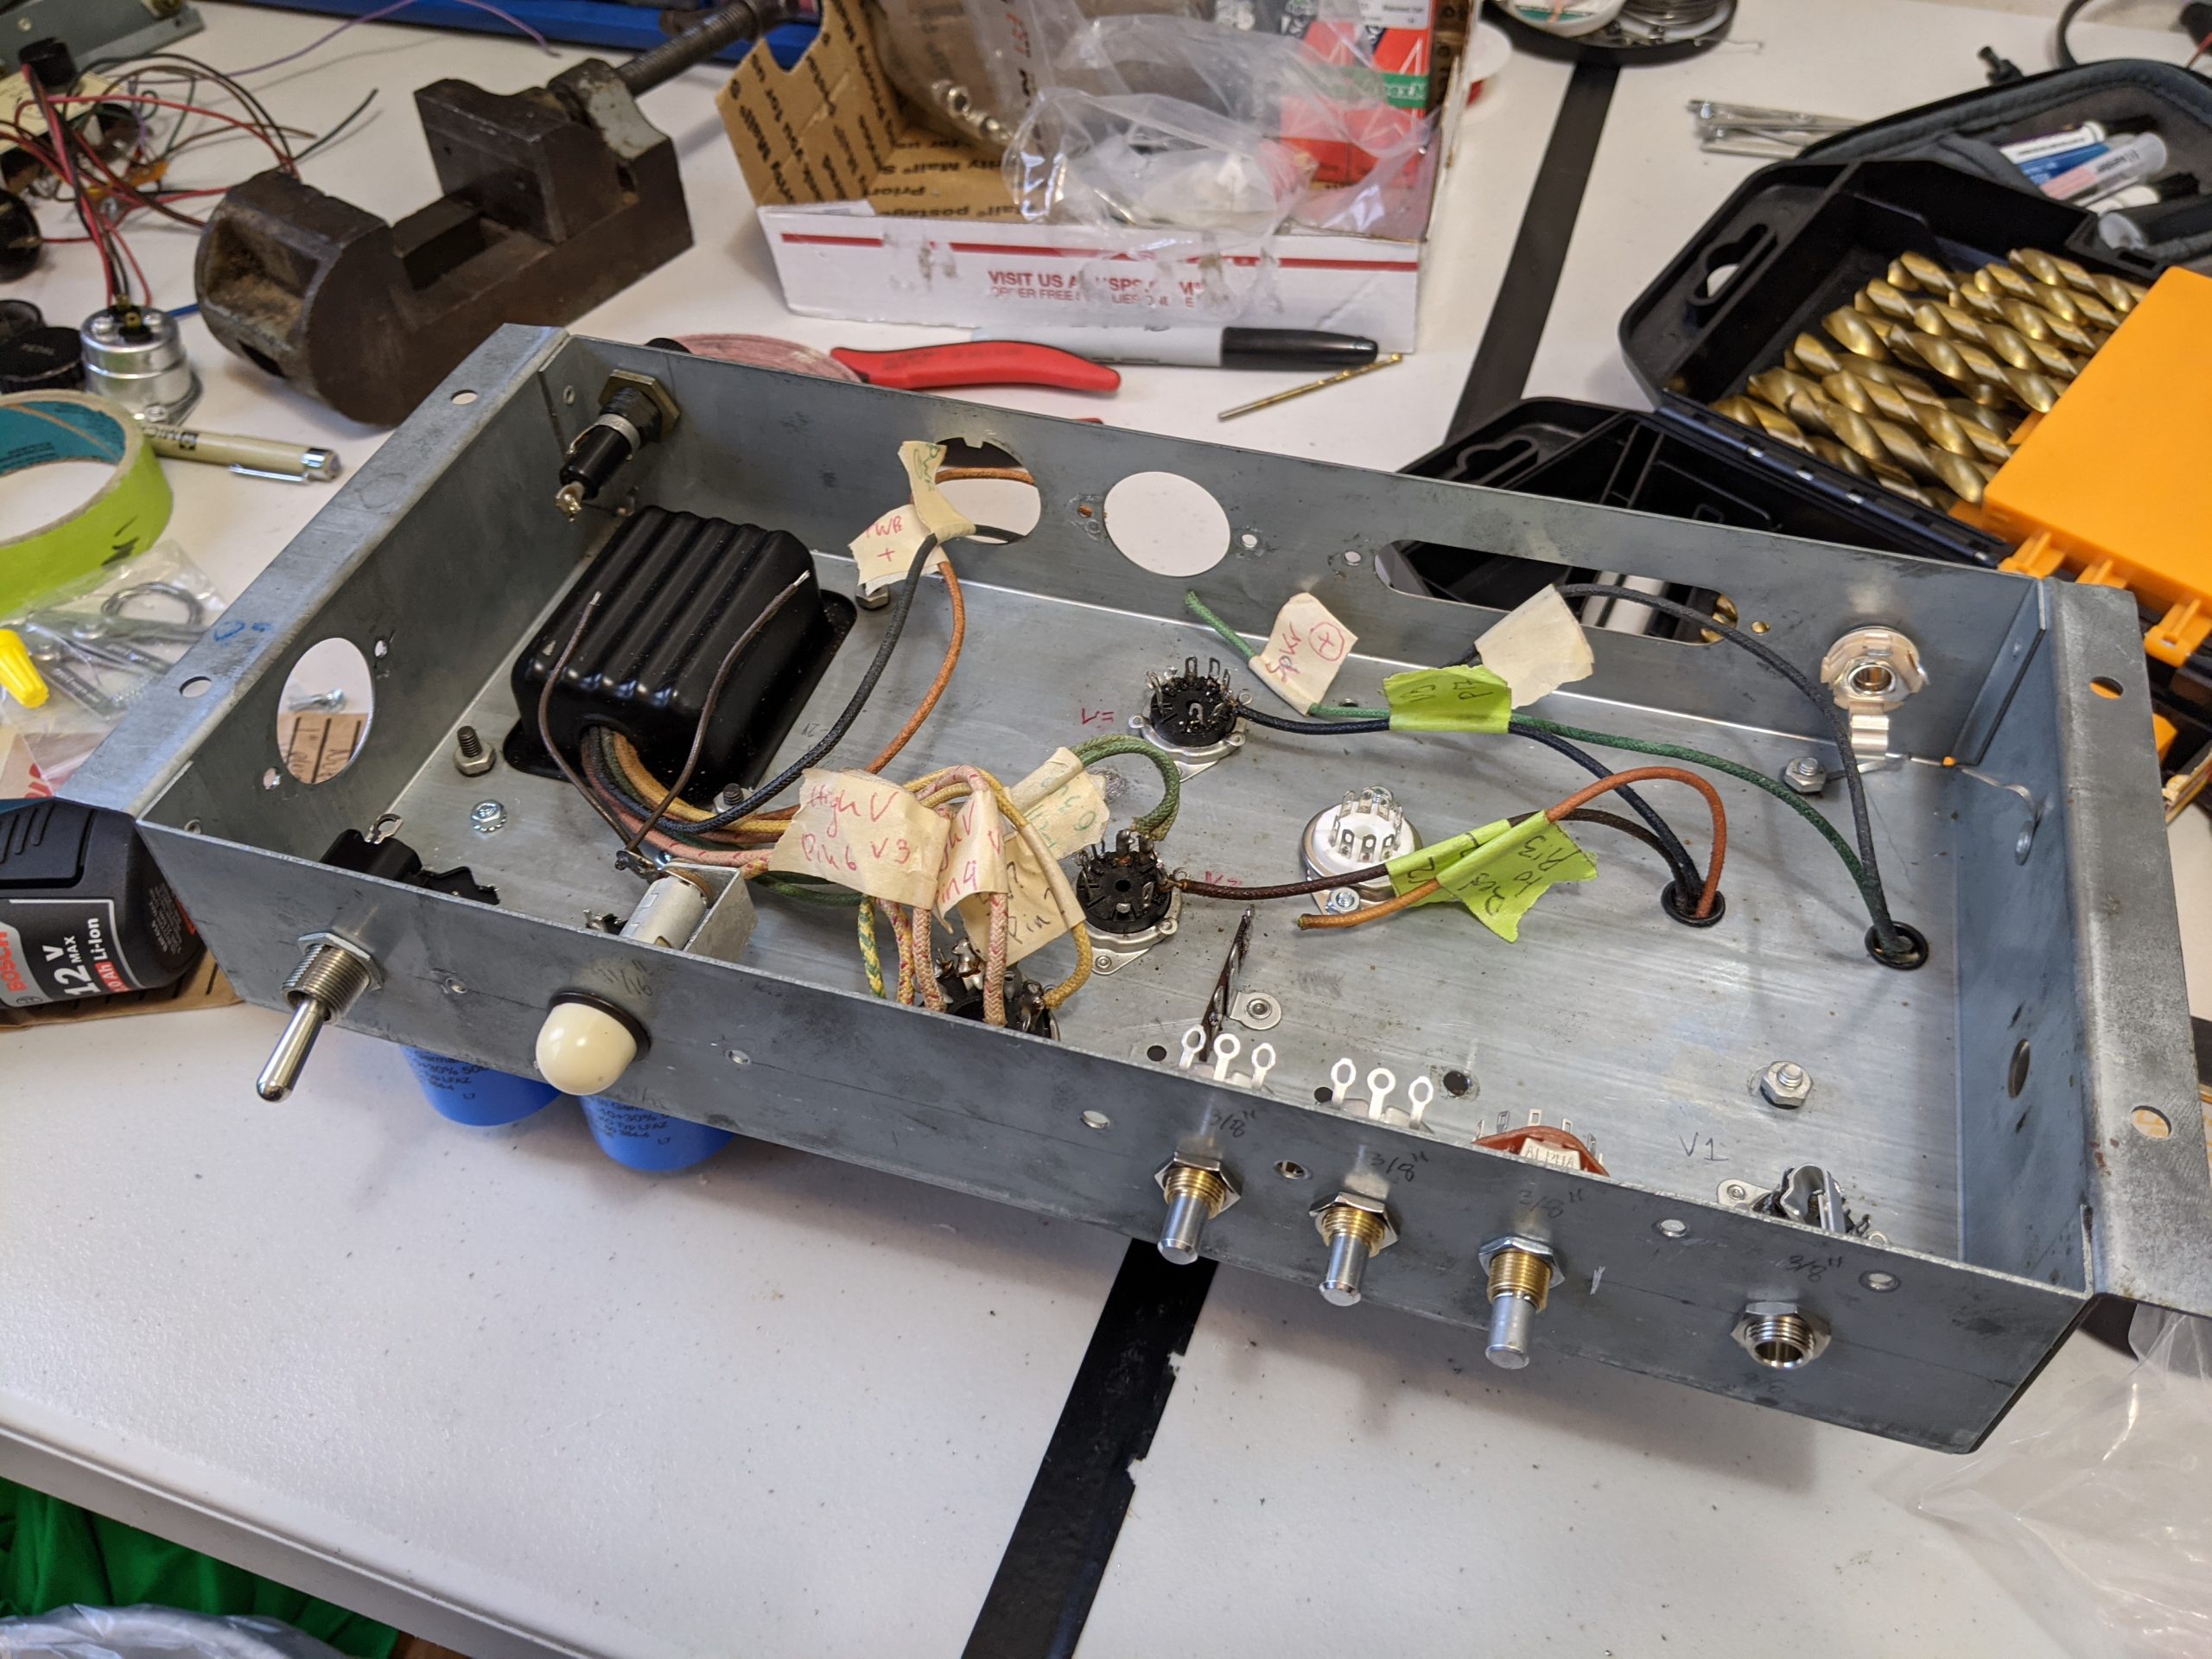
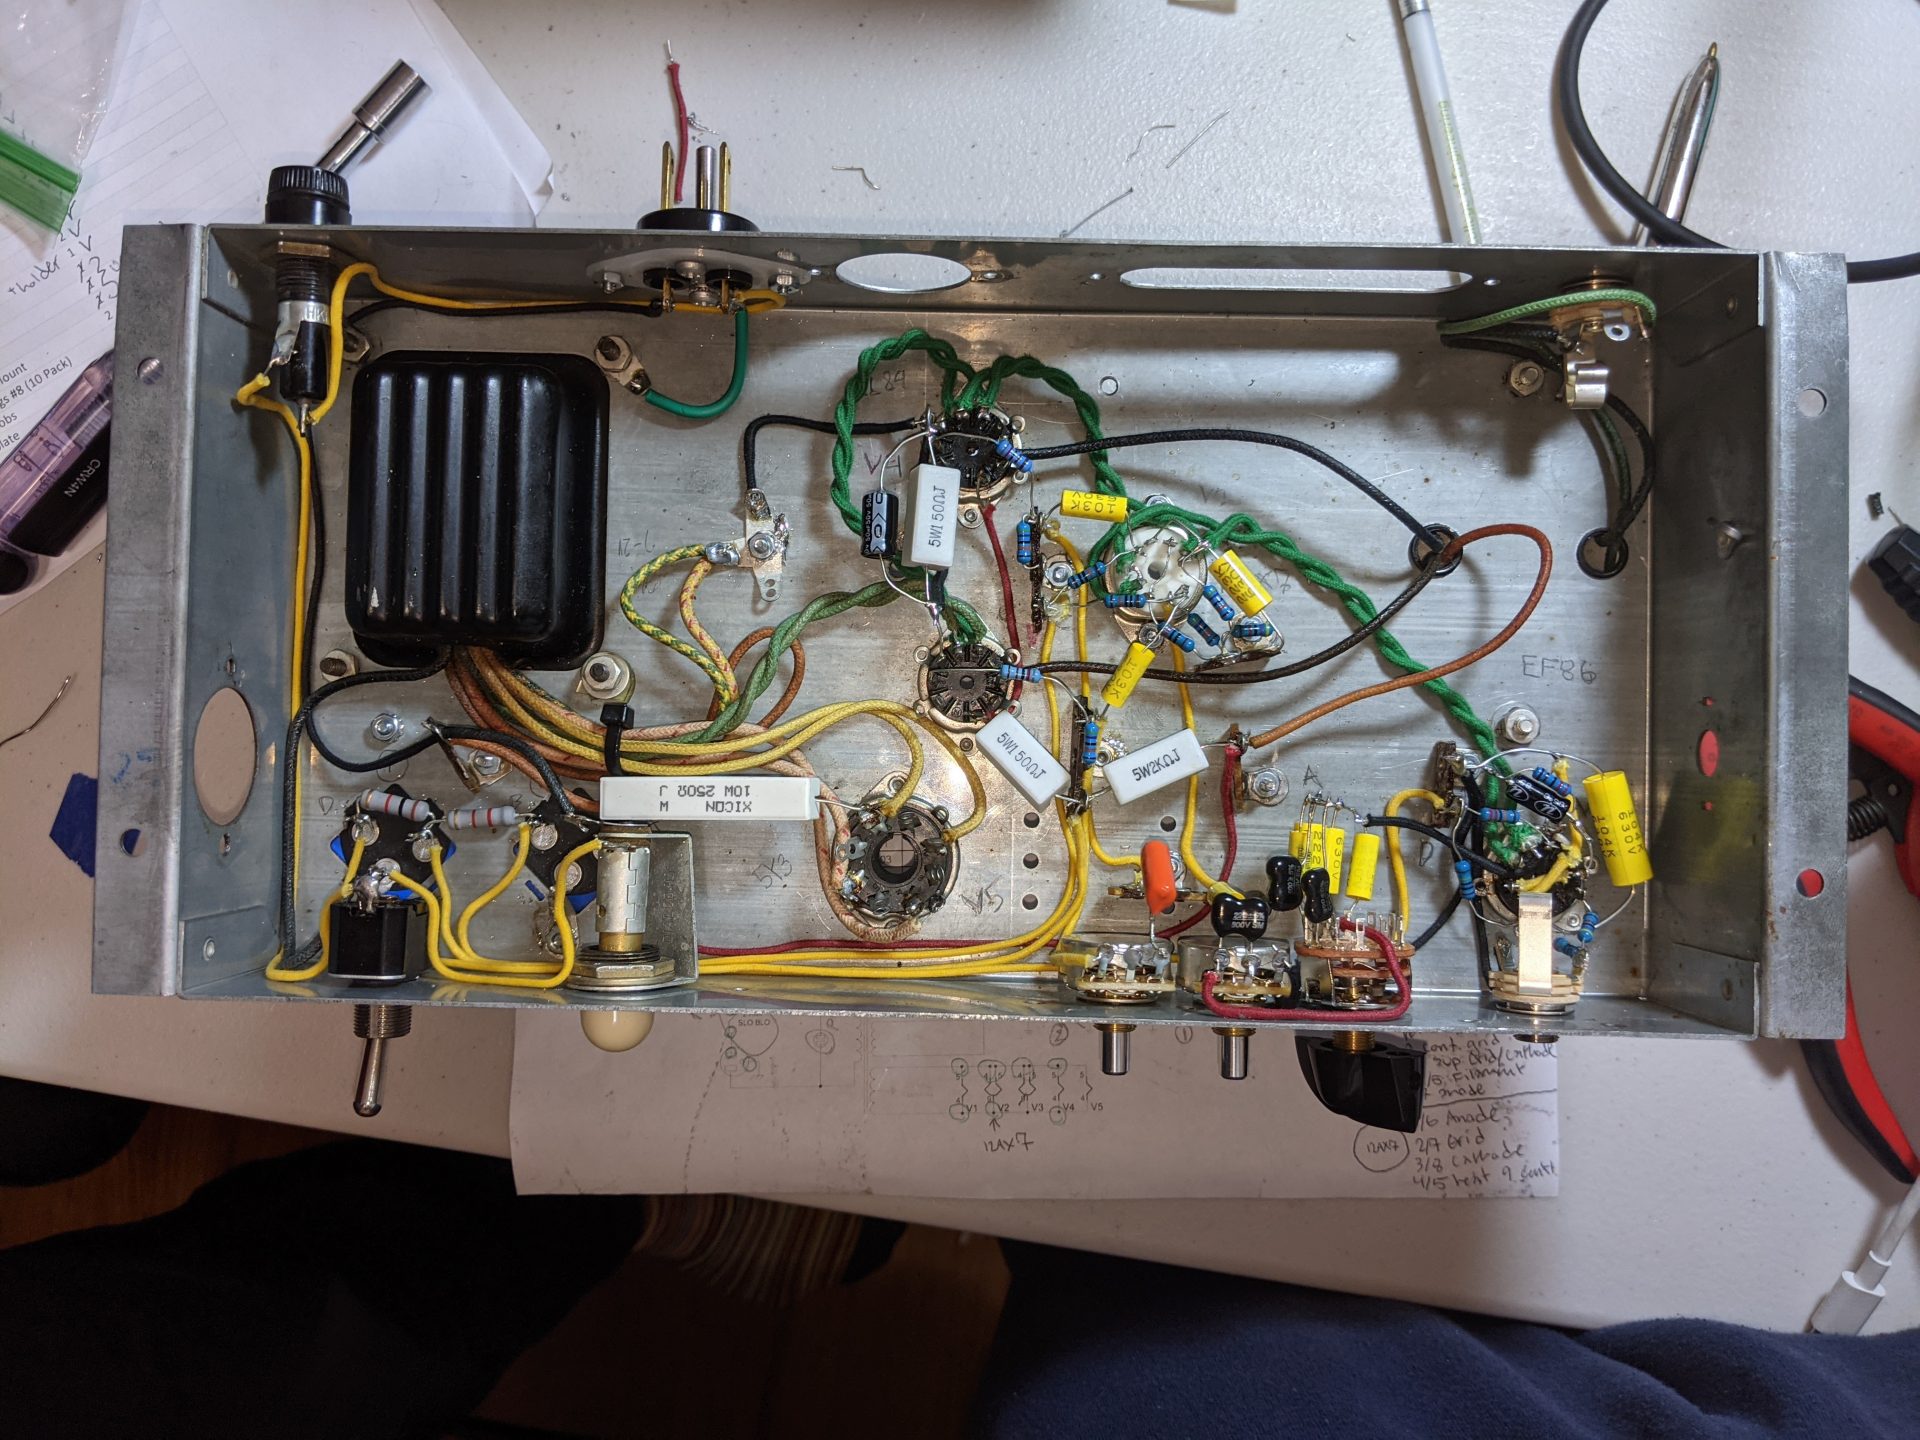
All that was left was to wire it up, using Sluckey’s schematic for reference. Older tube amps did not have circuit boards and were instead wired point-to-point. I have never wired a point-to-point circuit before – I had to be more careful about what was touching what, but the process was actually a lot faster and less tedious than mounting all components to a board and then running leads to all the sockets -used way less wire too!
Testing
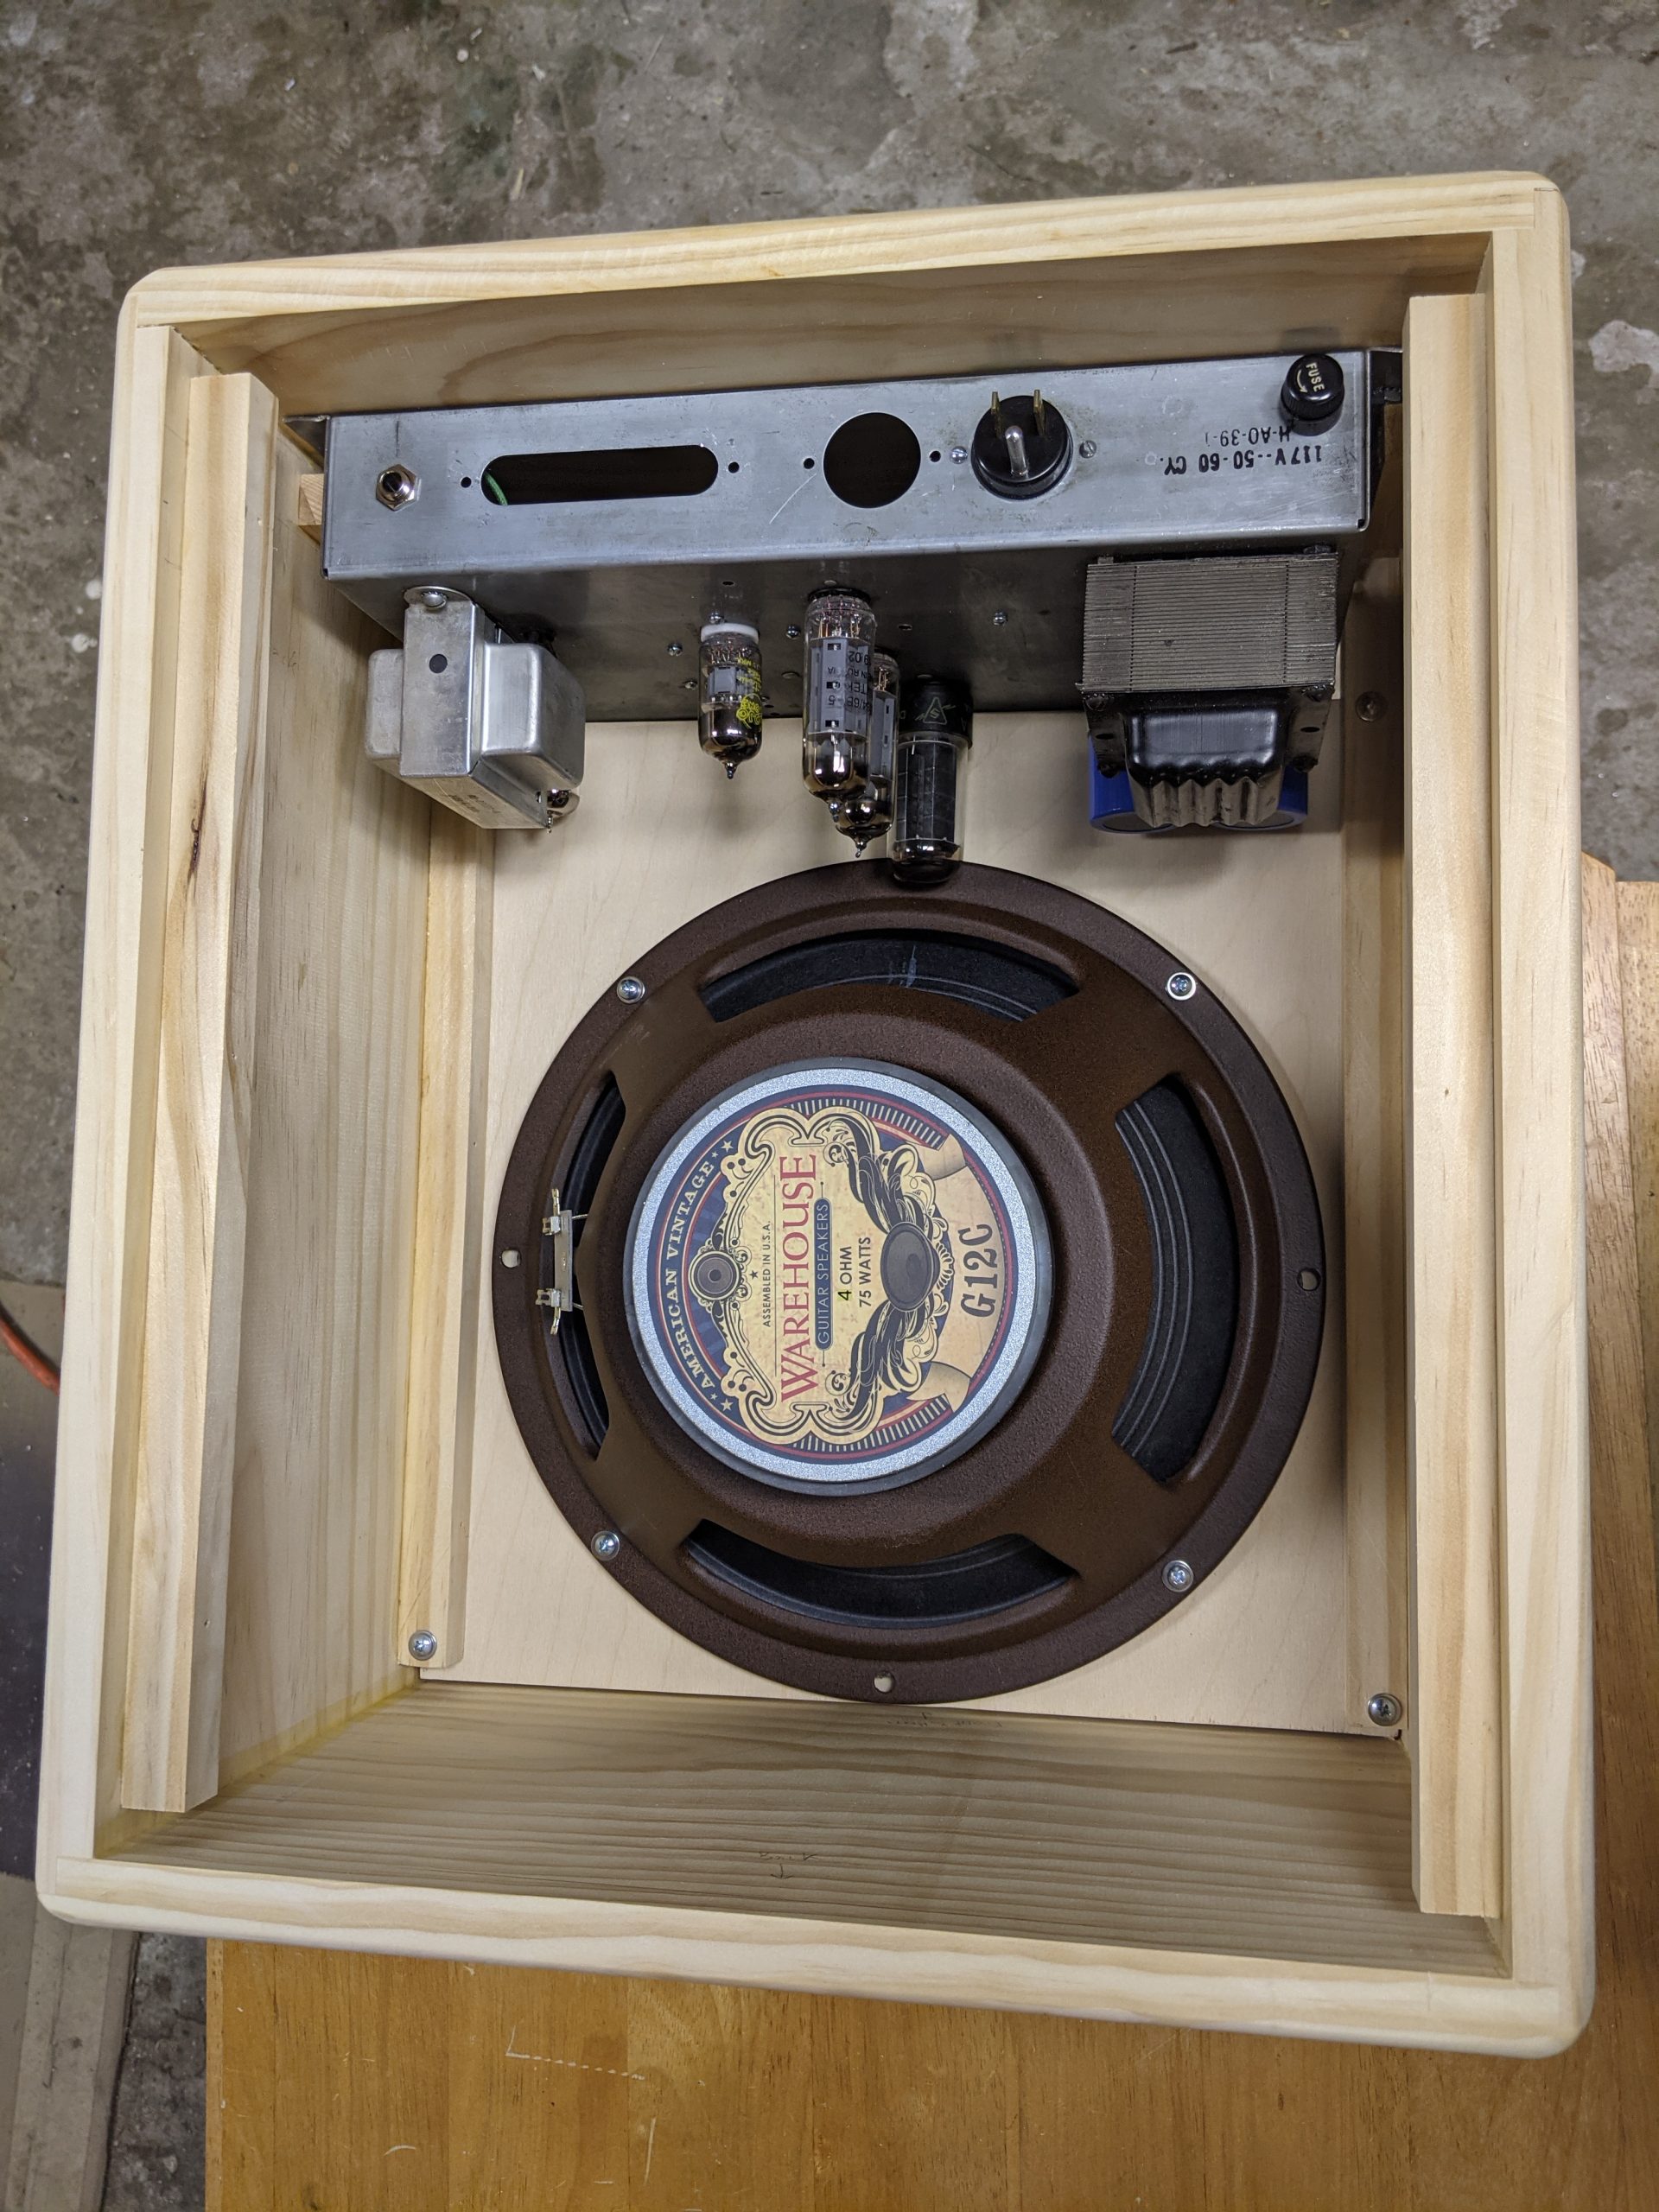
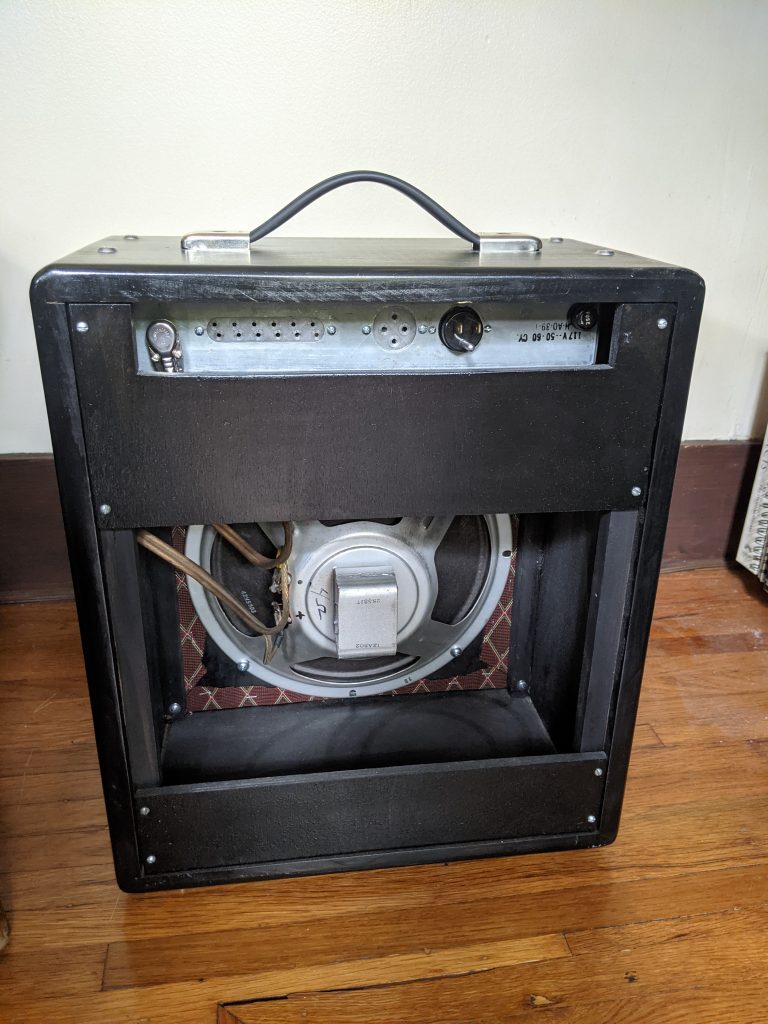
For the first test, the amp was plugged into the wall through a DIY current limiter to make sure there weren’t any shorts. Then tube voltages were measured and confirmed to be within range of expected values. Finally, the amp was plugged directly into the wall & 4 Ohm speaker mounted into an existing guitar cabinet. Didn’t have a signal generator, so first audio test was done the old fashion way.
PXL_20210306_190040919
Well, I was not expecting it to work immediately (electronics, like code, never seem to work perfectly on the first try). I anticipated some troubleshooting would be required before the amp was usable, but I was pleasantly surprised to get a nice sounding output right off the bat. Trusting a random schematic off the web really paid off (thanks Sluckey!).
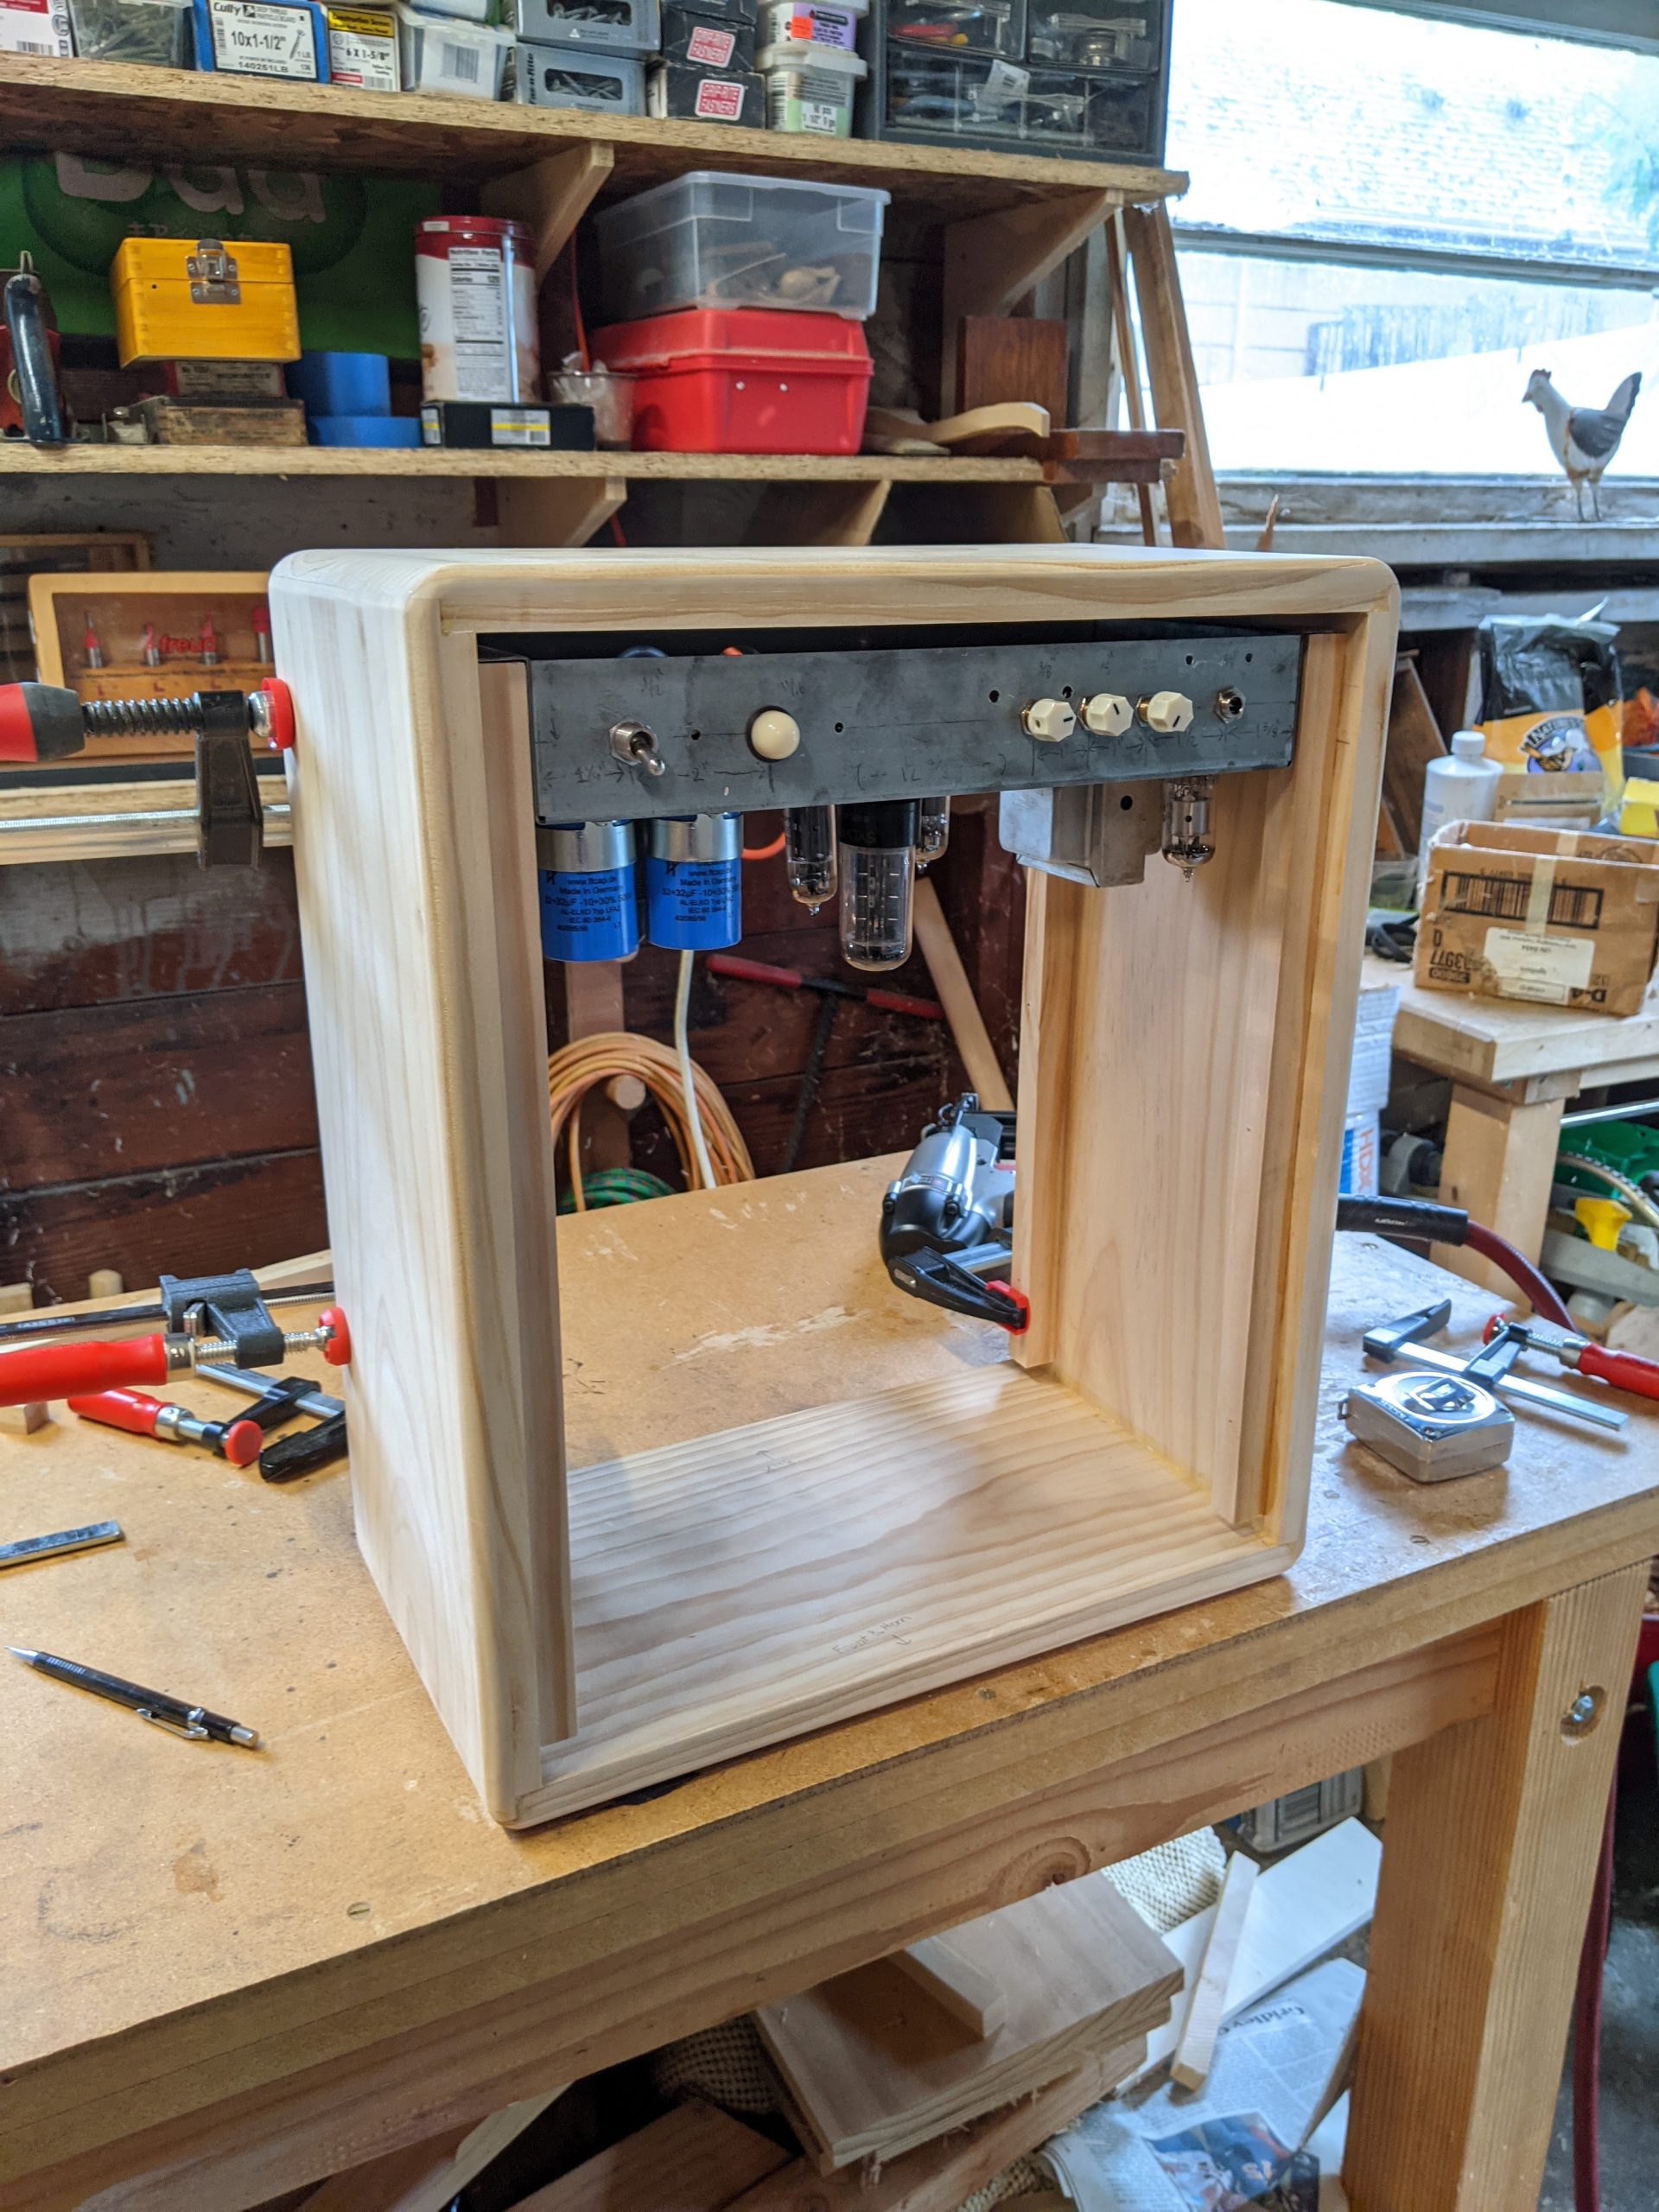
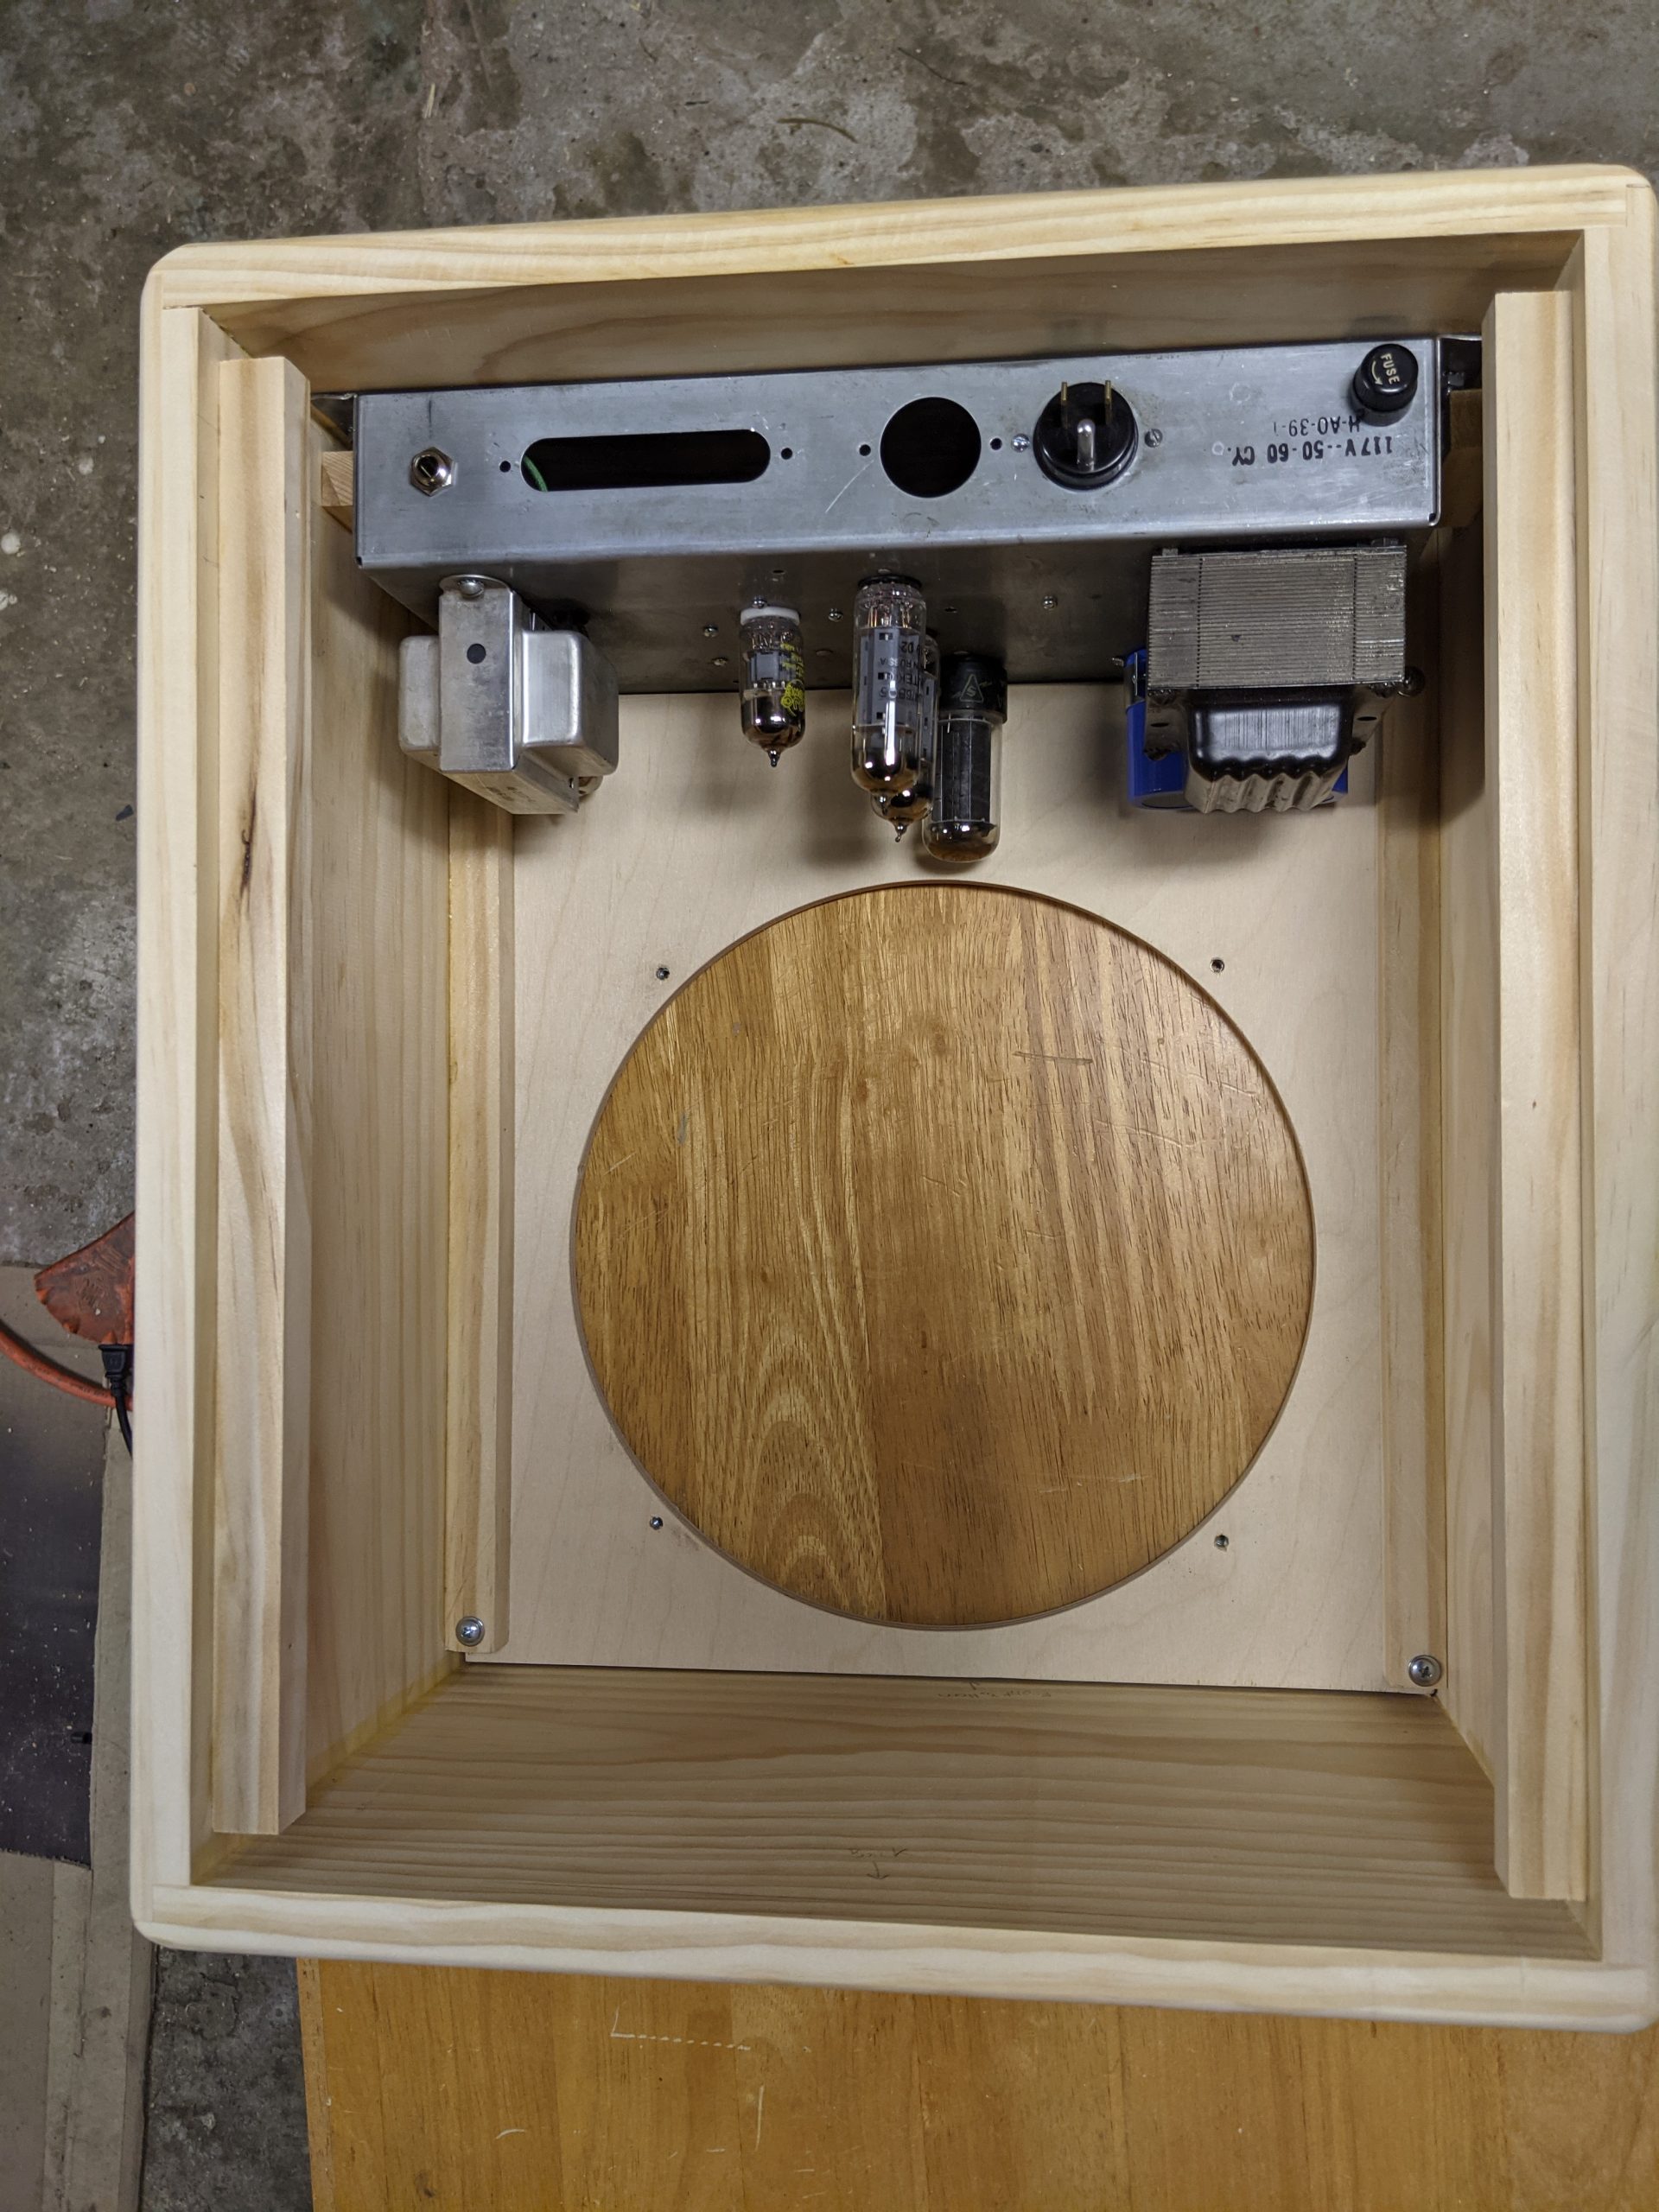
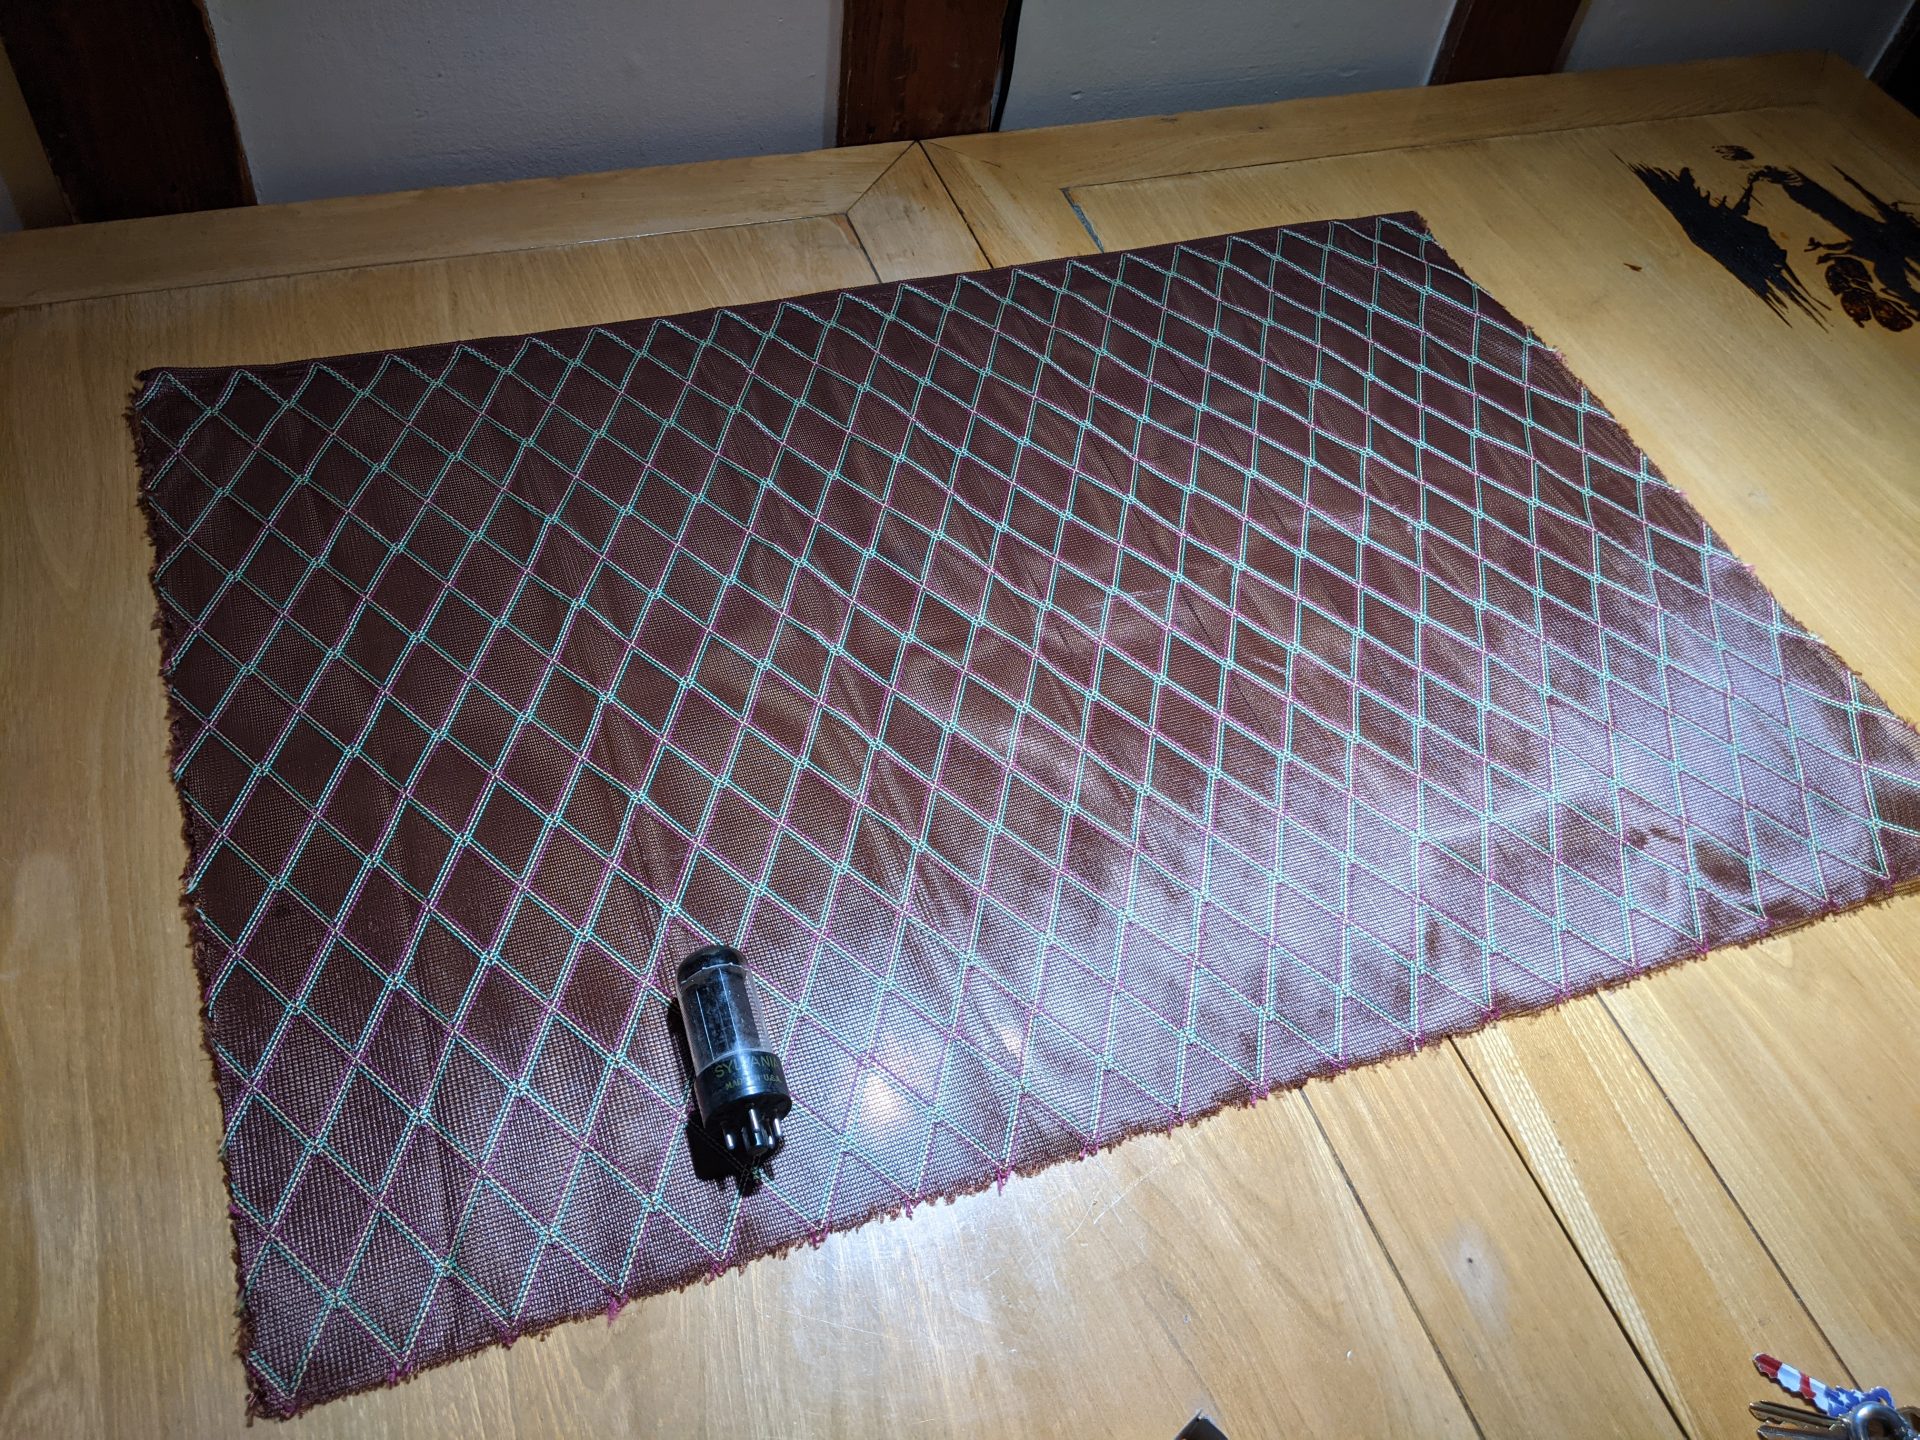
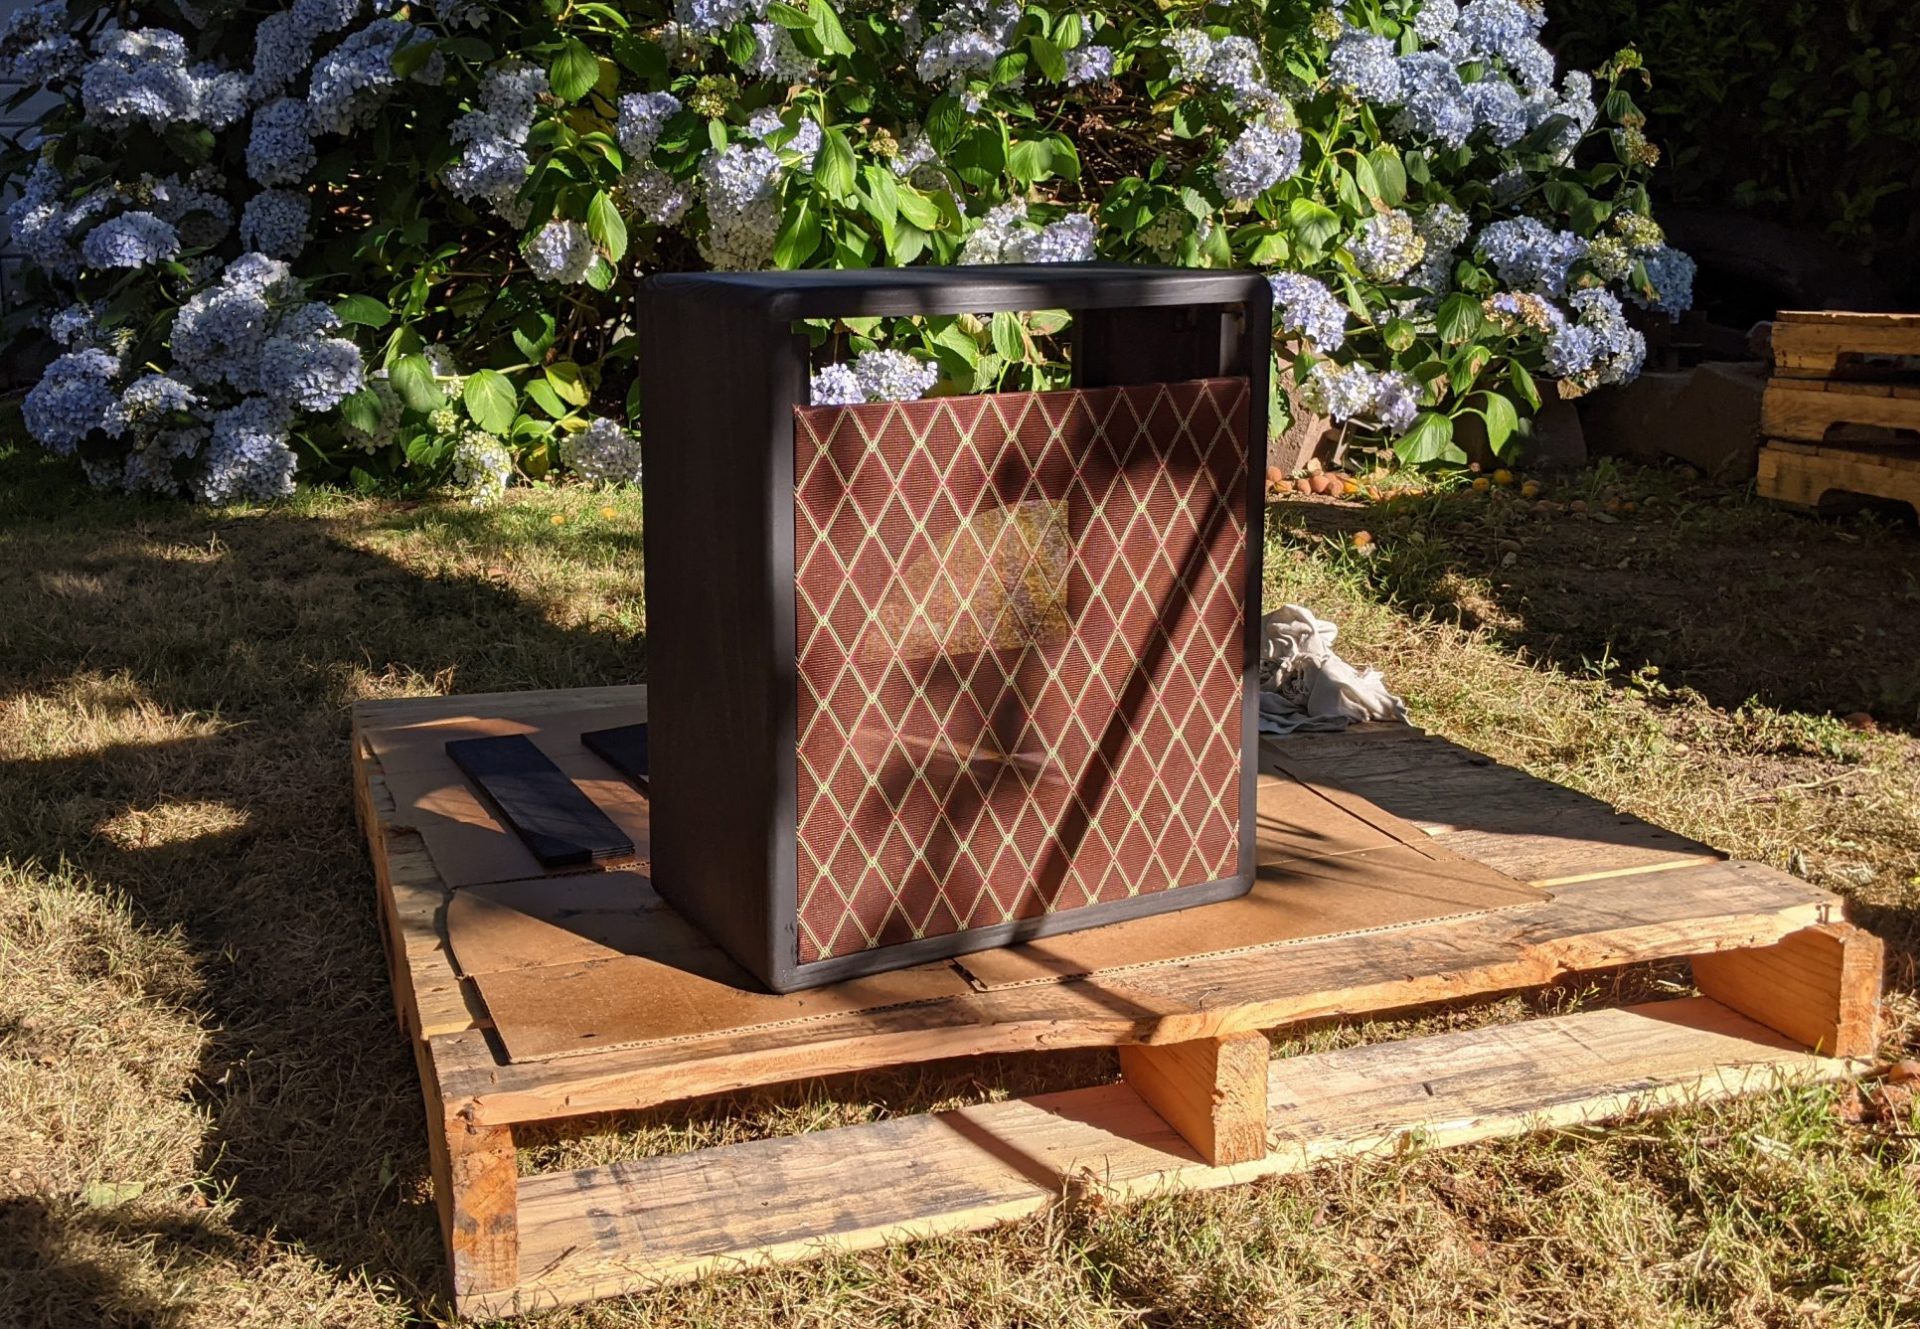
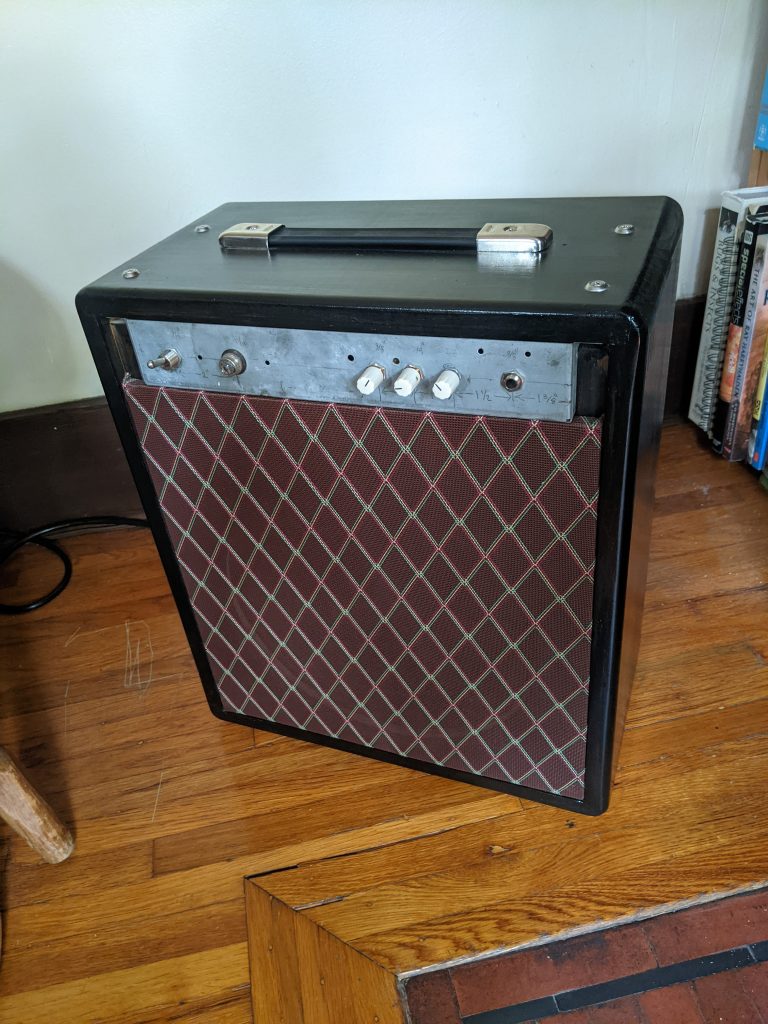
Next Steps: Building a Cabinet
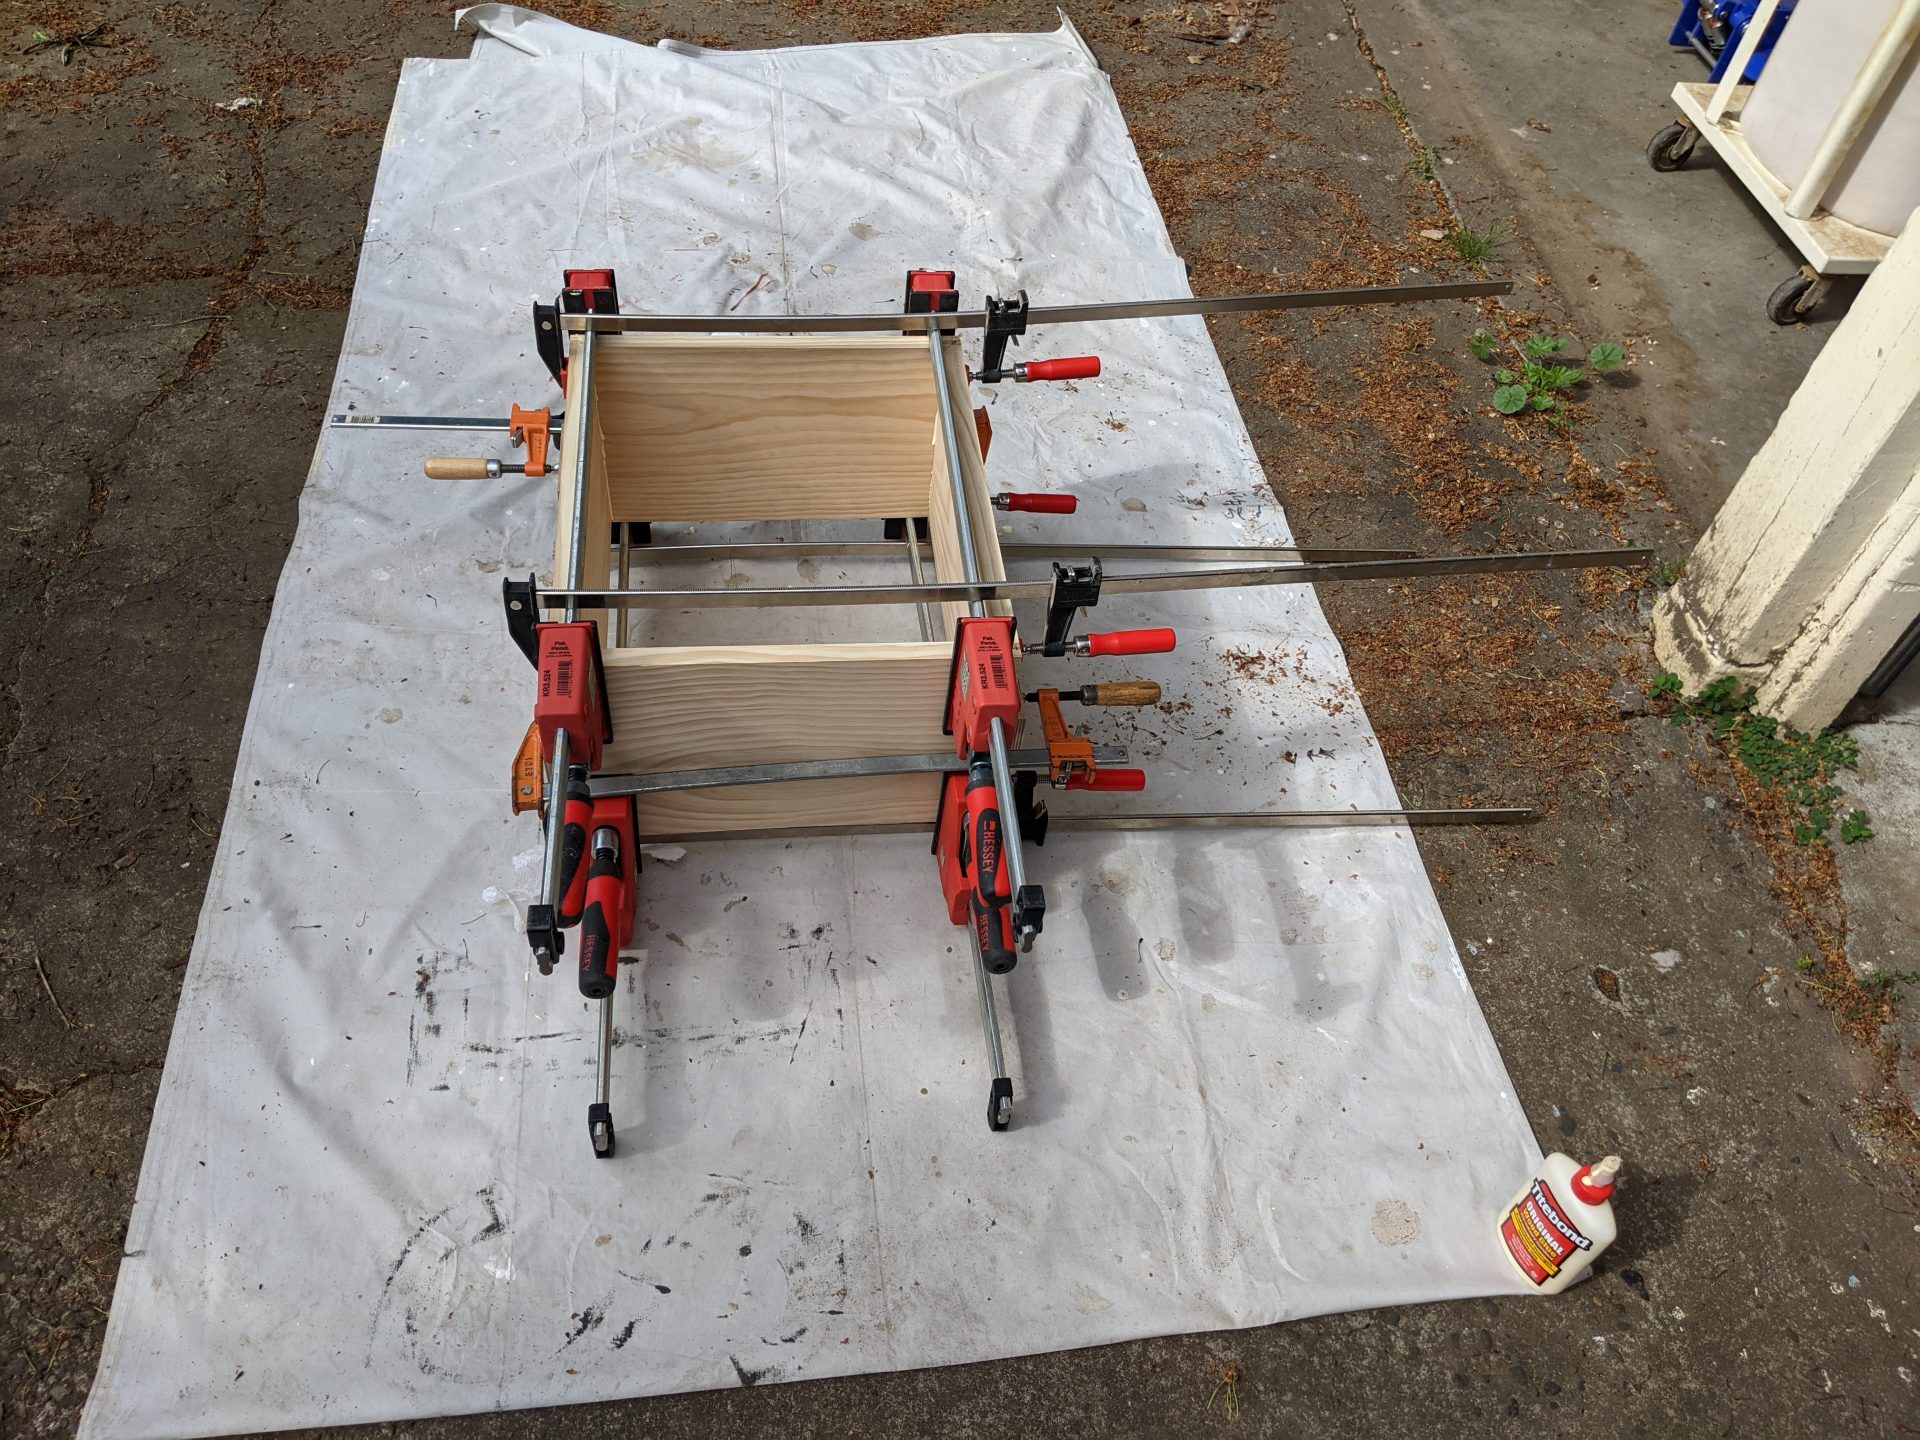
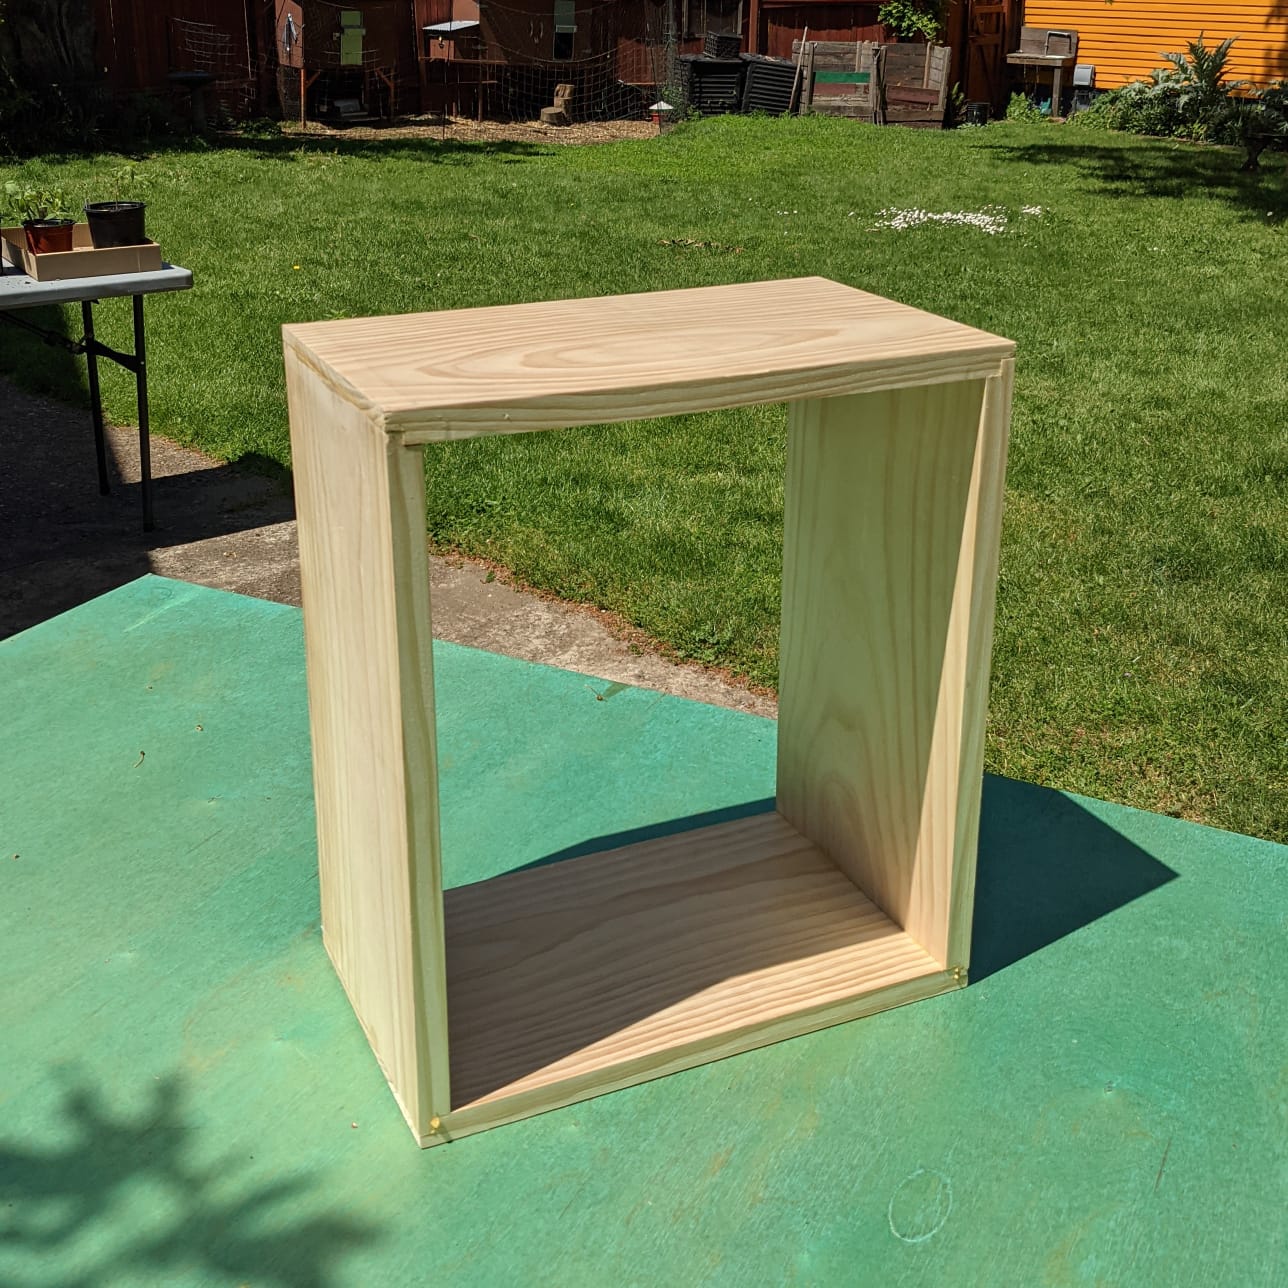
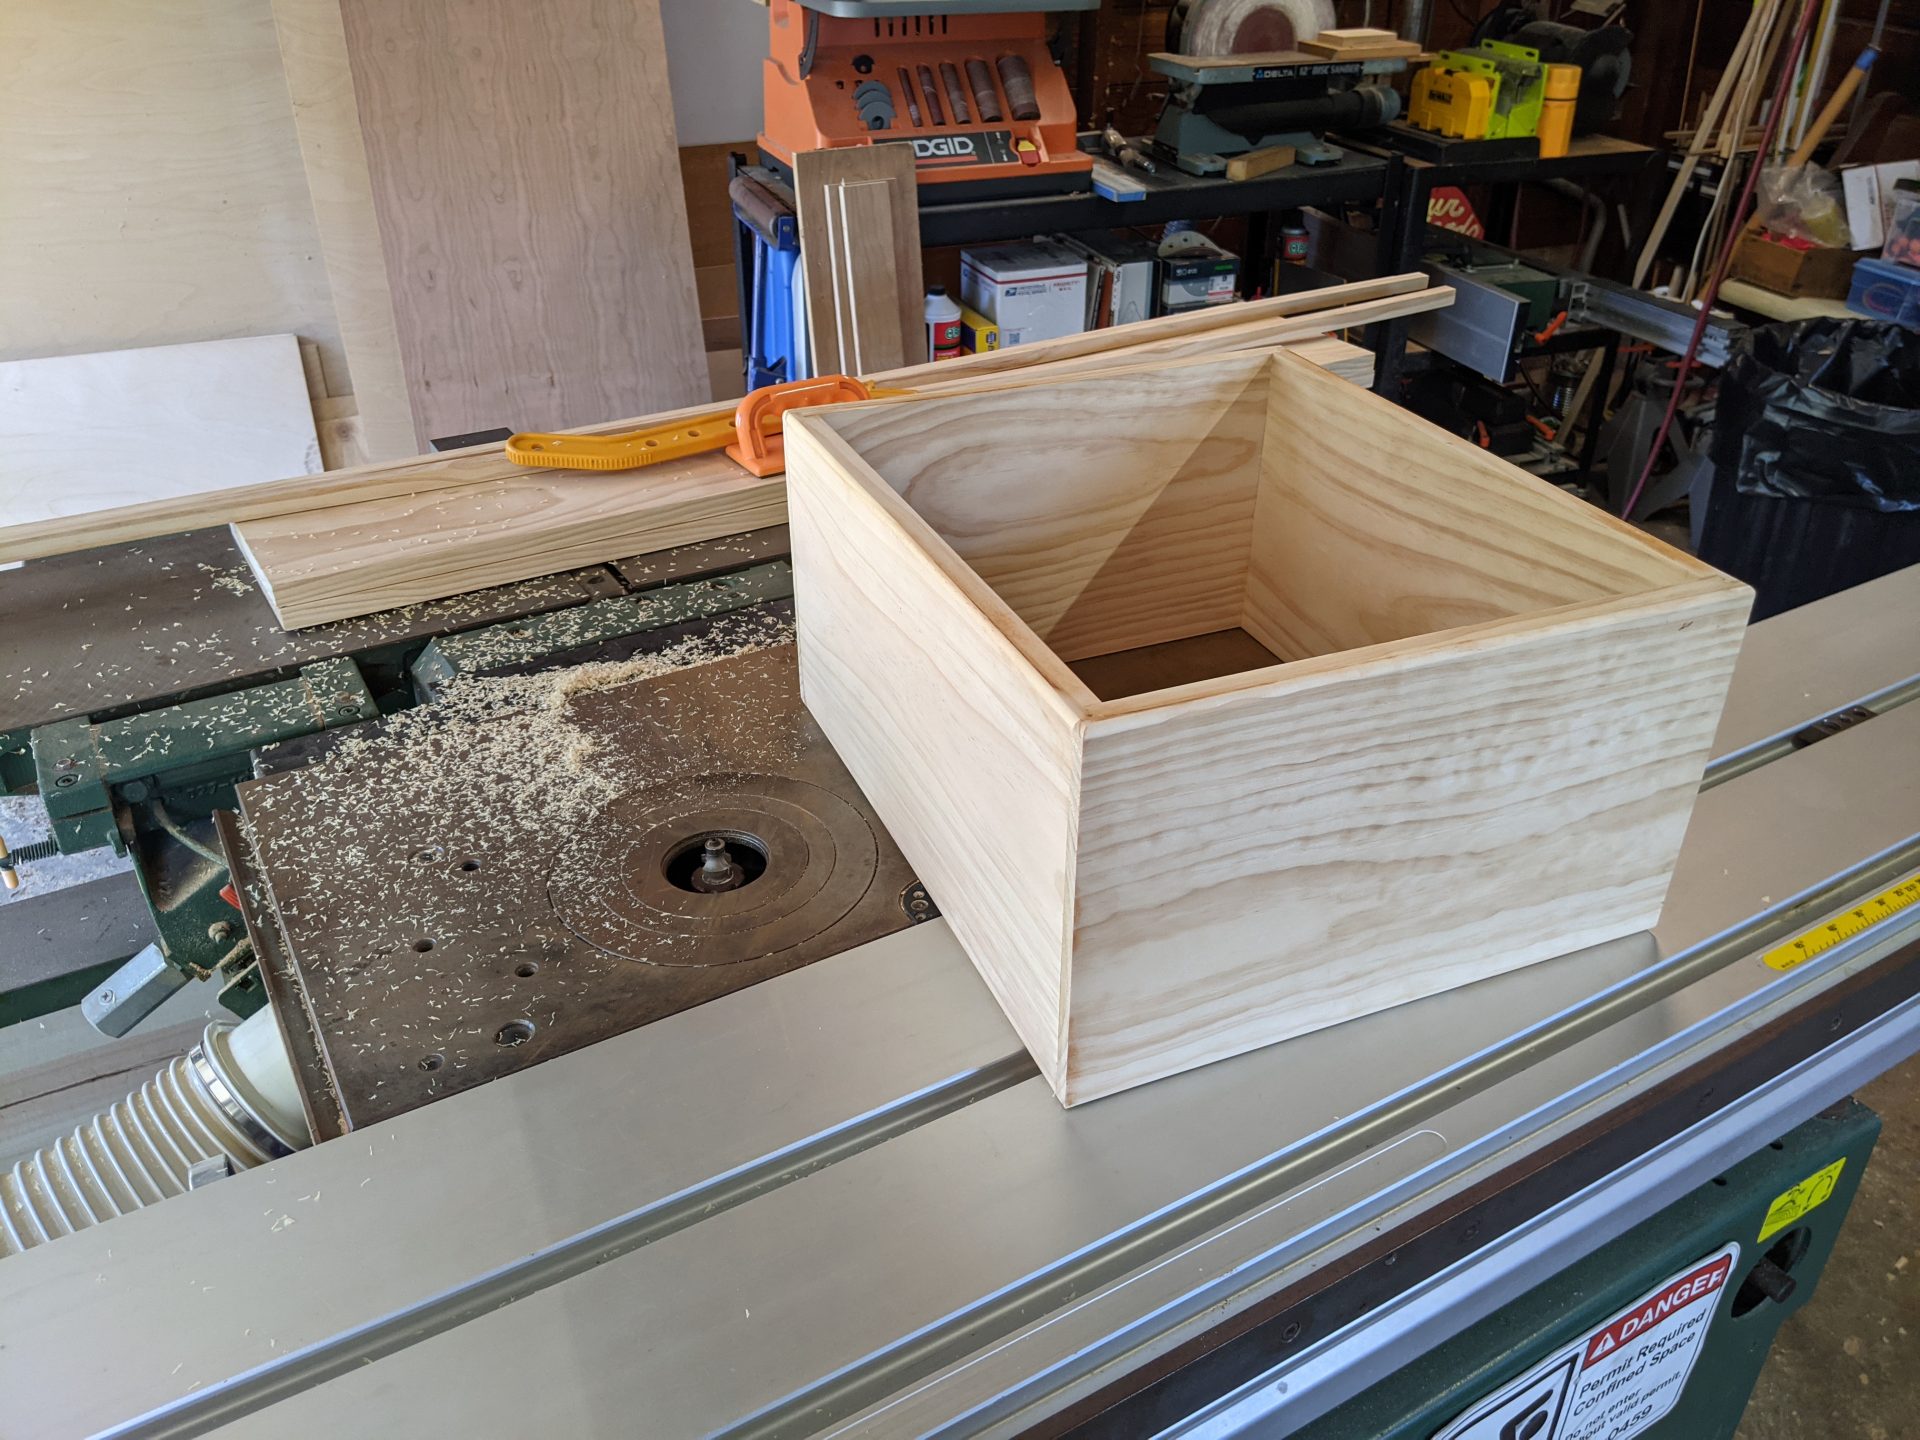
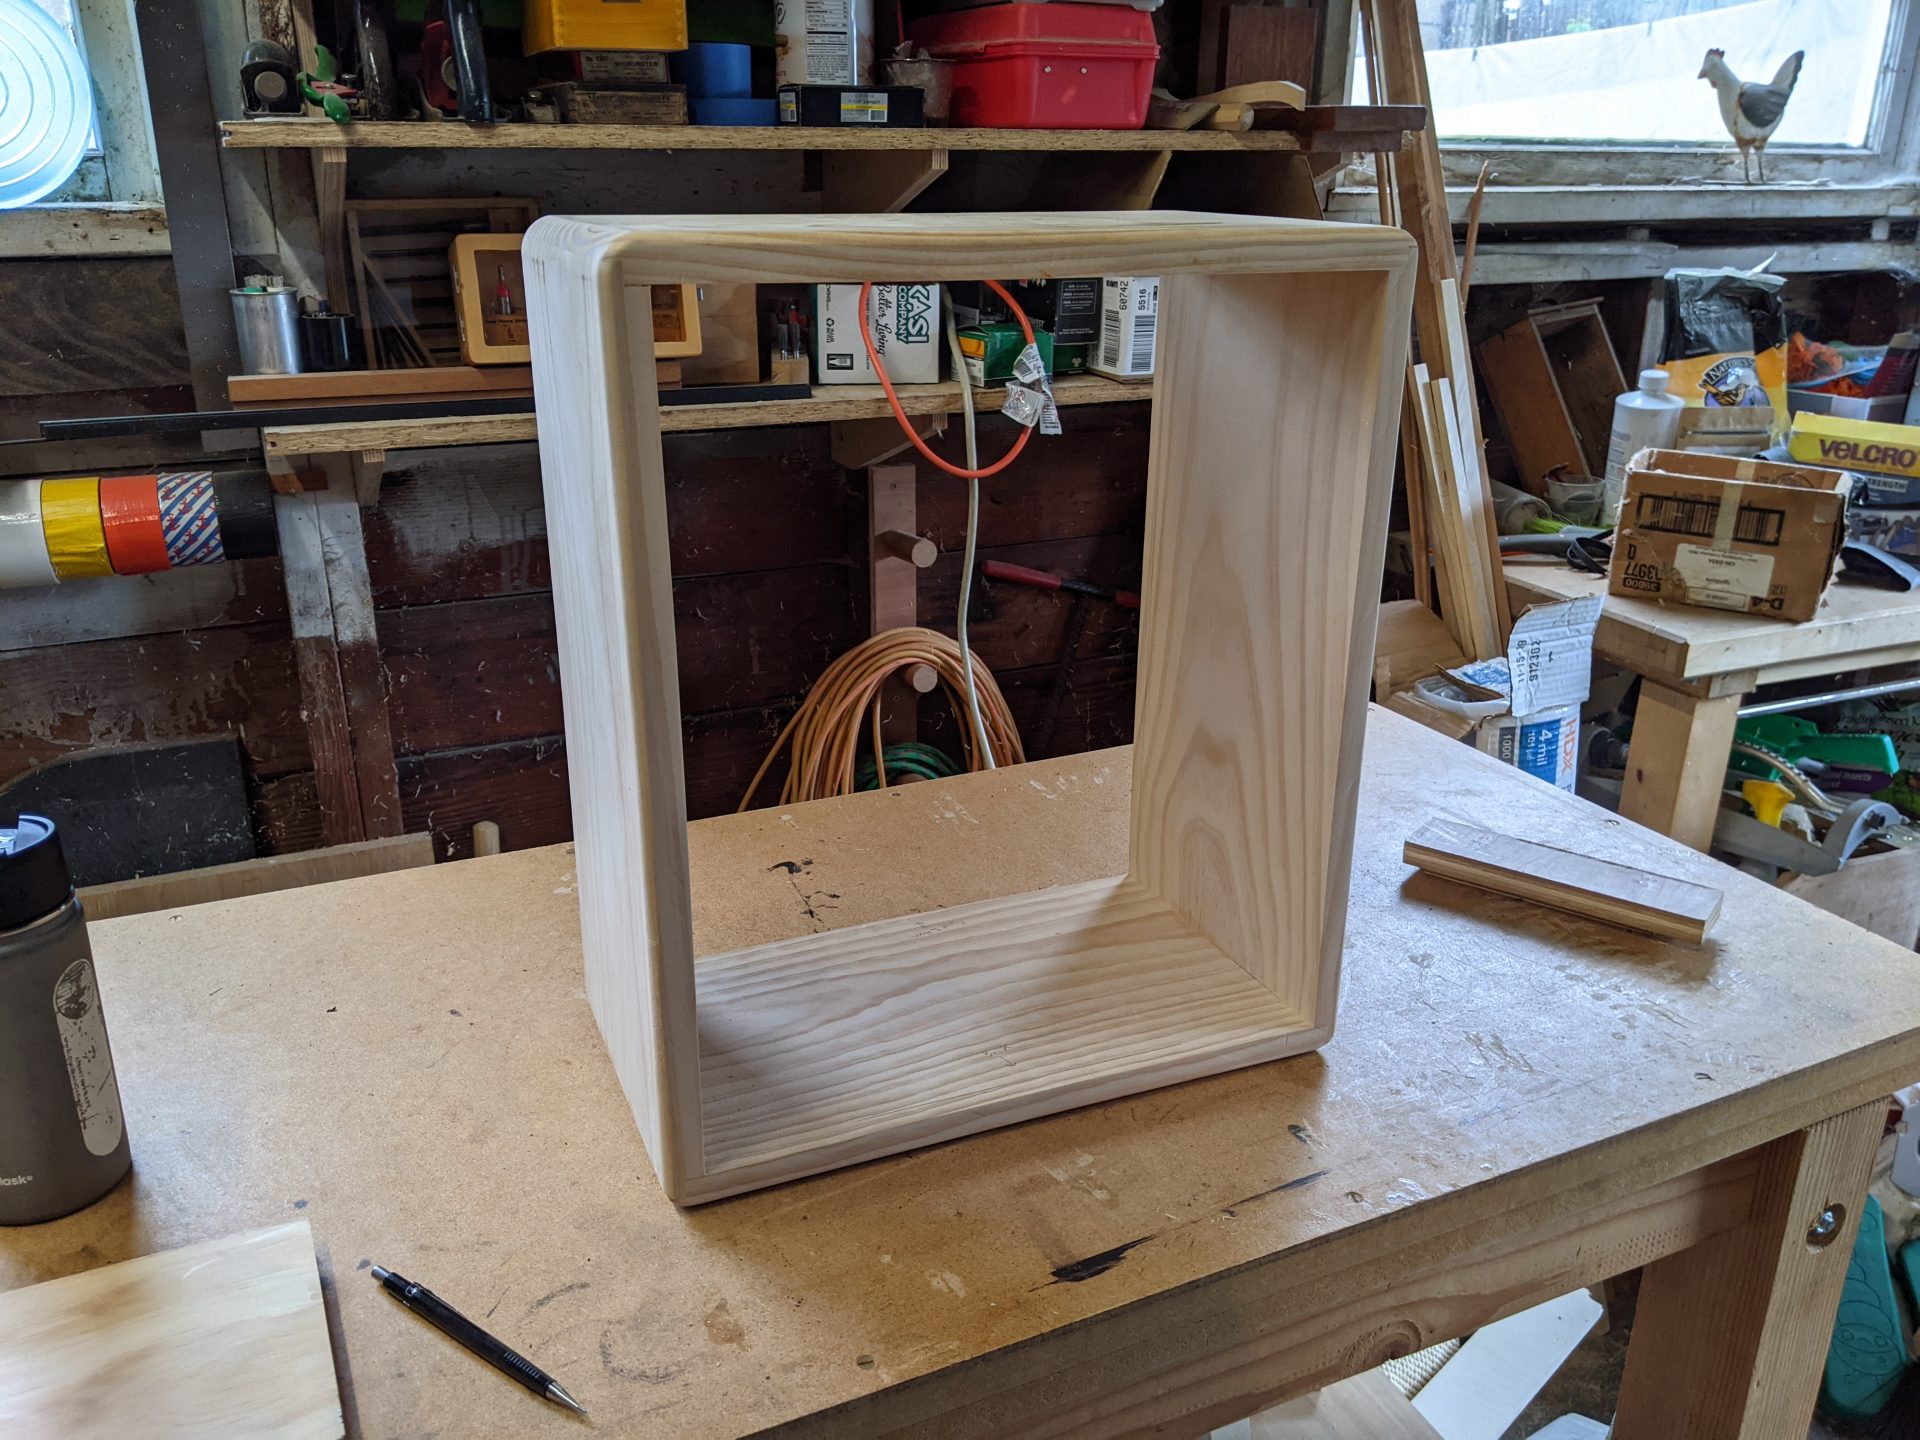
Now that I have an awesome sounding amp – I’m motivated to build a nice cabinet for it. Even if that requires leaving my apartment. I got in touch with a friend who builds guitars and has a well-equipped woodshop – will update with final product and build cost when finished.